SB Rehab/Restoration

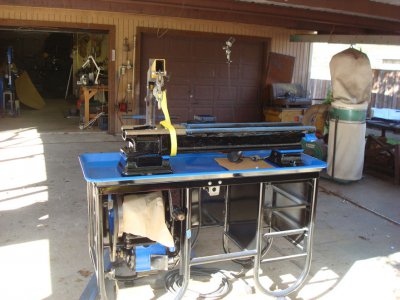
Morning guys,well this morning started out being monumental(big word for me)cause I mounted the bed and it feels good.But not without an issue,I set the bed in place put the bolts thou the holes at the headstock end but the tailstock end was off alittle.So I had to raise that end of the bed and turn the bed footing around and it was closer,so all is good so far.Now I can start mounting headstock which will free up some rm in the shop.As Phil Robertson says HAPPY,HAPPY,HAPPY:thumbsup:
DSC02254.JPG
 
Wow, it is going to really pop with the Blue and the Black! I'm seeing it now....

Sent from my Samsung Galaxy Note 3
 
Guys about noon I started to put the QCGB back together so that I could get it mounted then install the headstock but guess what?If there was a football game between me and the press on gear,the game would be over at half time.I dread the little offset pin that has yet to be installed.Its 6pm here and I still haven't got the shaft all the way on but its getting close.I wish I did not paint the box till I had all the gears and shafts mounted cause its scratch up all to heck.I'm tired so for today I'm throwing in the towel for now---kroll
 
What I learned when I was doing my gear box was to take your time, remove any and all burrs from the gears and shafts. I used small files for the insides of things and the mighty wire wheel for the outsides of things. I assembled it on my lap mostly as that was a soft surface that didn't scratch it, LOL. That offset pin is really not a big deal now that you got it off and understand how it works. I found that some small brass blocks and small hard wood blocks to keep the gears from rolling while you tap the pins in really help. Other than tapping the pins in, force should not be needed. Patience my friend.
 
Wise words Woodtick,I hope tomorrow I will be posting pics of a complete QCGB that will only need painting----kroll
 
Kroll, did you notice that the inside of the gearbox was only primed by South Bend? I don't think they could put one together without scratching up the paint! After having to re-finish the first two- a single tumbler and a wide range- I now take the cowards way out and prime the box, then tape off the gear set after assembly and then spray the finish coats. If I touch up a paint job, I'll see those spots for the rest of my life even if no one else can. Like Greg said, the only thing you need on those gearboxes is patience. Good luck with the project.
 
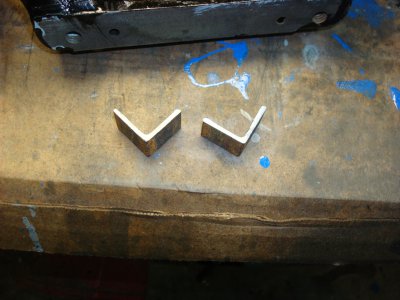
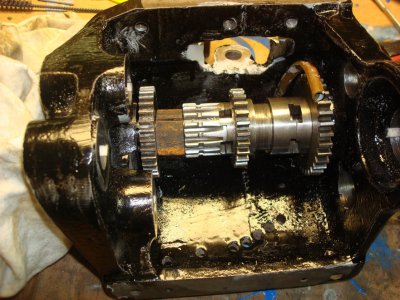
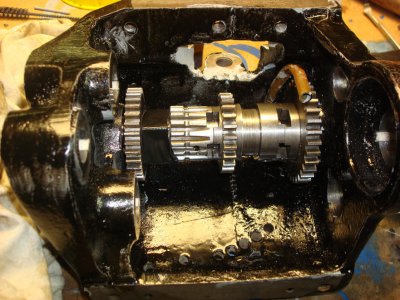
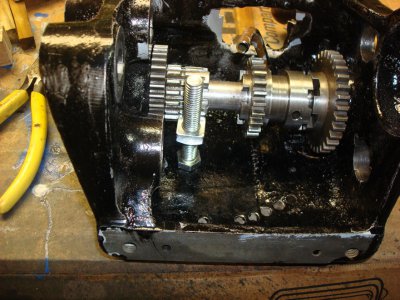
Good morning guys,I'm having a good morning cause I'm off the rest of the week and I also had a good afternoon.Or you ready for the score???? kroll 6 Gear Box 0,yahoo I was able to get it put together except the tumbler lever cause I was mentally gave out.I had no brass on hand so I tried using oak for doing the press on gear but no luck.So I though I would share how I did figure out the press on gear and doing the pin,like woodtick said it was not hard but improvising was needed.(I don't know if the pics will come out in order but heck)
I had some small angle iron that I cut two pieces 5/8 wide and using the bench grinder I made sure that all edges where square.I believe the iron was 1" so I put both pieces around the shaft and using electrical tape to hold it in place.I drove the shaft till it bottom out with the press on gear and it work great,but I did have to made another seat alittle wider to make sure.Now how to hold the dog gear in place to install the pin?Will again no brass so I took a 3/8 bolt and I had a square nut on hand so I prop it to catch the gear teeth and adjusted the nut to where the height was just right,and my luck continues.Stonehands,your right about the paint
Note: Guys this work for me,if I had some brass I would gave it a try first just to aid in not damaging the gears.
Thanks for looking----kroll

DSC02255.JPG DSC02256.JPG DSC02257.JPG DSC02258.JPG
 
Very good work on the restoration. I think I would repair the foot that is broken due to being easier to fix now since it is upside down. Just my thought; having restored several SB's. Keep up the good work!
 
Looks good Kroll. Improvisation is fun. I know the feeling of getting stuck in a project with a known solution, but not having the proper gear or material, so you make do! It's looking really good. Are you using rustoleum paint too? (sorry if one of your posts already said what kind.) If so, in a spray can or quart/gallon? And do you spray any or do you brush it on?
 
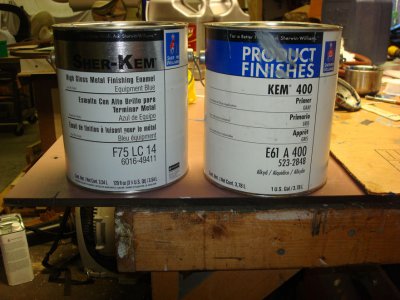
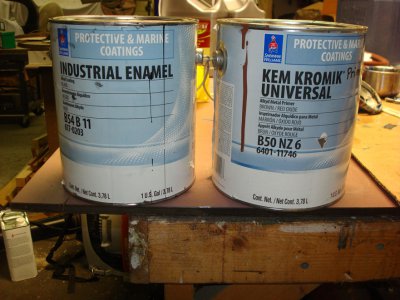
Thoro(thank you) its SW's Sher-Kem paint very high gloss( has a glass finish to it) which can work against you cause it shows all the little imperfections on sheet metal but cast iron its good.Myself in the past I normally use the type of paint that is being sent to you,but it scratches easy.This is the first time I have ever use the Sher-kem paint but it does chip if struck hard.I guess all paint has alittle problem---kroll

DSC02171.JPG DSC02170.JPG
 
Back
Top