-
Welcome back Guest! Did you know you can mentor other members here at H-M? If not, please check out our Relaunch of Hobby Machinist Mentoring Program!
You are using an out of date browser. It may not display this or other websites correctly.
You should upgrade or use an alternative browser.
You should upgrade or use an alternative browser.
SB Rehab/Restoration
- Thread starter Kroll
- Start date
Robert heres a pic of the splice for the flat belt,I have heard that the problem with this type of splice is it makes a clicking noise which I can't say cause I have never heard one before.
This afternoon I work on the spindle and it does not spin real freely but it is smooth.I did back off on the spindle lock ring some and it did help,I also check the shims and their in the right place none missing.Should both sides on the front be shim the same,one side measures .023 other reads .028?
After missing around with spindle getting it the best it can be,I started putting some of the gears together installing the felt and some spindle oil,but the oil holes where just the right size to get a q-tip in to clean it out.
Thanks for looking---kroll
Last edited by a moderator:
- Joined
- Dec 29, 2012
- Messages
- 108
You could loosen the spindle up some more by tightening the bearing expanders that are underneath the hex plugs on the headstock. I would probably do that in your final adjustment of the spindle. Just like the collar, there is a fine line between too tight and too loose.
Sent from my Samsung Galaxy Note 3
Sent from my Samsung Galaxy Note 3
- Joined
- Dec 25, 2011
- Messages
- 10,511
Kroll & Cuseguy,
OK. I must have missed the beginning of this thread and thought I remembered Kroll telling me he was going to be working on a 9" for someone else. I couldn't pass the aircraft identification test on SB headstocks.
Robert D.
OK. I must have missed the beginning of this thread and thought I remembered Kroll telling me he was going to be working on a 9" for someone else. I couldn't pass the aircraft identification test on SB headstocks.
Robert D.
- Joined
- Dec 29, 2012
- Messages
- 108
Thats good stuff Robert! Kroll, I wanted to mention that you don't need to worry that the shims aren't the same height. They rarely are. Put it back together the way it came and then adjust it all up at the end. It'll be fine.
Sent from my Samsung Galaxy Note 3
Sent from my Samsung Galaxy Note 3
- Joined
- Jun 22, 2012
- Messages
- 1,552
When I did the headstock bearings and shims on my 10L I kept the shim packs even as best as possible within.001" front to rear. A lift test is the way to go to set the clearance. I can run mine all day and the bearings never even get warm. Correct clearance is critical for proper oiling.
Thanks guys I'm going to wait till I get the headstock mounted on the lathe then put the finishing touches on it and give the spindle lift test.Robert I may have said it was a 9",I start so many projects I do get confuse then something else comes along like this SB lathe.All my own stuff has come to a halt till I get past the SB.---kroll
- Joined
- Sep 28, 2013
- Messages
- 4,306
not much to offer for the rest of the thread other than that you're doing great work, but for the carriage stop, the small brass pin goes down the barrel of the threaded lock. To do a better job of explaining it - the threaded dohickey that you tighten down to lock the stop in place once you've got the distance dialed in? It goes in the hole that the threaded dohickey goes in. It's what screws against the graduated dial to lock it in place.
I found one once in a dumpster and took it apart to clean and grease it before selling it.
Keep up the good work!
I found one once in a dumpster and took it apart to clean and grease it before selling it.
Keep up the good work!
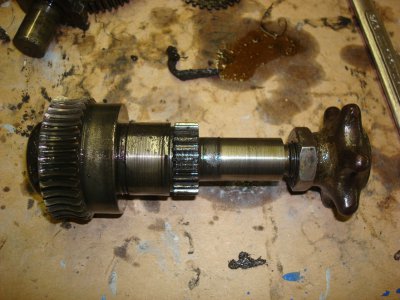
Another good day but I was alittle nervous at first.After learning that the pin that holds a gear in place is installed off center I was able to drive it out and then remove all gears in the QCGB.I have to say that someone before me also gave it a try which they were using a punch that has a point and made several attempts buggering the gear alittle.The gear also looks as if it had been hitting something cause it has a small grove cut into it all the way around.Just an FYI,the two pins that I remove from the QCGB were not taper for some reason,maybe due to the small dia of the gears and teeth.
Drive Screw:Guys I am ordering some of those Oil hole covers from McMaster-Carr and I want to order some stainless drive screws for the index plate,but how do you tell what size a person needs?Guys thanks for the help---kroll
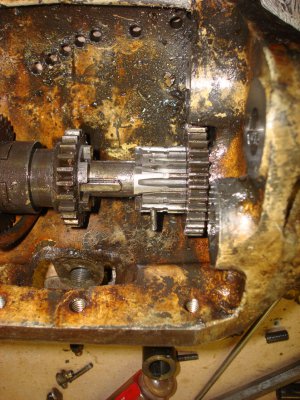
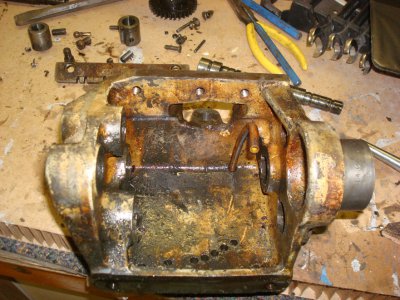
Drive Screw:Guys I am ordering some of those Oil hole covers from McMaster-Carr and I want to order some stainless drive screws for the index plate,but how do you tell what size a person needs?Guys thanks for the help---kroll


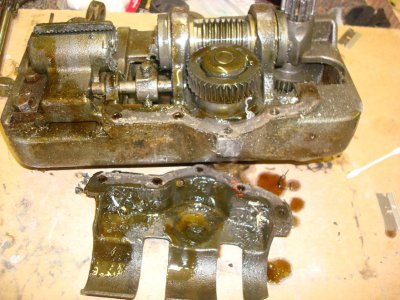
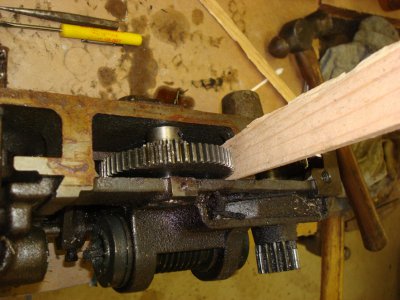
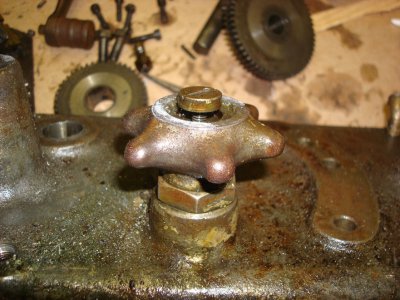
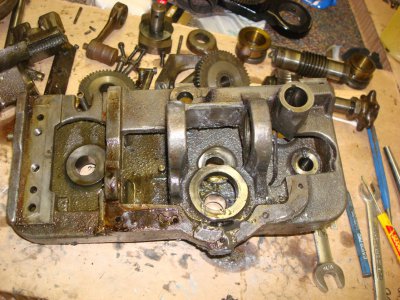
For once the weather is fantastic so I thought I would do alittle more painting.So I started with the chip pan,then went on to the saddle and couple other parts.Guys I been putting off the apron cause its alittle intimidating but its the last piece and it needs cleaning and painting.Looking at the 2rd,3rd pics of the apron I guess its not to bad and really all the handles came off pretty easy.Going by the SB book next I remove the trough and only afew shavings.In pic #4 I use a wood door wedge or wood shim to block the cross-feed gear to try and knock out the very small offset pin and I be dang,no problem.Now reading the book and being alittle nervous I read that the star gear is held on with a left hand thread screw,boy I'm glad that I read the book cause I had no ideal.As you can see in #5 pic.I move on and remove the other gears and labeling left/right so that all can go back togeather.Finally in #6pic is the apron butt naked ready for cleaning.Finally pic is of the clutch which I did not take it completely apart,yet!!!!
Tomorrow I'm going to try and seat the bed on the cabinet and get it bolted down so that I can really do some assembling.Thanks for looking----kroll
Sorry my pics did not come out right
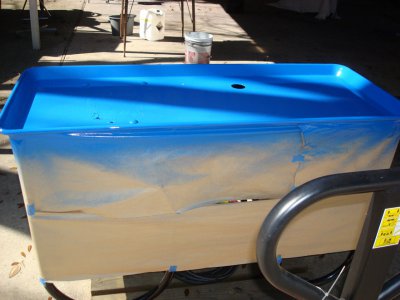
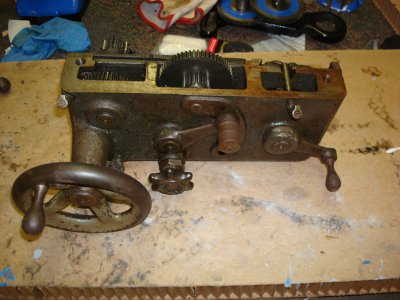
Tomorrow I'm going to try and seat the bed on the cabinet and get it bolted down so that I can really do some assembling.Thanks for looking----kroll
Sorry my pics did not come out right


