Got me a Heavy 10

It looks like the clutch shaft is different than the 9 and 10K which means the knob might be different too.
Happy to take mine off and take some pictures and measurements if that will help you any.
You can probably make any kind of knob you want as long as it threads on the shaft and has a through hole for the left hand screw....

Yep, I plan to make one until I can find a proper replacement.

If you can, see if a 3/8” bolt threads into the knob. My threaded shaft fits a 3/8” nut.

Thanks.
 
Anyone care to measure the thread depth of a Heavy 10 clutch knob for me?

I've measured the TPI for both the knob and left hand screw and ordered suitable replacements from McMaster (3/8"-16 for the knob and 10-32 Left Hand thread for the screw - I think ).

The knob from McMaster doesn't have the recessed area for the screw head and has a 1" thread depth. I figure I can mill the recess in assuming I know when to stop.

Thanks.
 
I took the knob off of my 10K and it is threaded 7/16" x 20.
It seems odd that the 10L would have a beefier clutch but the knob is attached with a smaller thread than the 10K. It would be interesting to know if that is factory or if that was some repair/retro-fit. When OEM parts dry up, anything is possible although putting the small left hand thread into a replacement shaft would require some special attention. I'm sure left hand taps can be bought, but around here it would have to be a special order.

The knob appears to be cast and where it runs against the collar around the shaft there are wear grooves. Collar is definitely harder than the knob as it shows no wear. It works smooth enough but were I to make a new knob or find the need to face the back side of this one flat, I would consider using a wear washer between the knob and collar.

At any rate, it should be easy enough to spin up any style of knob that suits your fancy. Heck, the hardware store is likely to have several styles of plastic knob already threaded 3/8 that you can use until you get the one you want.
 
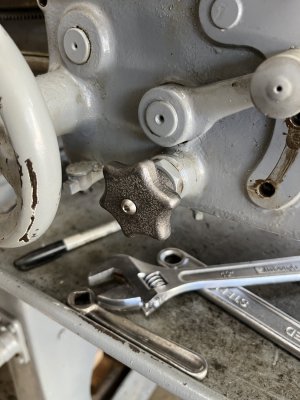
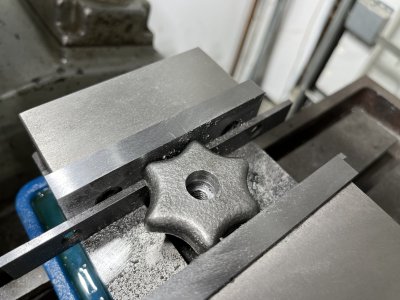
I received the left hand screws and iron knob from McMaster.

I had to guess how deep to mill into the front of the knob.

In case anyone is curious about the part #’s and description:

18-8 Stainless Steel Left-Hand Hex-DriveRounded-Head Screw, 10-32 Thread,1/2" Long
95955A292

Iron Knob, Six Arm Grip, 3/8"-16 Thread x 1" Deep Through-Hole
6042K161

AB99E2C6-B495-4E52-9343-3CD21F7782CC.jpeg

154EA854-6D5D-46C1-A342-90C48AE8E3A3.jpeg

7E632ED1-F97C-4CC8-9964-B3BF6C253C7E.jpeg
 
Last edited:
Does it work?

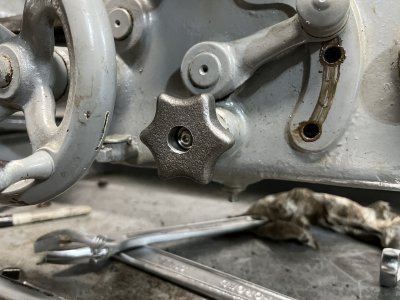
That start knob looks a lot like an original. You might want to break the edges on your counterbore.
 
Does it work?

That start knob looks a lot like an original. You might want to break the edges on your counterbore.
I’ll run a chamfer bit on it.

I was having trouble figuring out how deep to bore into the knob.

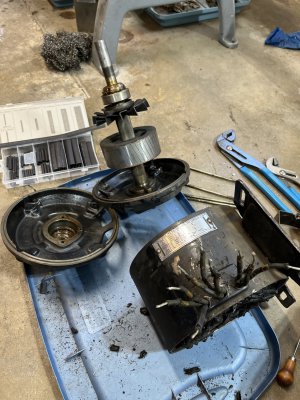
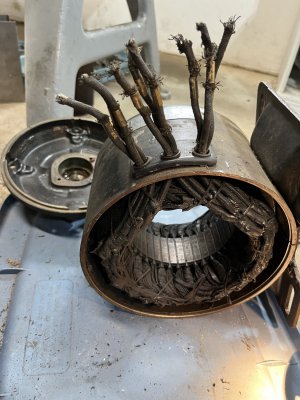
Having never run a lathe, I am uncertain how the clutch works, plus I pulled the motor off to repair all the flaked-off insulation on all 9 leads, so I can only test it by hand turning it.

I think I got it though. The depth of the threading in the knob is important because if it’s too short, the knob just keeps spinning as the shaft it’s mounted on will spin freely unless it is pulled out slightly.
 
On to the motor…

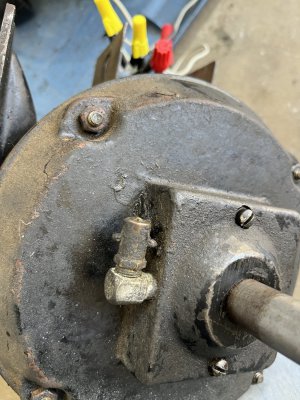
Slipping some marine grade shrink tubing on each lead and trying to figure out the grease fitting this motor uses (bayonet type).

I may just replace the fittings with Zerks fittings.4C2A17E3-9EA8-487D-B068-F89D7A58894D.jpeg
EA339573-600F-49AC-92FB-4BDBC662BD74.jpeg
DA653C9D-D736-43CB-9BDF-FF6737AE884F.jpeg
 
Having never run a lathe, I am uncertain how the clutch works...
As you turn the knob clockwise, it pulls a set of disks together to engage the drive (the gear is already turning). To release the clutch, turn the knob CCW to release it and return the carriage to idle.
 
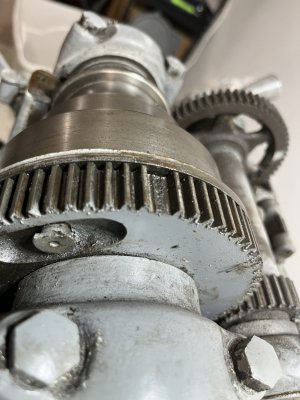
I started the disassembly and ran into a problem. Apparently the headstock spindle bull gear (75t) has one broken / missing tooth. I must’ve missed it when I looked it over.

I did have a good look at all the other gears and they look good. At least there’s that.

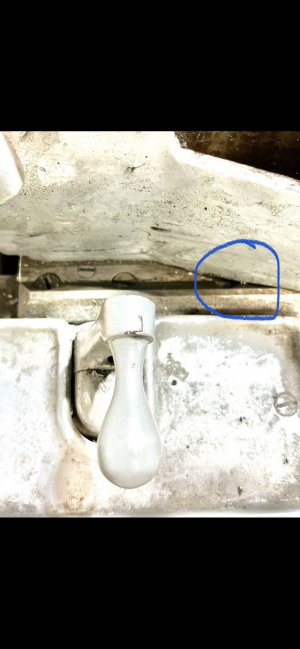
Oh and this lathe will require the removal of the headstock before I can remove the QCGB due to the obstructed screw.

9B8960AE-2379-45A1-8B5C-F05765E4DBFB.jpeg

BD9C5A1F-0442-4CAE-A4C0-F2674633BDB3.jpeg
 
Back
Top