The Journey Begins, PM Research #5.

Nice work on this.

I have a wobbler I need to get back to. I started that project to get out of my comfort zone. I could just barely manage all of the parts with my Sherline lathe and mill, but I was having fun and could see the writing on the wall. That project broke the flood gates and bigger machines have been coming into my shop since then, but at the cost of actually making anything. Now that the shop is getting back into some sense of order I have my eye on a couple of these PM engines.

Blondihacks also just started a series of videos building a PM #1.
This one is testing the limits of my Sherline mill. My hope is the engine actually works when I finish, but if not I'l just get another and try again. It's been a good way to learn to use the machines. I actually bought the machines to make clock parts so I don't need to go any larger. I would like to try a PM #1 or a Stuart 10 once I finish this one.

Eric
 
Been following this thread. Looks great. I'm still working on my 1st wobbler. Getting there; however.
 
This one is testing the limits of my Sherline mill. My hope is the engine actually works when I finish, but if not I'l just get another and try again. It's been a good way to learn to use the machines. I actually bought the machines to make clock parts so I don't need to go any larger. I would like to try a PM #1 or a Stuart 10 once I finish this one.

Eric

That was exactly the same reason why I bought the wobbler plans. I found I was mostly doing the same things that I knew how to make with the lathe, so I thought making something from plans would force me to figure out how to do things I've not done before and it did.

I bought the Sherlines to make model parts and they are a great size for that. I didn't plan on machining becoming a hobby all of its own but it has. I'd like to try making a clock at some point as well.
 
Depending on how you do your setup, that should be pretty easily done with an internal-boring-bar tool on the lathe. You likely want to do it in the same setup as when you make the hole anyway.

Depending on your boring bar setup, you would just grind a bit with a square bottom and relief.

I think you're right. Before I did any work on it I was not sure how to hold it, but after getting it to size it looks like it will go in a 4 jaw chuck just fine. Now I just have to grind that tool and practice on some bar stock.

Eric
 
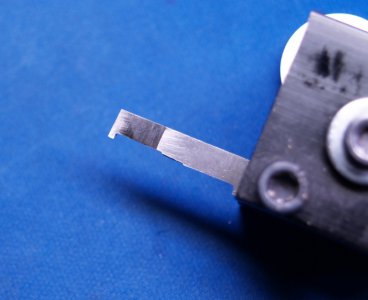
Ground a tool and cut a test for the groove in the eccentric.
groove tool 1.jpg
groove test 1.jpg
Not there yet.

Second try same tool.
groove test 2.jpg
Much better!

Eric
 
Last edited:
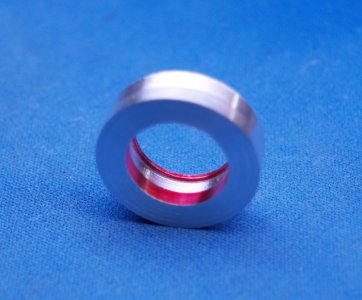
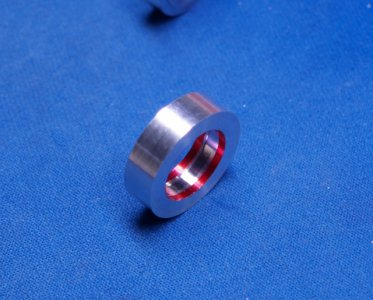
Enough practice time to cut the groove.
eccentric 3.jpg
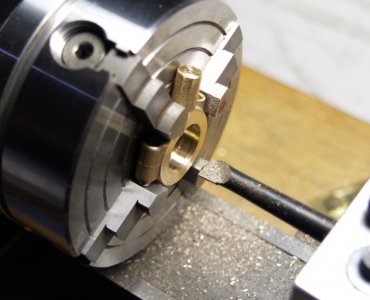
I used the boring tool to face the sides. Just had to make sure not to hit the jaws.

eccentric 7.jpg
The tool bit (hogged?) into the bronze when setting the depth of cut, which was kind of disturbing, but the results are good. I actually ended up doing the groove twice. After I removed it from the chuck and faced the sides I found I was well off on the depth. Got to keep track of those hand wheel settings! Back in the chuck, centered it up, cut the groove to depth, and took a light cut to true the bore to the grove.

eccentric 6.jpg
I know I'm somewhere close to the plan depth for the groove but I have no way to measure it. The width is pretty close and the thru diameter for the eccentric is dead on.

Now I can make the hub to match. The Hub is CRS, a new metal for me to work with. I've worked with 12L14 making screws. Hopefully CRS is similar. I'll practice on some 6061 to get the sizes and procedure right before I mess with the actual part. Fun!

Eric
 
CRS (typically 1018) is basically just a slightly harder to machine 12L14. Its great since it is easily available and cheap, but machinability wise it is quite a bit worse. Other than availability/price, theres no good reason I'm aware of to use it over 12L14.

I went the other direction, I'd only turned 1018 CRS and finally got a chance to machine 12L14 and was amazed at how much easier it was to get a nice surface finish :)

Well if I have a bad time with the CRS I'll get some 12L14.

Back to my build:

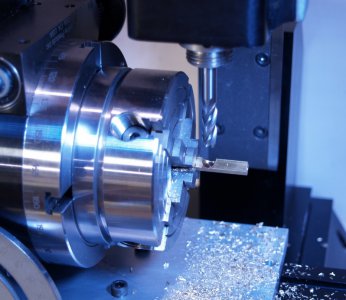
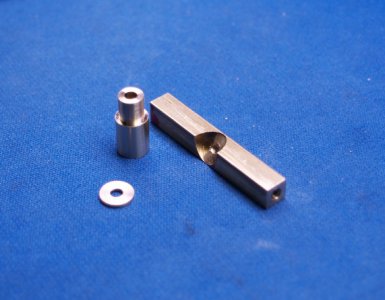
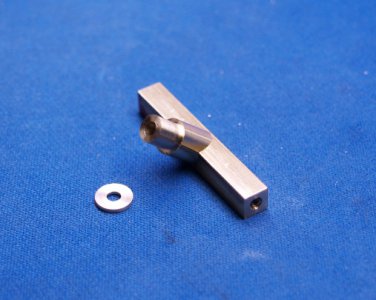
I made a few more small parts today. Since I had success with the eccentric I went ahead and made the valve slide, post, and washer.
valve slide 1.jpg
valve slide 2.jpg
valve slide 3.jpg
Nice slip fit. Must be beginner's luck!

valve slide 4.jpg

eccentric bearing.jpg
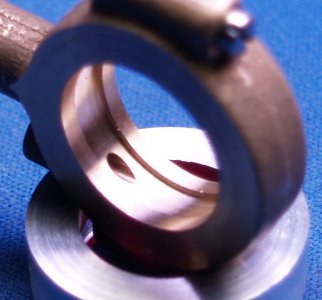
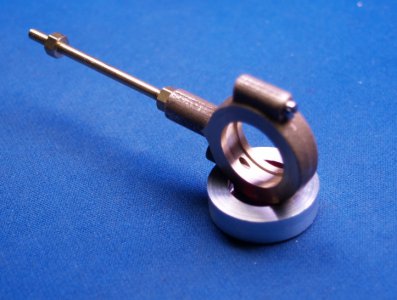
I made the eccentric bearing and updated the picture below.

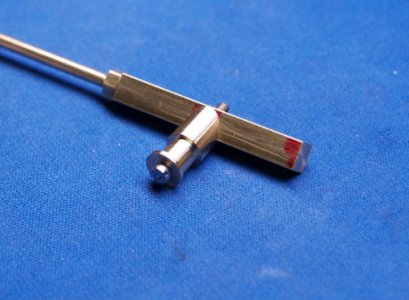
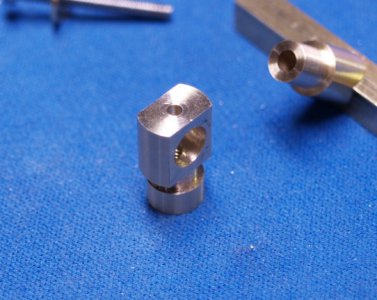
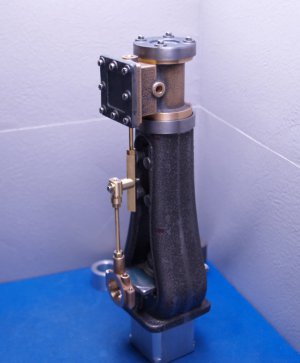
The eccentric bearing (now shown) mounts to the post to drive the valve slide. This is where it goes on the engine. I still need to do the bearing blocks that the valve slide rides in.
mockup4.jpg

Eric
 
Last edited:
Thanks for the posts. I am finishing up a Stuart 10v. Have to complete the connecting rods for the piston and valve gear and I should be done. Used my Dad's 1940's vintage Atlas 618 lathe and a LMS mini mill. Of course I made a lot of the components numerous times to correct my mistakes. Have a PM 1127 lathe and 932 mill showing up soon for my next projects.
 
Back
Top