G0704 CNC AC Servo Rebuild (Picture Heavy)

So I was able to confirm that the crashing program is just what it looks like when the demo times out.

I do appreciate how friendly this forum is. I got a nasty comment on another forum that I was complaining about the demo software without being a paying customer (yet) when I was just trying to understand a small issue I was having. I haven't had a single unfriendly interaction on this site and I really appreciate that!

Update coming soon.
 
Thanks Jim!

Since it seems like Mach 4 is up and running, I am switching gears back to the hardware side of this build.

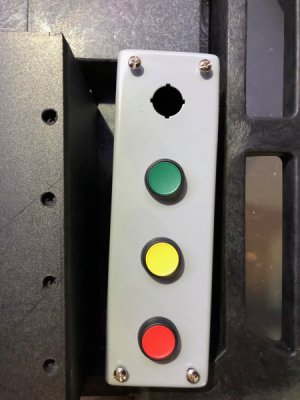
First off, I got the matching buttons for my operator button station. I have labels for each of these. They are the Allen Bradley 800FP series of operators (22mm). The plastic ones, while plenty sturdy, feel a little cheap. There are metal versions of these but I couldn't find any cheaply on ebay. The back side of the button is modular to select which contacts you want as well as lamps if the button is illuminated. Top hole is for an ESTOP which is temporarily setup elsewhere.

Edit: I guess cheap feeling is relative. They are super nice compared to most operators you get from automation direct or hobby grade stuff, but are a long shot from the mil-spec buttons and knobs I work with day to day.
287577

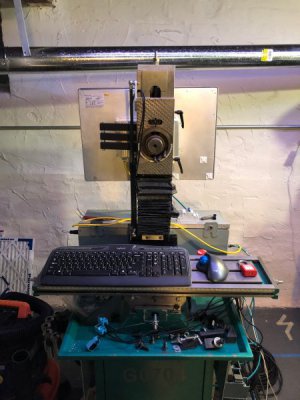
Thanks to the folding mount, the computer tucks neatly behind the machine for cleaning. The mount is already getting bent, so I am looking for something a little more sturdy.
287578

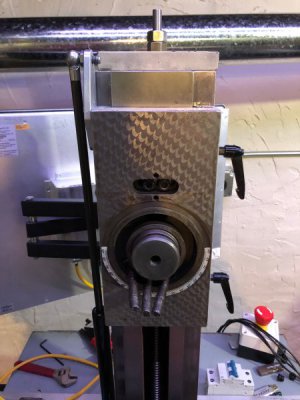
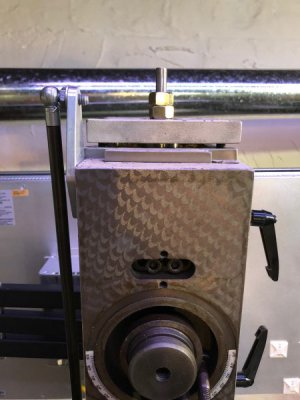
Loosening 4 bolts removes the top bearing plate from the Z axis.
287579

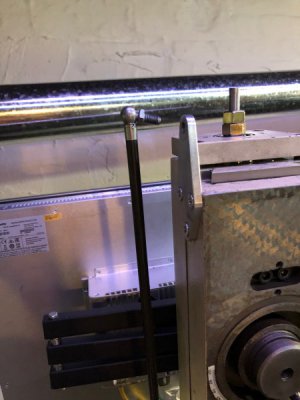
From there the 50lb gas strut can be disconnected.
287580

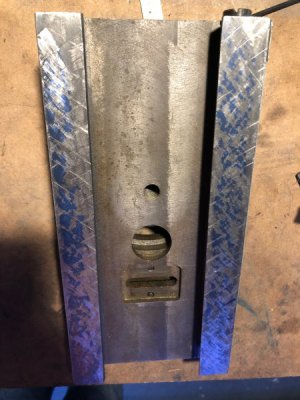
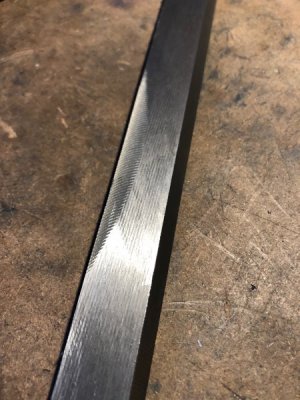
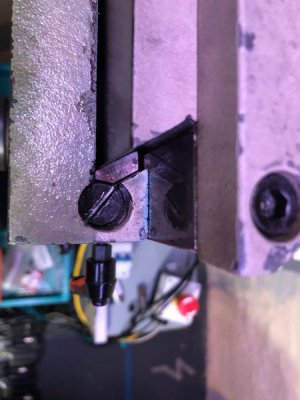
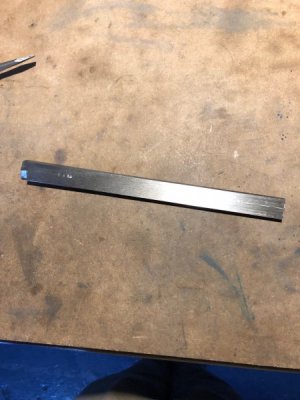
The gib can be knocked loose. Note that all sides are flat (no milled pockets). The way facing side is ground and flaked, the opposite side is just ground. The spare gib just looks rough machined, not ground or flaked. That being said these things bend like a noodle so I'm not sure how much value comes from grinding.
287581

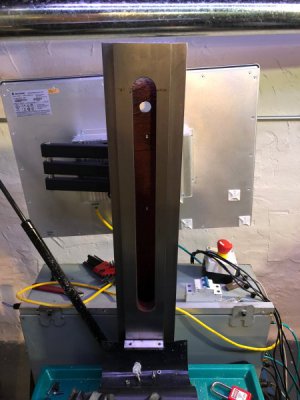
And the Z axis slide completely removed.
287582

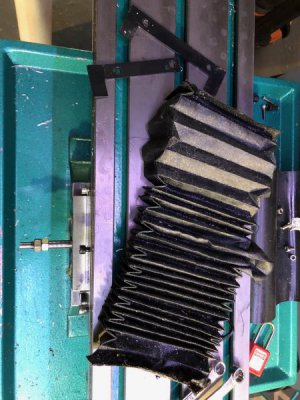
The way cover is completely shot and I got a replacement from Grizzly for $22.
287583

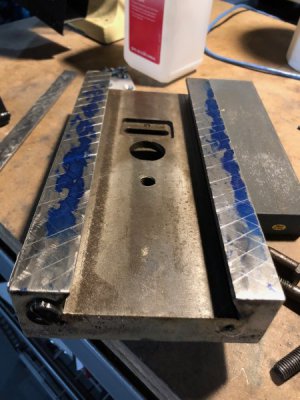
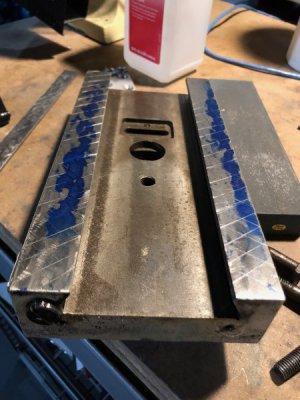
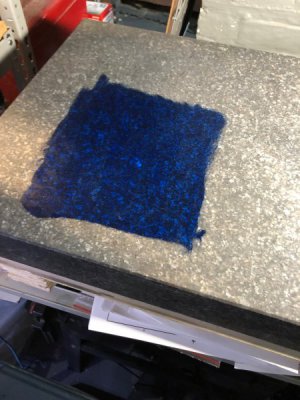
I used some Dykem Hi-Spot blue to see how bad the gib was (hint: terrible). I don't have a great way to spread the ink so I use a tightly balled paper towel. I feel like half the ink sticks to the towel, but a tube is cheap.
287584

I covered the edge which was rubbing on the flat way with steel blue and ground it on my bench grinder until the ink was cleaned up. I was fairly conservative with material removal so I may need to take a few more passes later on. Dummy here didn't cover the surface plate with a sheet so all the exhaust and grinding dust landed on the Hi-spot blue and stuck. I can be a little dense sometimes. I will completely cover the plate in the future.
287586

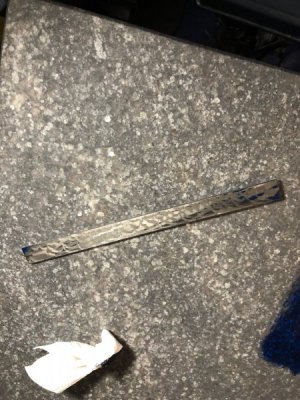
The first spotting of the gib shows very little contact. I was able to bend it a little straighter by hand and get better contact along the length. I ground the end of a file with a slight rake and a wide radius and used it as a make shift scraper. I'm sure it doesn't work anywhere near as well as a real one, but I'm able to remove a touch of material. I'm not trying to scrape this into perfection (nor am I really sure how), but I'd like to get a touch more contact than it has. This is my first attempt at any kind of scraping.

Question: I've seen Sandvik, Biax, and Anderson scrapers for sale but they are large and fairly expensive. Are there any smaller sub-$100 scrapers for things like gibs and touchups that you could recommend. Maybe one day I'll take the leap and get all the scraping essentials, but for now having something to do some touchup would be great.

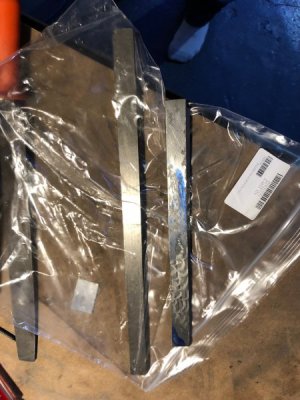
After a little file scraping and stoning I am getting better contact (not shown by the blue currently, I already wiped half of it off). This is the replacement Z axis gib. Note that it comes in very long and is a cut-to-length kind of deal.
287587
 
Last edited:
Only spent an hour last night on the gib and Z axis slide.

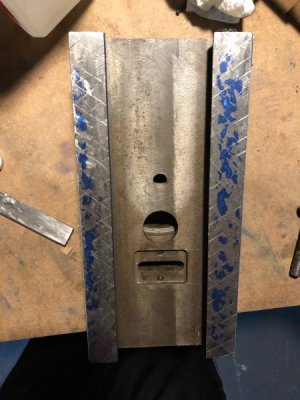
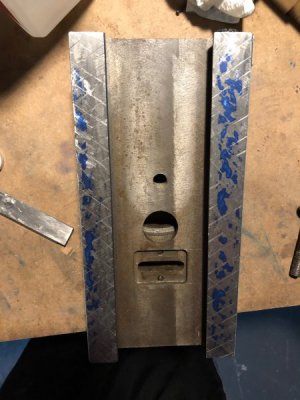
An initial (and excessively heavy) bluing of the slide shows the contact. Its honestly not terrible, but the heavy blue was hiding some very tall high spots.

287656

After 5 to 6 cycles of scraping. Removing material with a file/scraper is really slow going. I'm going to do just a touch more and call it good. I can revisit later if I want to actually learn to scrape. I would rather not ruin this due to lack of knowledge.

287657
 
I spent one more hour doing a touch up job of scraping on the Z Axis slide. It obviously isn't perfect, but it is better than when I started. If I decide to take the leap into actual scraping, I will come back to this project. At the the contact points extend to nearly the full length of the slide now.

First pass:

287719

Halfway Through:

287717

After last pass:

287718

I also went to refit the gib into the way but found that even a little work removing high spots caused the gib to seat much lower in the way, beyond the range of the adjustment screws. I had purchased a spare gib from Grizzly but there is a section right in the middle of the way side of the gib that was dished out during machining and never got touched by the grinder. I'm going to call and see if I can get a replacement...

287720

For the time being, I reinstalled the Z axis slide using some shim stock behind the gib. I got this part done and then had to go back because I forgot the 3 bolts to mount the spindle. Later I found I also forgot the new way cover so I have to disassemble again. Ugh.

287721

Fit of the gib is MUCH better after grinding it. That gap is smaller than it looks in the picture. Maybe somewhere between .030 and .060. My way oil actually sticks on the ways now which is nice.

287722

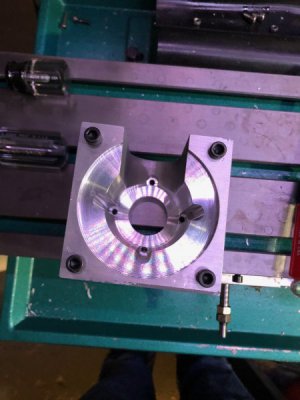
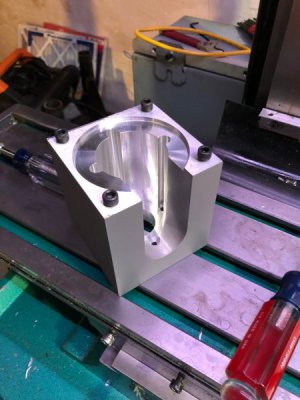
Next up is the Z axis servo mount. It is a roughly 3.5" cube that was machined from billet maybe 75% on the lathe and 25% on the CNC.

287723

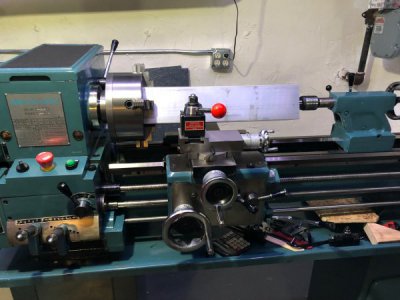
Original billet made 3 mounts plus some leftover. 4x4x18" 6061. Parted off on the lathe.

287728

287724

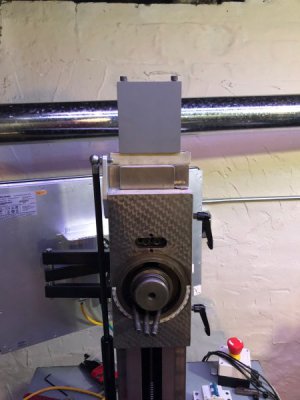
Mounted to the Z axis bearing plate.

287725

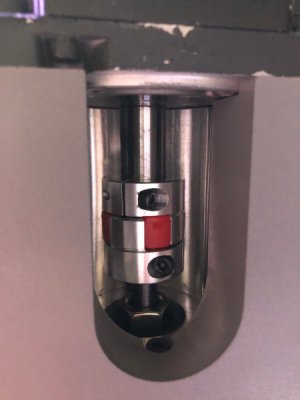
The servo mounts to the shaft with a zero backlash jaw coupling. These run pretty smooth at high speeds compared to some other types.

287726

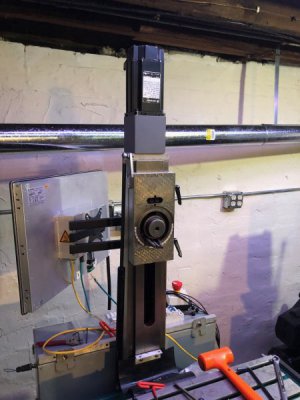
And the beauty shot with the servo attached. Cables route down the back of the column. It is a little tall but no issue. I'm hopeful that the direct drive makes the servo setup more reliable and easier to tune.

287727

I still have to go back and put the way cover on, add the cable chain for the spindle, and shim the gib a little more. I also want a new monitor mount.
 
More 5 star work: looking great.

Did the Z axis feel smoother after your scraping efforts?
 
Thanks! The biggest thing that I notice between grinding the gib, and scraping the gib and slide is that everything fits better together. The gib seats firmly and I can still slide the axis with moderate ease even though it is a lot tighter. The motion feels more fluid without feeling like parts are scraping together. The oil actually stays on the way where before it would run between the ways and the slide and just fall off the column.

I would say it was worthwhile, but I certainly didn't do a full scraping job where the parts ride on an oil film.
 
I wonder what is the total price of this CNC AC servo rebuild?
 
Fang, much of what I have built has been acquired from various places and not purchased new. If everything was bought new, this panel would be prohibitively expensive. I have been very fortunate to be able to use some extra parts from work (with permission of course).

I'm sure I've forgotten lots of things but here is a ballpark of parts that I needed to buy:
  • Enclosure (24x36x8) - $100
  • Automation Direct (solenoid, M12 ports, disconnect, misc. components) - $200-250
  • ebay odds and ends (voltage converter boards, pushbuttons, RS485 converter, monitor mounts etc.) - $400 (This is a huge guess)
  • Missing cables for servos: $400
  • Raw Aluminum Stock for motor mounts: $120
  • SDP-SI (pulleys and belts, including scrap): $150
  • Assorted McMaster Carr (bolts, gaskets, etc.): $300
  • Replacement bearings, VXB: $120
  • MPG, ebay: $50
  • Mach 4: $200
  • 2 years of having fun building this: Priceless :)
Honestly I keep the monthly shop purchases within budget and I try not to stress over the cost of an individual project. I think of my shop like a monthly "fun" membership. I certainly could be doing much worse things with my money.

In addition, I was able to use the Smoothstepper from the previous version of this build (came in around $1200 for the panel and electronics if I remember). I have more than paid off the machine + CNC conversion with customer projects, and I intend to do that again. I love doing customer projects, especially when I get to be invested in the creation and design of their ideas. I just never want the hobby to feel like a job, so I am selective on what kinds of work I am willing to do.
 
Back
Top