G0704 CNC AC Servo Rebuild (Picture Heavy)

Fang, much of what I have built has been acquired from various places and not purchased new. If everything was bought new, this panel would be prohibitively expensive. I have been very fortunate to be able to use some extra parts from work (with permission of course).

I'm sure I've forgotten lots of things but here is a ballpark of parts that I needed to buy:
  • Enclosure (24x36x8) - $100
  • Automation Direct (solenoid, M12 ports, disconnect, misc. components) - $200-250
  • ebay odds and ends (voltage converter boards, pushbuttons, RS485 converter, monitor mounts etc.) - $400 (This is a huge guess)
  • Missing cables for servos: $400
  • Raw Aluminum Stock for motor mounts: $120
  • SDP-SI (pulleys and belts, including scrap): $150
  • Assorted McMaster Carr (bolts, gaskets, etc.): $300
  • Replacement bearings, VXB: $120
  • MPG, ebay: $50
  • Mach 4: $200
  • 2 years of having fun building this: Priceless :)
Honestly I keep the monthly shop purchases within budget and I try not to stress over the cost of an individual project. I think of my shop like a monthly "fun" membership. I certainly could be doing much worse things with my money.

In addition, I was able to use the Smoothstepper from the previous version of this build (came in around $1200 for the panel and electronics if I remember). I have more than paid off the machine + CNC conversion with customer projects, and I intend to do that again. I love doing customer projects, especially when I get to be invested in the creation and design of their ideas. I just never want the hobby to feel like a job, so I am selective on what kinds of work I am willing to do.
I wonder if anyone has posted a "total" for a conversion for a G0704 machine from scratch (or others)? I subscribe to Home Shop Machinist and was sent a complementary copy of Digital Machinist. I haven't priced it on his web site, but there's an ad in there for www.cnc-minimill.com that sounds decent. It's a conversion kit for the G8689, HF 44991, Little Machine Shop #3960, MicroLux# 84630 and others.

I'm still deciding on my upgrade for a Series 1 BP with a 1983 Anilam 2-axis. Leaning now toward a Centroid Acorn controller ($300) which will also need a Windows 10 touchscreen computer (~$400). I'm going with either ClearPath or DMM 750W servos. DMM has a running ad on eBay for 3 750W plus power supply and drivers for $1150. I already have the ball screws on the table, but need to either drive the knee or convert the quill. I figure I'll have at least $3000 into the conversion.

Bruce
 
I can go back to mine and look at the initial conversion costs. Servos add a fair deal of expense to the project but your budget doesn't sound too far off. That would be a very nice machine!
 
OK. Been a little while since an update so here is where we are. I've spent probably a dozen hours over the last week working on an AutoCAD Electrical set of drawings for the control panel. I originally hand drew these, but so much has changed in the panel since those were done that I needed to make a new set. They still need a lot of work, but have most of the information I need to troubleshoot the system right now.

I disassembled the Z axis again to fit the way cover. I returned the new gibs that I received defective for replacement, so I'm stuck with what is on the machine right now.
288446

I ran into a serious issue where my Ethernet Smoothstepper lost its configuration and wouldn't respond to mach. I wasted a number of days on this but after a support call with Warp 9 Technology, it was resolved. They couldn't identify why the board lost its IP address, but the utility to reprogram it was being blocked by the windows firewall. The support from those guys is top notch.

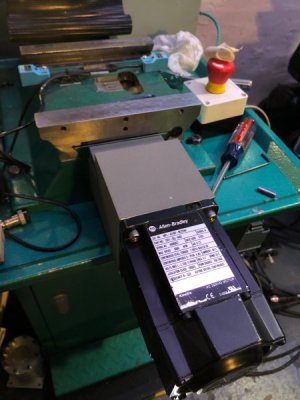
I started to run the Z axis servo, first using Ultraware (Allen Bradley Servo Utility) and then Mach 4 once the ESS was up and running again. This thing is a beast!. I ran it slowly for a long time, but finally cranked it up to 1000ipm (5000rpm). It is loud, but the sound is normal for a ballnut with a return channel. That is about 95% of the noise. I have a few videos I will attempt to post below.

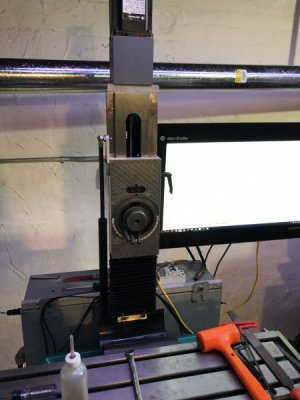
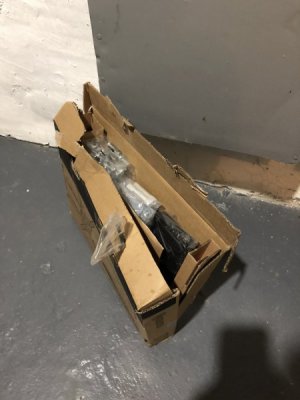
I also got a new monitor mount in. UPS may have played soccer with the box because this is how I found it:
288447

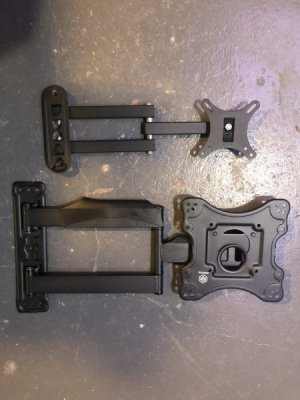
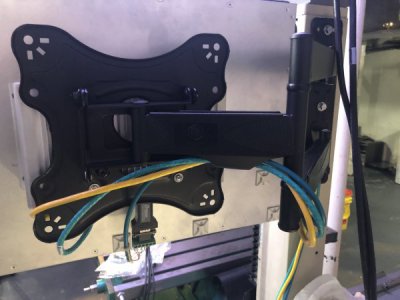
The new mount is super heavy duty. It is rated for 70lbs but only cost $20 (plus it came with a pretty nice HDMI cable). Here it is next to the old mount.

288448

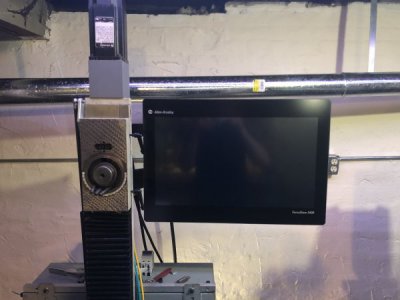
The extra extension length of the mount gives me some flexibility in where the computer can be positioned and tilted.

288449

And it has some nice cable routing provisions.

288450

I will try to add videos below. Next step is teardown and assembly of the X and Y axis servos.
 
Ultraware indexing again at 1000ipm. This is the top rapid I could possibly get on this machine with this setup. I doubt I'll run it flat out like this very often. No real reason to.

View attachment IMG_4129.MOV
 
This was the first real test running the motor from Mach 4. There is no discernible difference between the command coming from serial (Ultraware) and Step/Dir (Mach 4). I'm very pleased.

View attachment IMG_4139.MOV
 
Update time!

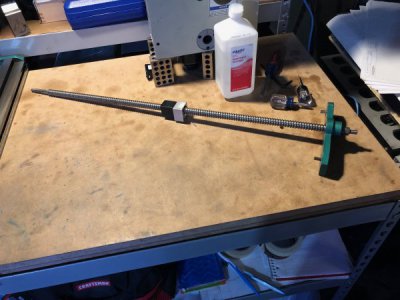
I had been holding off on working on the Y axis because I wasn't sure if I had all the hardware I needed. I first removed the table and saddle to clean them thoroughly. The X axis ballscrew was fairly clean and was wiped down with WD40. The Y axis screw due to the way it is mounted could not be removed from the casting without taking the ballnut off the screw, so I cleaned it in place by dripping WD40 on it while running the screw with a cordless drill. Due to the location of the screw, it tends to pick up chips and dirt.

288869

288870

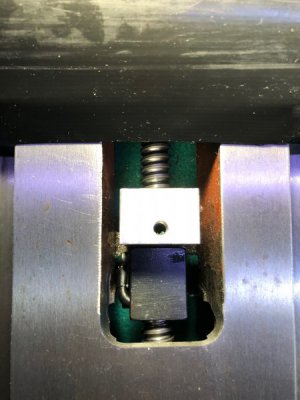
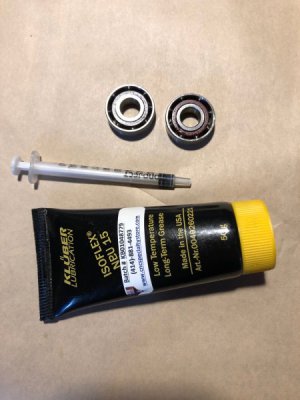
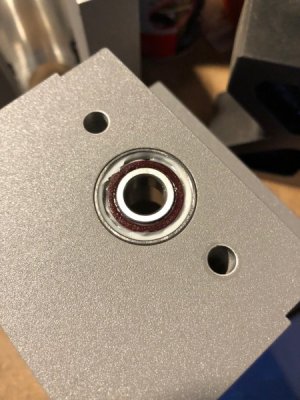
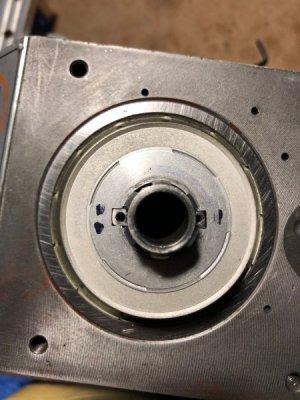
I didn't have the M6x1 - 60mm screws that I needed to attach the motor mount to the casting, but I was lucky to happen across a few at work. I packed the ballscrew end support bearings with the Kluber Iso Flex NBU 15 grease just like the spindle and pressed them into the Y axis motor mount housing.

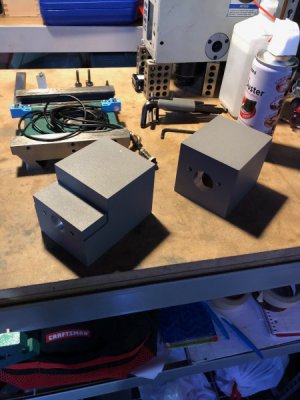
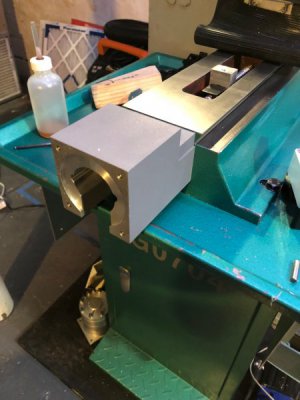
The left one is the Y axis mount, one of the more difficult parts I have made. The right one is the X axis motor mount.

288871

288872

288873

288874

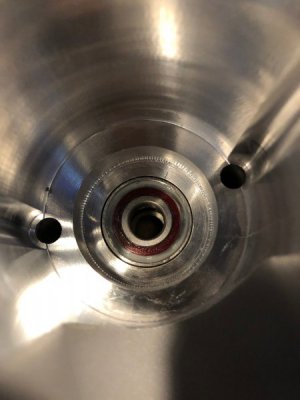
I also opted to drop the spindle for a preload adjustment. I was dreading this, but I found it to be very easy. The spline keys had been tapped 4-40 on the ends which made removal a breeze.

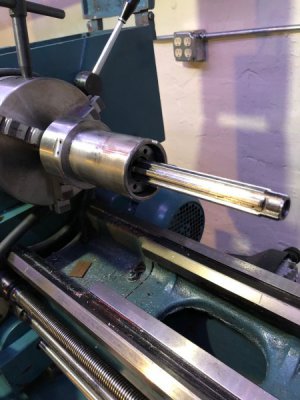
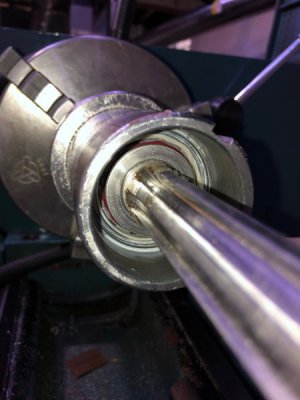
The spindle was carefully held in the lathe so I could loosen the adjuster nut. There were pads on each jaw.

288875

Not over greased. Looking good

288876

I marked the keys to help with reassembly. This is all hand fitted, so it has to go back together the way it was.

288877

The spindle is not noticeably looser, but the nut was definitely less tight than before. Hoping this will get the spindle to run a little cooler.
 
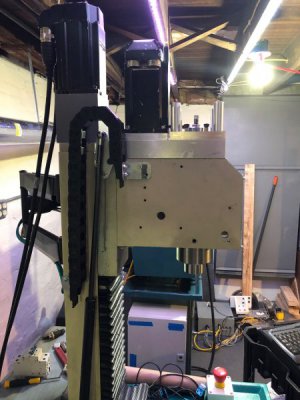
A short section of IGUS cable chain was installed on the Z axis. This loops up and over the gas spring and will carry the servo cables, the PDB release pushbutton cable, and the two air lines for the air cylinder.

288879

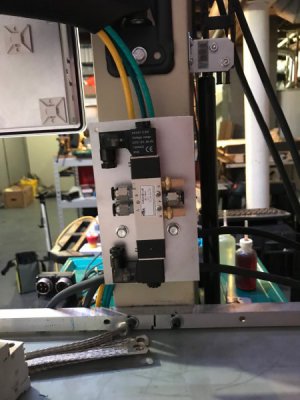
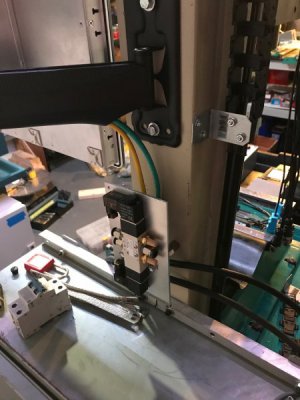
I mounted the solenoid valve to two existing 1/4-20 holes in the lower section of the column from the first monitor. A simple adapter plate lifts the solenoid and allows for cable routing beneath.

288880

288881

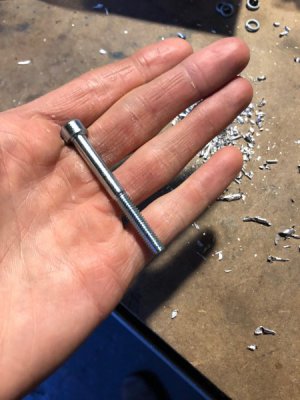
Continuing... Here was the hard to find bolt. Once again, working from a 3D model bit me and the Y axis mount didn't line up with the holes in the casting. Fortunately it was close enough that I could open them up with a drill.

288882

Here it is mounted.

288883

I forgot the order of assembly, so it had to come right off. The saddle was installed then the mount attached. The ballscrew was adjusted so it ran true to the axis of motion. A light preload was applied with jam nuts inside the motor mount.

288884

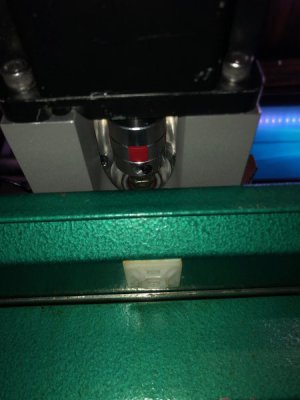
Difficult to see, a zero backlash jaw coupling. Normal Lovejoy coupling have too much slop for this kind of application.

288885
 
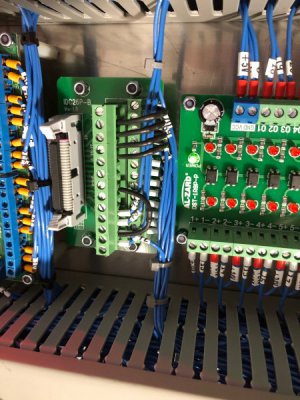
From here I focused on the electrical panel. I was having issues with a number of inputs on the 3rd port of the SmoothStepper. Turns out that since I wasn't using a premade breakout board, I had to deal directly with the circuit interface on the ESS. The bi-directional input pins have weak pulldown resistors that make it easy to interface with my 5VDC HIGH logic level. Unfortunately, the dedicated input pins have weak pull UP resistors that meant that my inputs would always be on.

This was solved by adding 220 ohm resistors to DC COM on each of the dedicated input pins. I have now verified all the inputs and just about all the outputs. Those are the black heat shrink components on the screw terminals.

288886

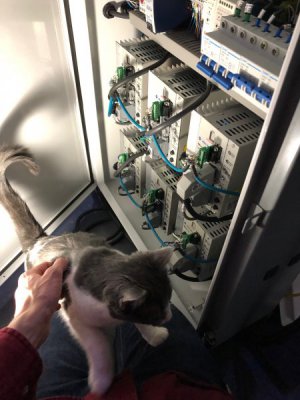
Kate needed to see what was going on. We have 3 kittens we brought in from the street. They are very sweet.

288887

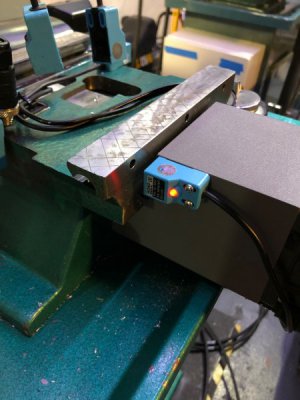
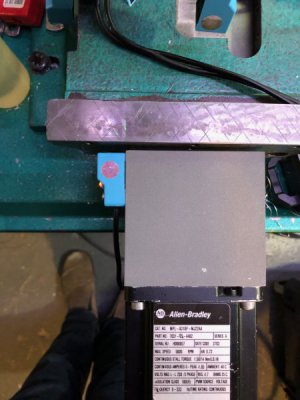
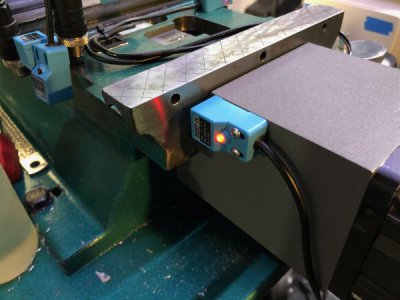
I installed the Y-- limit/home sensor. This will be covered by a sheet metal cover once this is all done.

288888

288889

288890

I will post video soon. The Y axis has been tested and runs very nicely at 1000ipm (5k rpm). It isn't as loud as the Z. I have soft limits working great in Mach 4. Next steps are to mount the Y++ limit, Z++ limit, assemble the X axis, and start working on Mach 4 scripts. This is fun:)

Mike
 
Back
Top