G0704 CNC AC Servo Rebuild (Picture Heavy)

Continuing...

I did a test fit of the pulley and it was a light hand press fit.
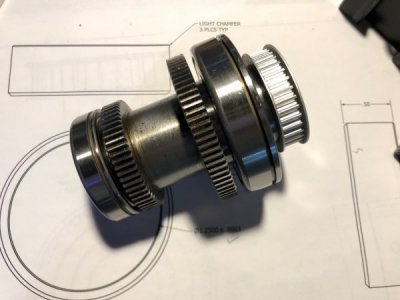
IMG_3614.jpg
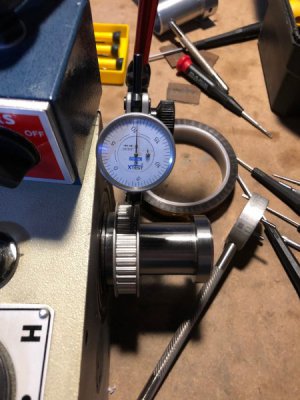
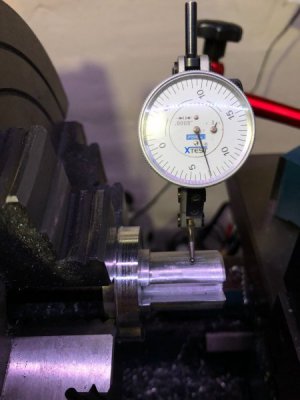
A quick check of runout yielded around .0025 at the teeth (this ended up around .0010 once the spindle was fully assembled)
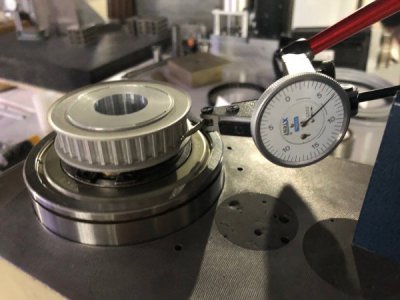
IMG_3616.jpg

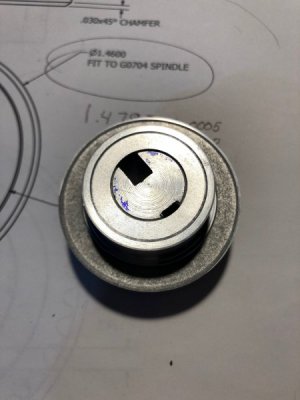
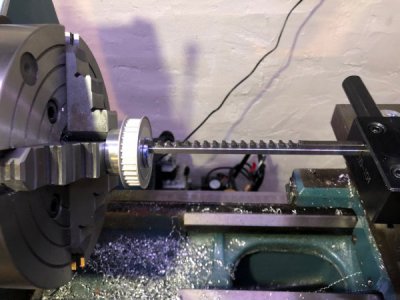
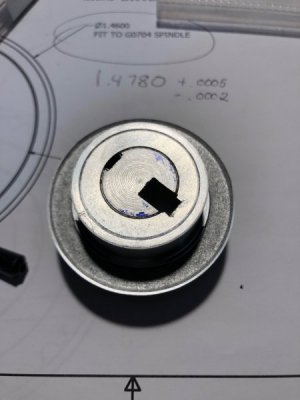
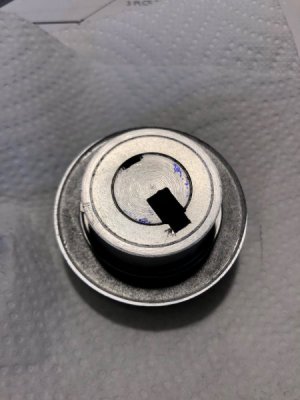
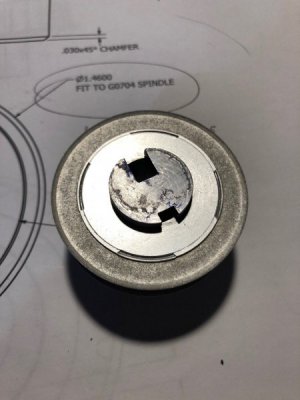
The spindle pulley drives the spindle through 2 opposed keyways 180 degrees apart. I broach these keyways using the lathe and a custom broach bushing. This bushing has been a pain since it was cut with a significant taper on the lathe which I didn't catch until after I milled the keyways. To correct this I tried filing it, but that mostly got it out of round.

Since the new bore on the pulley was smaller I decided to use the glue chuck method to remount the bushing in the lathe and cut the OD.
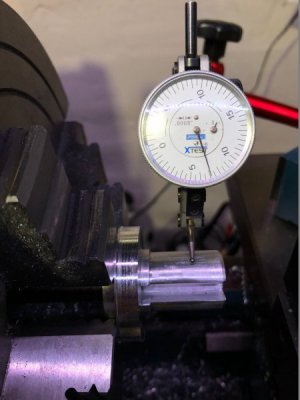
IMG_3617.jpg

A light skim cut brought down the high spots until the bushing was a nice sliding fit to the bore. The keyways were filed to correct the depth. Not pretty but it worked.
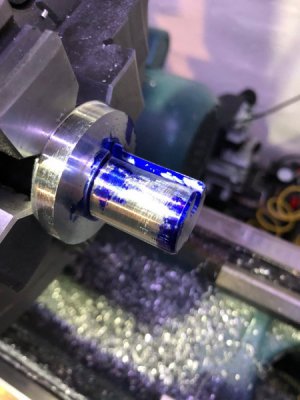
IMG_3621.jpg

IMG_3623.jpg
IMG_3624.jpg
IMG_3625.jpg
After broaching pass #1
IMG_3627.jpg
and #2
IMG_3628.jpg
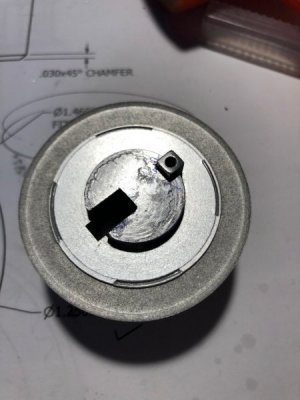
From here the bushing is rotated 180 degrees and a key is installed to hold it at the right angle
IMG_3629.jpg
and the second keyway is cut in the same manner
IMG_3630.jpg

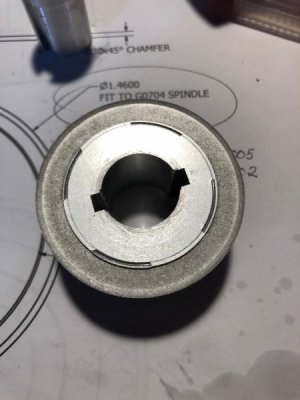
And the spindle pulley is done except for light hand fitting to fit the keys to the roughly machined spindle spline.
IMG_3617.jpg
 
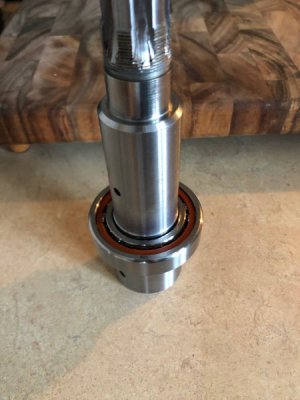
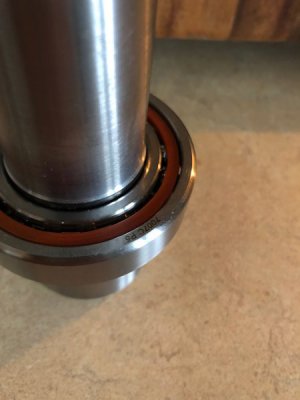
I got the replacement bearing from VXB on Saturday afternoon. They incorrectly shipped me a 7007C P5, but I can't complain because it is the right size and a much more expensive bearing than the 7007B that I ordered.

I went very slowly on the installation and had great success!

Lower bearing was heated to 250 degrees and the shaft was chilled with a gas duster. Using the lathe it was a light press on.
IMG_3632.jpg
IMG_3633.jpg
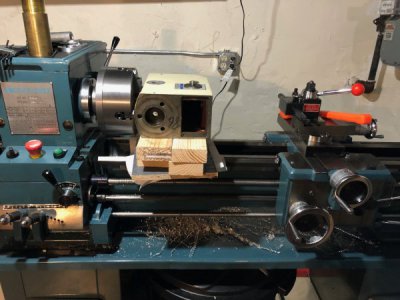
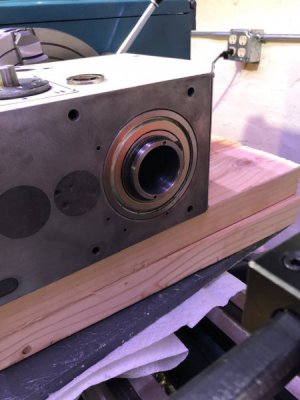
The quill bearing assembly was pressed into the head casting using the lathe again (dang this thing is versatile!)
IMG_3638.jpg
IMG_3639.jpg
The rest went together without too much trouble. There was some cursing but the bearings went in without damage and the preload was carefully set with a custom pin spanner wrench. The spindle doesn't freewheel and has a slight stiffness to it. I think this is ok and I can back off the preload if they get too warm. The bearings were packed at a 30% fill using Kluber Isoflex NBU 15 spindle bearing grease. This came out to 1.95cc for the 7007C and 1.05cc for the 7005B. All the retaining rings were installed and tightened, then the spindle was generously greased for thermal transfer/anti-corrosion/vibration damping. I almost forgot to install the R8 retaining pin, but fortunately it can go through the side of the spindle housing.
IMG_3640.jpg
IMG_3641.jpg
The spindle was installed in the housing and a plastic spacer was lightly pressed between the spindle and the quill to prevent rattling.
IMG_3642.jpg
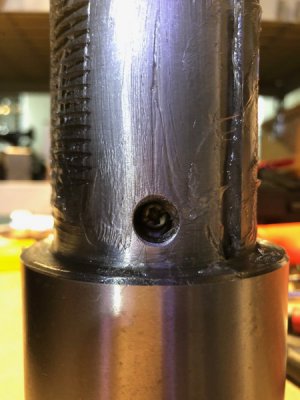
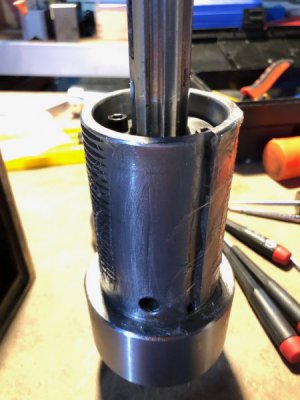
The pulley was installed with the keys and finally the steel "top hat" was screwed on. Final assembled runout at the pulley was just around .001 TIR. All non-critical rotating components were within .003". Runout in the taper is roughly .0003-.0004. I wish this was a little better, but it will be good enough. (I have to keep telling myself that this is a $1000 machine, not a Mori Seiki).
IMG_3643.jpg
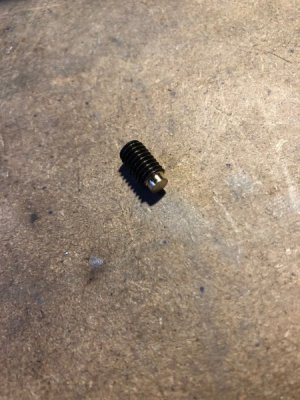
For the motor pulley, I modified the setscrew to press in a brass tip. This prevents a scar on the motor shaft when tightened and prevents stuck pulleys.
IMG_3655.jpg
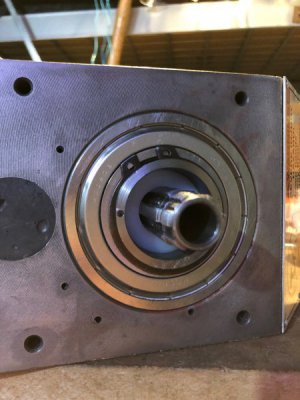
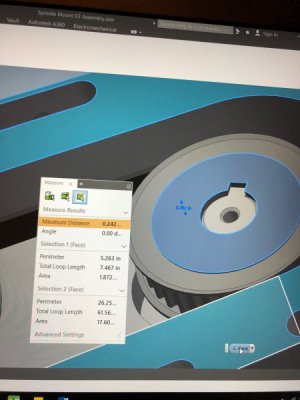
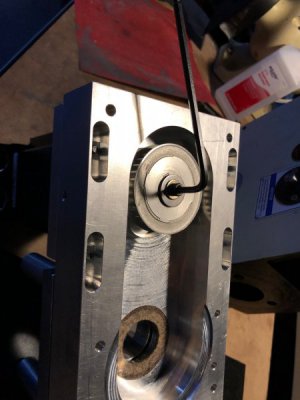
The depth of the pulley when installed in the housing is critical to maintain pulley alignment to the spindle. I used the 3D model to find the correct distance between two surfaces I could measure between, then I used a height guage and a dowel pin to set the depth. The depth was slowly adjusted using a screw on the end of the motor shaft.
IMG_3657.jpg
IMG_3660.jpg
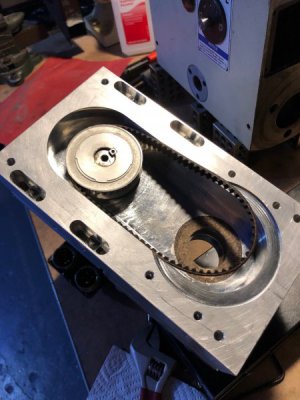
And a final fit test with the belt:
IMG_3661.jpg

I had to stop here because I forgot to order bolts long enough to mount this housing to the spindle casting. Those will arrive on wednesday.
 
I’ve just finished reading your posts - most enjoyable read. You’re doing great work there and this gives me a taste of what I’m in for when I start a CNC conversion on my mill drill, although I’ll go the usual stepper route.
Keep those posts coming.
 
I am finishing up some wiring for the pendant, 240V wiring (rather than the temporary 120V test wiring), RS-485 network, and relay wiring.

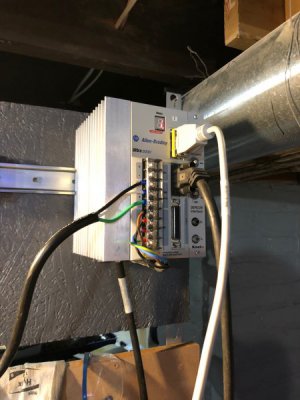
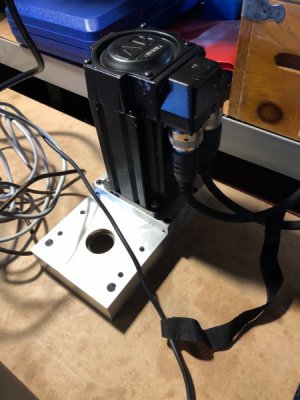
I have an Ultra 3000 (1kW) drive set up for testing on my bench. I am recording the average current draw at various speeds on the motor with no load. This will help me when I go to measure the current draw of the spindle during break-in and measure the power loss and efficiency of the spindle drive train. Since I am powering this test unit at 120VAC, I am bus voltage limited to ~3000rpm. When powered at 240VAC, the motor will easily reach 5000rpm.


IMG_3675.jpg
IMG_3676.jpg
IMG_3677.jpg

Measured Current Draw:
0 rpm - 0.0A (Some jittering current centered around 0A)
500 rpm - 0.174A
1000 rpm - 0.195A
1500 rpm - 0.230A
2000 rpm - 0.255A
2500 rpm - 0.276A
3000 rpm - 0.280A

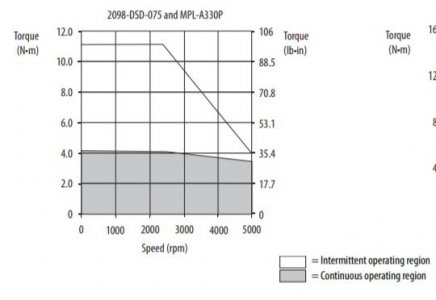
Here is the speed-torque curve for the motor I am using. The curve is generated on a slightly higher power output drive, but the peak torque I can achieve will be nearly identical.
Capture.JPG
 
No one is going to recognize your G0704 once you are done. BTW, great wiring work on the control box. I think you have done this before.
 
Boswell, thanks! I don't need to make the most "bling" CNC, but I want a functional one with lots of ease-of-use features. My day job is designing industrial control panels (among other things) so yes, just a little practice. After all day of drawing designs on a screen, I just want to turn a screwdriver.
 
Really, really excellent workmanship on your electrical panels. A pleasant rarity to see such well layed out, meticulously executed work in a hobby machine.

Do you work for A-B?
 
:encourage::encourage::encourage::encourage: on your build. Looks very well thought out. I'm also working on my G0704 conversion and trying to figure out path that I want to go. I'm already committed to DMM DYN2 for the X,Y,Z axis but haven't settled on the spindle servo or servo driver. Any tips if I decide to go AB route? Ebay seems to have reasonable pricing for decently looking used motors and drivers.
 
Thanks all!

Vinnito1, Awesome choice on the DYN2 drives. I've used them on a project before and have been very happy. Make sure to get the full voltage PSU and have a little extra wattage to spare. If I remember correctly, I used an automation technologies unregulated PSU (the one with the big toroidal transformer).

I chose to go with the AB Ultra 3000's because they were made available to me for this project through work. They are used lab testing units. The Ultra 3000 is an older drive but is absolutely bulletproof. AB tried to discontinue them about 3 years ago and so many people complained that they went back into production. As an older unit, they have some antiquated features, but even after exposure to tons of newer servos the Ultra 3000 remains near and dear to me. For my purposes the 3000 is great because there are a million features for customization. I'm controlling it in a "follower" mode where it might be traditionally connected to an encoder running on say a sheet of plywood. It can also receive analog position, velocity, and torque commands, execute indexing programs using digital I/O, or even communicate over RS232/RS485 serial connection with 3rd party software. They can run many different kinds of motors (including non-AB servos) and can read either incremental encoders or Sick Stegmann Hiperface absolute encoders. The user is able to create their own motor profiles (which is not available in newer AB drives).

But you are correct, AB products are known for being expensive. The drives retail for around $1600 (list price) and the cables can be upwards of $125 each. If you're willing to shop around (ebay), most of this stuff can be found used cheaply (I saw $125 for a drive). I ended up spending probably $600 just in cables to get this system put together. AB servo motors are also fairly pricy, but you can use anybody's servo as long as the voltage class is correct, it has a supported feedback, and you can get your hands on the motor data.

If you decide to go the AB servo route for your spindle, PM me and we can chat about the system.

That being said, after a few years of having a servo spindle, I never used it to do anything that couldn't be accomplished with a VFD and an induction motor. I would seriously consider just going that route unless you need to do something special with your spindle. I chose to go the servo spindle again because it was available to me...
 
Back
Top