Carbon diffusion within steel takes time and temperature. Something like 20 minutes at 2000F to get the carbon .050", or some such nonsense. (Those aren't exact numbers, obviously). Half the time at 2000F will get you half the depth. Again, these aren't exact numbers. Dropping the temperature slows the process down, etc.
So, heating it red (say 1500F), and holding it there for 5 minutes with case hardening compound won't get a very thick 'hard candy shell'. The 'soft nougat center' will keep it from cracking when quenches.
If you're looking for scratch resistance, all you need is a few thousandths. If you're going to post HT grind, you might want .010". That might take 5 minutes at 2000F, but you'll most likely need a test sample to dial your procedure in.
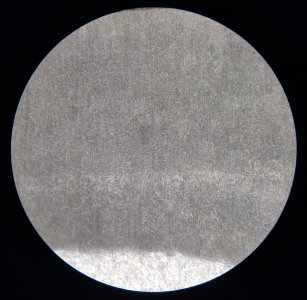
Honestly, I'd try a test sample first. Heat up a block and hold it at 2000F for 10 minutes with the cherry red on it and quench it. Cut it open, hone the cut edge flat and etch with ferric chloride (or similar). You should be able to see the difference between the grain structure.
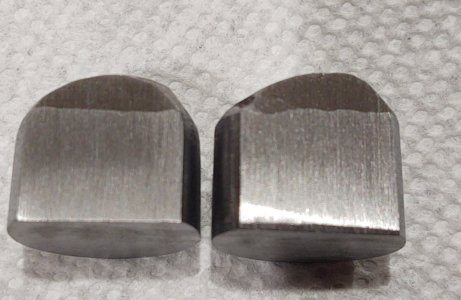
(Somewhere I have a slug of mild steel with M2 TIG welded onto it, ground and etched. I'll post a shot of that if I can find it...)
Edit: Found an image. One is M2 on low carbon, the other is ~H13 (massive grain structure) on low carbon. The low carbon is HRC10-15. The M2 is HRC65 (Slug 3). The H13 ~HRC55 (Slug 2). The alloys steel etch darker. With case hardening, that darkness will only be a few thou, to maybe 10 thou thick.
If you do a sample you have a pretty good idea what you'll get.


")