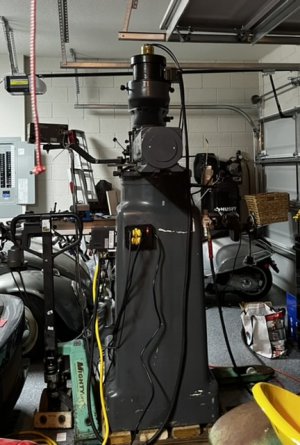
Wells-Index 847 Milling Machine - Ownership Thread

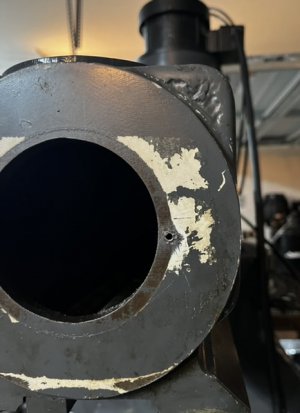
I was a little surprised to notice on mine, those are small spiral nails. Not generatlly intended to come out. Same thing used to fasten the nameplates to the body. I got a box of 100 from McMaster a while back.
Yes, same in mine... but I only have 4 to replace the one on the serial number plate... So installing this cover with some 8-32 screws instead.

But those come out if you turn them... that least I have seen others do that.... some go to the trouble of making a slot for a flat screwdriver to remove them... but most just grab them with pliers and turn them to remove...
 
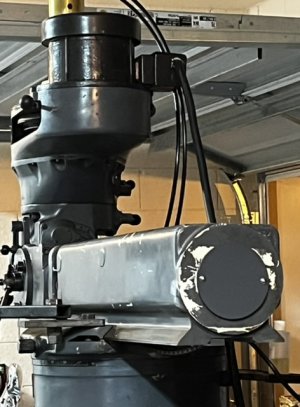
Luckily I was able to remove the pins… and guess what! Both of the holes aligned with the holes in the cover I made!!!

What were the odds of that happening!!??!!!

2F54A0A7-2936-4B7F-B00D-E5BD11D6637F.jpeg
43705D8A-519D-4BDE-9CC9-DBDBB322C81A.jpeg
I got some paint… will remove the cover, paint the area and reinstall… but glad it worked out!!
 
Last edited:
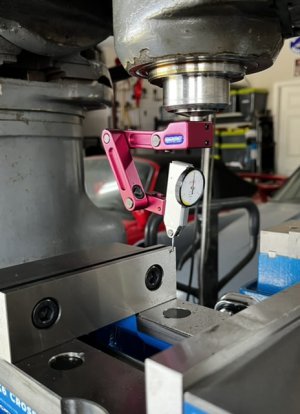
Machine adjusted…tramming done. Did both tilt and nod tramming. Sorry, forgot to take photos… That Boring Research tramming tool makes it easier as well…

I also installed and indexed the vise…

55022041-DDBD-4E6D-AC71-17C8A21AB71D.jpeg

I need to make some chips! Brought some scrap aluminum blocks and some mills to give it a test drive…
 
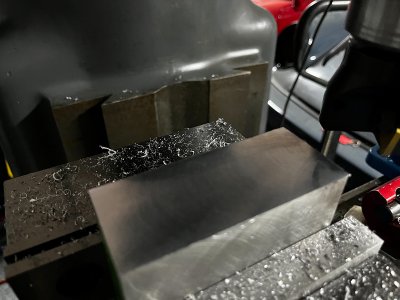
Much to do before I can say that I am done with all the things needed to be finished, but I had to make that first cut!! Using just a block of aluminum... Cutting tool is an Accusize Indexable End Mill with 3 carbide inserts and a 2" cutting diameter.

Funny thing is that at first, with all the excitement of making that first cut...I was scratching my head as to why it was not working... I had it with the belt in the lowest setting on the pulley... the spindle was spinning but it would stop as soon as I moved it to the material and started cutting... I was just beyond myself.... thinking I had wasted all this money on this machine and it did not work!!

Hard headed newbie, what am I to do... give it more speed of course (MORE POWER!!)... I switched it all off, moved the belt to a higher setting... Ah, there! Now it will work... Turn on the VFD... and now the spindle would not spin one bit... Motor was spinning faster... spindle was not moving...

Long story longer... I forgot to put the machine in gear :rolleyes:. Switched it to gear... First chips made... Life is good.
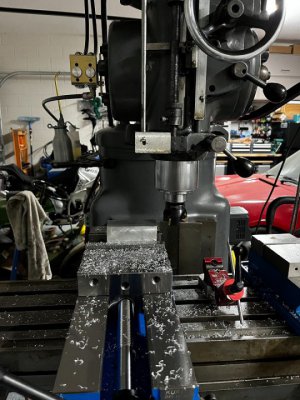
IMG_4946.jpeg

IMG_4945.jpeg

Already scratched the surface with the caliper... Oh, and I only did that top surface... side cut you see there was old... I wanted to cut all sides, but forgot parallel bars at the other house...

Anyway, interesting how it looks in the photo... surface is smooth to the touch...
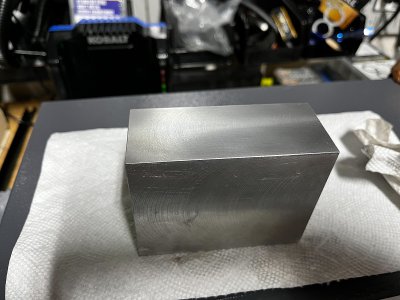
IMG_4948.jpeg


Video of the first chips made!!!! Wohoooo!!!

 
Last edited:
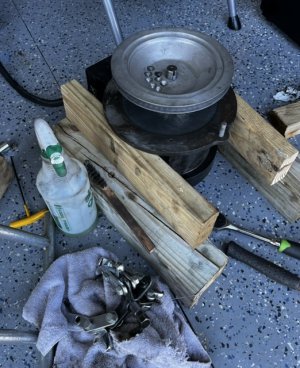
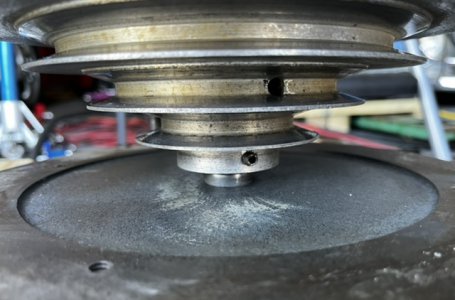
Okay… aligning the pulleys… tried to slide the one on the motor. Four set screws loosen and would not slide up nor down.

Out comes the motor assembly with the pulleys. Used a puller to take it off. Clean and polished the shaft. Also cleaned and removed any burrs from the key and key way…

Used a little bit of anti seized. Everything is now sliding smoothly.

Can’t install back, wife is in a hurry to get back to Orlando…

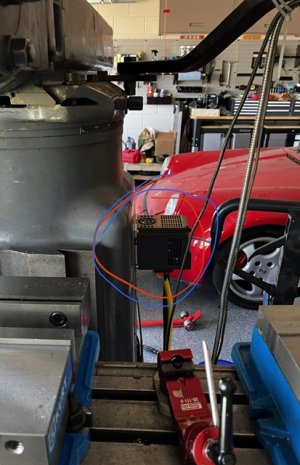
On the test cut, thinking back, that was not wise… VFD is on the side and not protected/covered… chips could have gotten inside and made for some nasty fireworks…. Not smart at all…
 
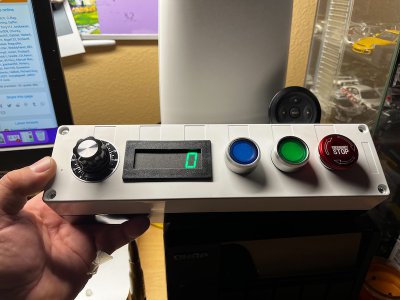
Back in Orlando... All the parts for the control box arrived... Assembled all the switches, made a cutout for the RPM display.

Simple setup...

Frequency dial (potentiometer) - RPM Display - Reverse- Forward - Stop

IMG_4969.jpeg
 
Last edited:
Back
Top