South Bend Heavy 10 restoration

Plus one on the Rustoleum Professional paint. I used it on my lathe and mill and am currently using on an Atlas shaper I'm refurbing.....all brushed on. It's a little tedious but saves a lot of time not spent on masking. I just set up on my bench with various size brushes (most are smallish artist brushes), put some tunes on and get after it. Kind of relaxing actually.

You can see a couple of pic's here: http://www.hobby-machinist.com/showthread.php/15221-Rockwell-Mill-Refurb

Steve
 
When I repainted mine I both sprayed and brushed. +1 on the rust oleum for me as well, I have used it before with good results and this was no different. I sprayed all the large castings like the pedestal, legs, doors, and the bed, But everything else I brushed on. Apron, head stock, tail stock, gear box, all wher brushed for better control. The rust oleum flows out really nice, when you first brush it on you will see brush marks, but then it self levels before it dries. I 2 coated everything. When I sprayed I used rust oleum primer, when I brushed I just 2 coated on the raw iron, it's fine. Just clean the parts well to remove oil, I washed everything in a parts cleaner with mineral spirits, blew it all of with compressed air and then hit everything with brake clean to make sure any trace of oil was gone. After you clean everything if you don't paint it that day you will have to do it again as cast iron will bleed oil from it's pores.
 
Plus one on the Rustoleum Professional paint. I used it on my lathe and mill and am currently using on an Atlas shaper I'm refurbing.....all brushed on. It's a little tedious but saves a lot of time not spent on masking. I just set up on my bench with various size brushes (most are smallish artist brushes), put some tunes on and get after it. Kind of relaxing actually.

You can see a couple of pic's here: http://www.hobby-machinist.com/showthread.php/15221-Rockwell-Mill-Refurb

Steve

Steve,

I have to agree completely. It is kind of relaxing. I don't mind the painting by hand nearly as much as the prep work. It took me a half hour to put a coat on the apron, without getting it anywhere that paint didn't belong. I would have spent longer than that just masking the apron off, and I'm willing to be there would be paint in places I'd prefer it not.

Nice job on your refurb. Looks awesome!


When I repainted mine I both sprayed and brushed. +1 on the rust oleum for me as well, I have used it before with good results and this was no different. I sprayed all the large castings like the pedestal, legs, doors, and the bed, But everything else I brushed on. Apron, head stock, tail stock, gear box, all wher brushed for better control. The rust oleum flows out really nice, when you first brush it on you will see brush marks, but then it self levels before it dries. I 2 coated everything. When I sprayed I used rust oleum primer, when I brushed I just 2 coated on the raw iron, it's fine. Just clean the parts well to remove oil, I washed everything in a parts cleaner with mineral spirits, blew it all of with compressed air and then hit everything with brake clean to make sure any trace of oil was gone. After you clean everything if you don't paint it that day you will have to do it again as cast iron will bleed oil from it's pores.


W.T.G.
Thanks for the info. I'm thinking brush mostly as well for the lathe. I do like rustoleum's pro oil based paints. For this project, have on it's way to me 2 quarts of sherwin williams industrial pro alkyd enamel in a Gauntlet Gray. A friend from afar of mine had painted his SB with that paint and he is sending some my way as he had to buy a gallon and only used a fraction. I'm a little unsure about the color. We'll see. I'm sure I'll use it.
 
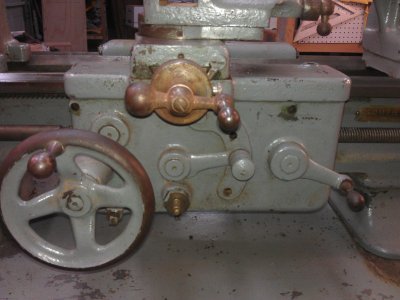
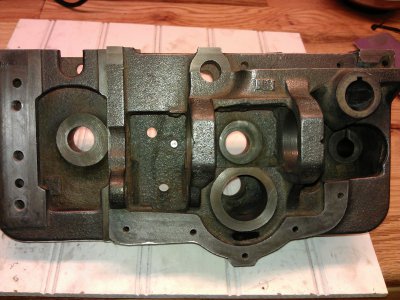
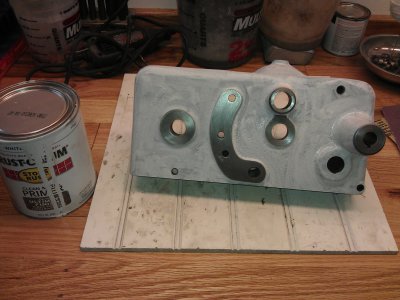
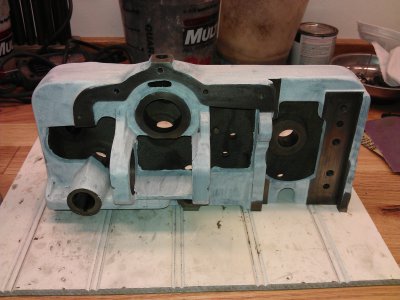
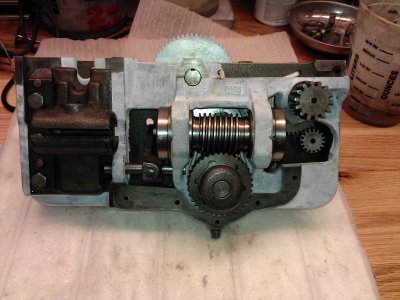
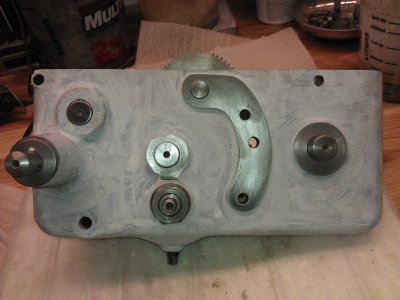
Apron

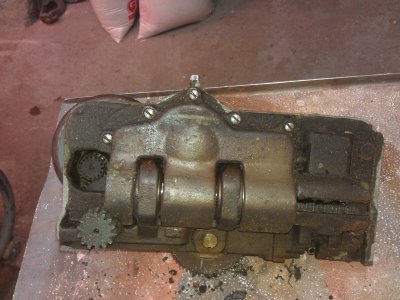
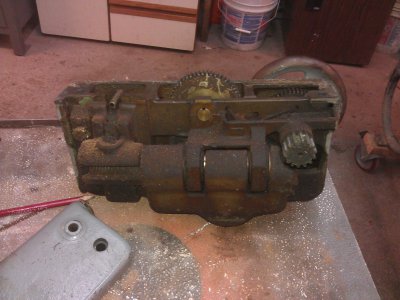
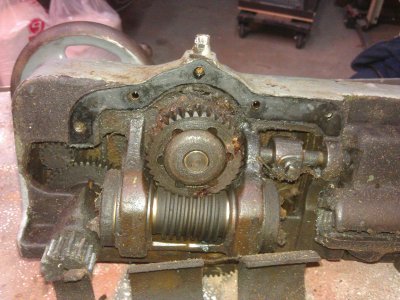
Yesterday I finished putting my apron back together and rewicking it. That was actually pretty fun! It just needs paint now....which I am impatiently waiting for.

I will show you all some pics as a timeline sort of.

IMG_20140101_195547.jpg IMG_20140103_161723.jpg

IMG_20140103_160241 (1).jpg IMG_20140103_160713.jpg

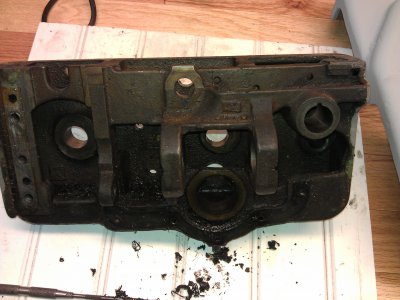
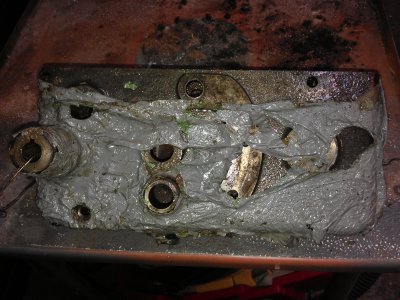
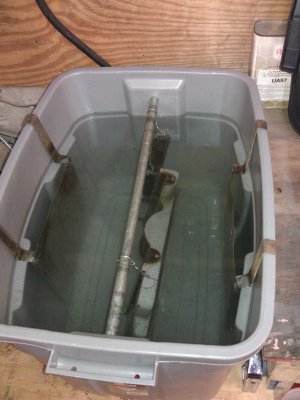
Stripped the parts and got it ready for electrolysis.
IMG_20140113_160413.jpg

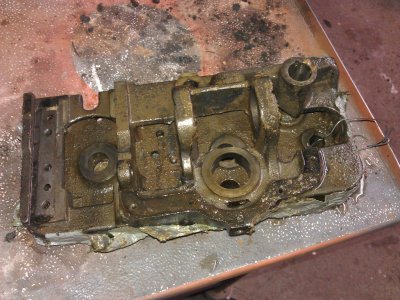
After 24 hours in the tank
IMG_20140114_071606.jpgIMG_20140114_071618.jpgIMG_20140115_163926.jpgIMG_20140115_163938.jpg

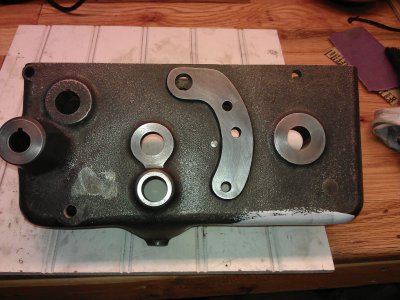
Little bit of primer
IMG_20140115_171111 (1).jpgIMG_20140115_171124 (1).jpg

Pretty much ready to go.
IMG_20140117_162851.jpgIMG_20140117_162905.jpg

On to the next thing on my mental list which is the saddle that has been soaking for a day. Gonna go pull it out and clean it up. Thanks for looking!

IMG_20140117_103117.jpg

IMG_20140101_195547.jpg IMG_20140103_160241 (1).jpg IMG_20140103_160713.jpg IMG_20140103_161723.jpg IMG_20140113_160413.jpg IMG_20140114_071606.jpg IMG_20140114_071618.jpg IMG_20140115_163926.jpg IMG_20140115_163938.jpg IMG_20140115_171111 (1).jpg IMG_20140115_171124 (1).jpg IMG_20140117_162851.jpg IMG_20140117_162905.jpg IMG_20140117_103117.jpg
 
Definitely subscribed. Thank you for taking the time to document the process. I've followed WTG's rebuild and keep thinking of the day when I rebuild my Heavy 10. I just can't take it out of service right now, even though it's decades past a rebuild.

Curious question: You mentioned it has a small spindle bore. I thought the Heavy 10s all had a large spindle bore. What's the diff?

Thanks for the kind words.

As for the difference, the 10L (L signifies large) spindle has a 2 1/4" x 8tpi spindle nose thread with a 1 3/8 bore. The 10R (R signifies regular, others may correct me if I'm wrong) has an 1 7/8" x 8tpi nose thread with about 1" bore.
 
Odds and ends today

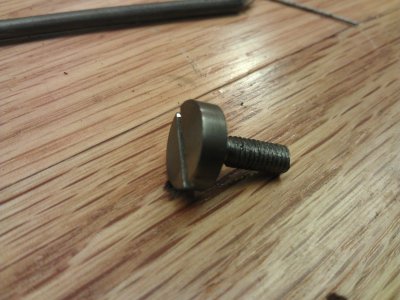
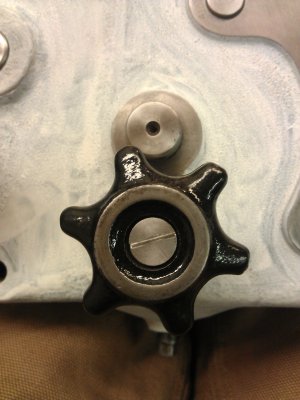
I was missing the retaining screw for the star knob on the apron which is a left hand screw, 32 tpi, od of threads .181".
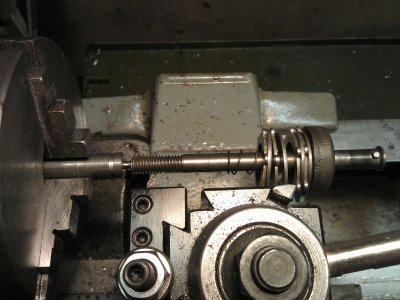
I'd like to send a special thanks to Kroll for his measurements of the star knob retaining screw that he did for me. Going off of what he measured I decided to just make a screw today as I had some time and was itching to MAKE something anyway. It was a fun project, and was a nice break to be able to make some chips, as opposed to degreasing and whatnot.

Chucked up in the lathe, fit is good. Time to part it off.
IMG_20140118_125914.jpg

Finished screw.
IMG_20140118_132253.jpg


Installed
IMG_20140118_133312.jpg

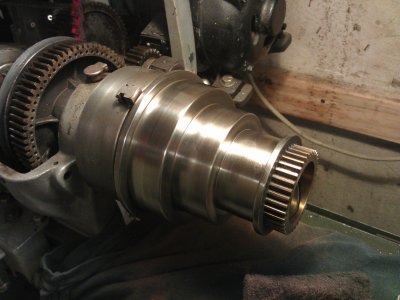
Today was kind of a mish-mosh of things as I am still waiting impatiently for paint. So I decided to shine up the old rusty spindle pulley cone. Forgot to take before pics. chucked it up on my atlas and went to town with a sponge sanding pad and scotchbrite.

IMG_20140118_141512.jpg

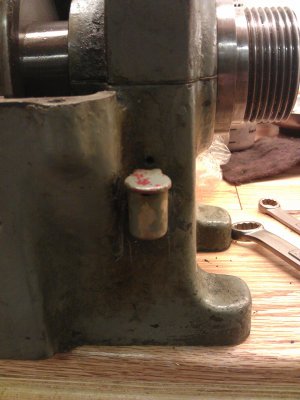
Finally, a question for you guys. I can not figure out how to get this oiler off. It is threaded in. I have a hunch that it's threaded into a bushing that was then pressed into the casting.....As you can see, if you try to unthread it, it hits the casting. Has anyone had any luck tackling this magic trick?
IMG_20140118_134856.jpg

Thanks for looking.

IMG_20140118_125914.jpg IMG_20140118_132253.jpg IMG_20140118_133312.jpg IMG_20140118_134856.jpg IMG_20140118_141512.jpg
 
Thoro,

Are you sure that fitting is threaded? A lot of them are press fit.

You're doing a great job on your rebuild!

Steve
 
The threads go into a metal plug that press fits into the spindle casting.
I have seen other posts that say to wrap the oiler with a piece of leather or something similar (to protect it from bending) and use pliers to wiggle out the plug.
I did the process on the left one, but not yet on the right.

I am restoring my Heavy 10 at the same time as you.
Thankfully I have no missing or broken parts.
I'll subscribe to this thread to keep posted on your progress.

Also, I am impressed with the results you are getting from your soak tub.
I see one picture of it, but I would appreciate some details of construction so I can make one for myself.

Thanks for documenting your process,
Jim
 
Back
Top