This will be the beginning of my documentation of a South Bend heavy 10 that I acquired on Christmas eve. This is the first South Bend I have owned and am excited about it. I am going to try to be proactive here and share my adventure with it rather than sit back and read while I fix it up in the shadows of lurkville, time premitting.
It originally was in a Vo-tech school, then put in dry storage for some time and after that a student from that school purchased it and took it home. The school had removed a few parts that I assume they needed before they sent it with the student. The student who is now a man reaching retirement age is who I bought it from. From what I can tell it is about 1941 vintage. Single tumble gear box. Small bore spindle. 10R
Here it is just after unloading it. I put the 2x's and casters on it before it ever touched the ground. Sure makes moving it around a tight shop for various tasks easier.
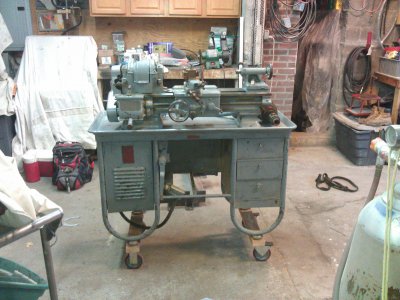
My plan is to restore it. To what extent is something I haven't decided yet. The ways have the classic nicks near the head stock, but they are mostly on the flat and tail stock way, not the carriage way. Not much significant wear on the carriage ways that I have identified yet, no wear ridge. It's definitely a used machine though, and that's what makes me question to myself as far as what extent I want to restore it, because I am planning on fixing this one up and replacing an Atlas lathe that I currently own and using it. I do like the luxury of having a working lathe already so I am not in an extreme rush to get this one going and would like to make it nice, because I can.
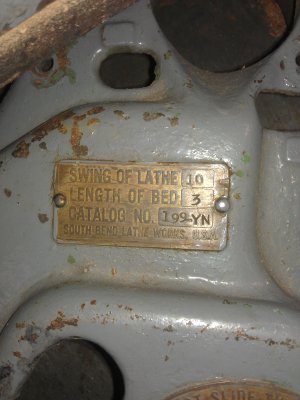
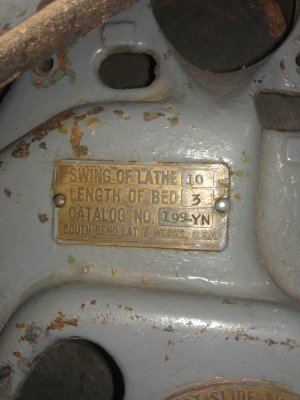
Here is the gear cover model plate.
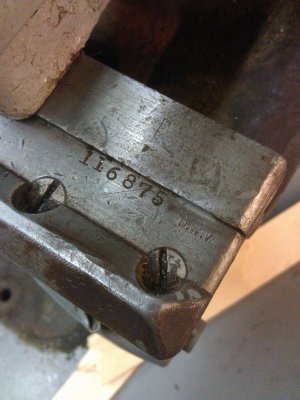
Here is the serial number on the ways. Not sure what the D.W.W is. I'm guessing it may be the school's stamping?
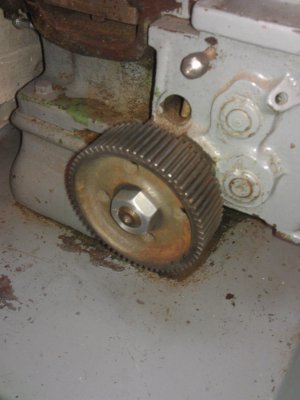
It was missing the primary gear on the gear box. As well as the sliding gear. In this picture I have taken the banjo off, but I do have it. Just missing the sliding gear.
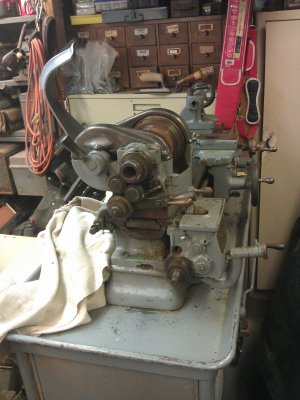
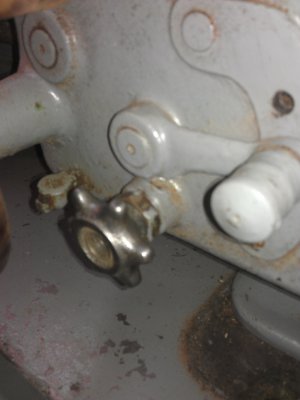
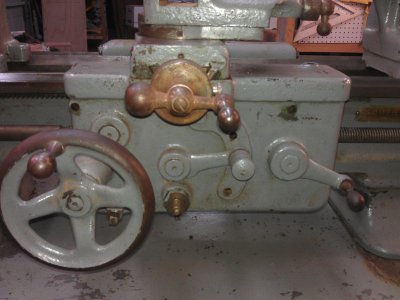
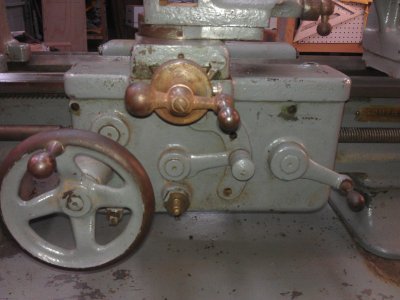
The apron was missing the star knob and screw retaining screw for the star knob.
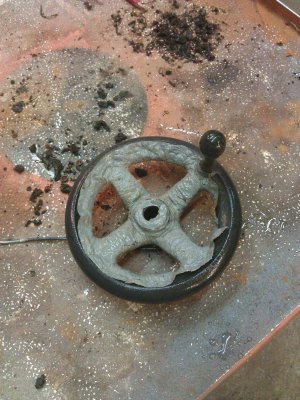
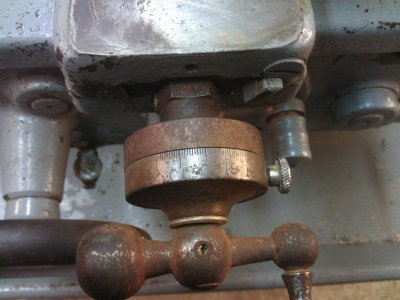
What appears to be a shop / student made large dial conversion (more on that later, as it is going to cause me much confusion down the road with this restoration)
Those are most of the missing pieces/oddities I have found so far except for every single gitts oiler being missing or smashed except for the head stock cups.
That should get things up to speed as far as the condition that I found it in, pretty much. I have already started stripping parts and cleaning things up so I will post up some progress shots and such on that.
I'm going to need all the advice I can get.


It originally was in a Vo-tech school, then put in dry storage for some time and after that a student from that school purchased it and took it home. The school had removed a few parts that I assume they needed before they sent it with the student. The student who is now a man reaching retirement age is who I bought it from. From what I can tell it is about 1941 vintage. Single tumble gear box. Small bore spindle. 10R
Here it is just after unloading it. I put the 2x's and casters on it before it ever touched the ground. Sure makes moving it around a tight shop for various tasks easier.

My plan is to restore it. To what extent is something I haven't decided yet. The ways have the classic nicks near the head stock, but they are mostly on the flat and tail stock way, not the carriage way. Not much significant wear on the carriage ways that I have identified yet, no wear ridge. It's definitely a used machine though, and that's what makes me question to myself as far as what extent I want to restore it, because I am planning on fixing this one up and replacing an Atlas lathe that I currently own and using it. I do like the luxury of having a working lathe already so I am not in an extreme rush to get this one going and would like to make it nice, because I can.
Here is the gear cover model plate.

Here is the serial number on the ways. Not sure what the D.W.W is. I'm guessing it may be the school's stamping?

It was missing the primary gear on the gear box. As well as the sliding gear. In this picture I have taken the banjo off, but I do have it. Just missing the sliding gear.

The apron was missing the star knob and screw retaining screw for the star knob.

What appears to be a shop / student made large dial conversion (more on that later, as it is going to cause me much confusion down the road with this restoration)

Those are most of the missing pieces/oddities I have found so far except for every single gitts oiler being missing or smashed except for the head stock cups.
That should get things up to speed as far as the condition that I found it in, pretty much. I have already started stripping parts and cleaning things up so I will post up some progress shots and such on that.
I'm going to need all the advice I can get.


