New to me 1929 wide (heavy?) 9" long bed and overhead silent drive casting trade

The original finish isn't really a paint. It's called "Japanning", which is a lacquer-style "varnish". It is thick, and one of the most durable finishes you can get. If you still have that, keep it. I didn't have it on a few parts, so I had to paint. The paint has bumped off already, while the areas of japanning (still in heavily used areas) is properly protected. If the steady is a different color, it likely does not have the same finish, and you can always paint it to match when the paint starts to wear.
Interestingly there have been several styles of “Japanning” over the years. Lacquer was a very popular form of Japanning for European made wood furniture in the 1880’s. It supposedly originated in Paris by French furniture makers to duplicate Japanese furniture finishes when oriental design became fashionable (but expensively unobtainable) in Europe.

However around 1900 and afterwards, machine tools used Gilsonite, a bituminous mineral, called Asphaultum, as the Japanning finish, not lacquer. Gilsonite is still mined today in Utah and Iran. It is formulated with equal parts boiled Lindseed oil and two parts turpentine, then heated and mixed to create a liquid, then sprayed on the surface in several coats, and baked at around 450 degrees F, until the liquid crystallized and dried. It forms a very tough, impervious surface. Hence you will see little to no rusting or oxidation on Gilsonite covered surfaces. Gilsonite is usually black on SB lathes, as the factory also added lamp black (carbon) to formulation, to give it the ever popular japanning black color.

One easy way to test for Asphaltum is to dab a bit of Acetone to the surface and rub it in with a cotton swab.If Gilsonite, the acetone will slowly dissolve the finish and make a slurry, which you can spread and use to repair little dings in the finish. When it dries, it will recrystalize and look indistinguishable from the rest of the surface. If lacquer, the acetone will thin and remove the finish, much like removing varnish.

My bet is your SB is actually Gilsonite finished. My SB is a 1925 model, has the original finish and seems to be Gilsonite.

BTW, Ford used the same asphaltum finish on all their early day Model A and Model T undercarriages. I’ve heard that some car manufacturers continued to use it well past WWII into the 50’s and 60’s.

It’s still mined In Utah where you can buy small quantities on line from the company store, or in industrial quantities from Gilsonite Company headquartered in Turkey and Iran.

Glenn
 
that's super cool, thanks for the info Glenn. This lathe was originally black and then some previous owner also spray painted it black over the top for some reason. I've had to clean back some of that over spray, but the original finish is still largely intact almost everywhere I've looked. It's funny to be in possession of something so old with its own largely unknown history.
 
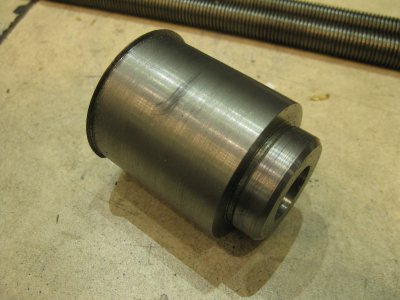
roughed in the extension tube. Couldn't thread it as I'm having problems with the halfnuts jamming up on my current lathe. I'll finish this off when the SB is back together.
IMG_0155.JPG
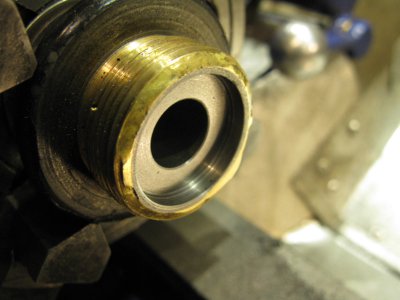
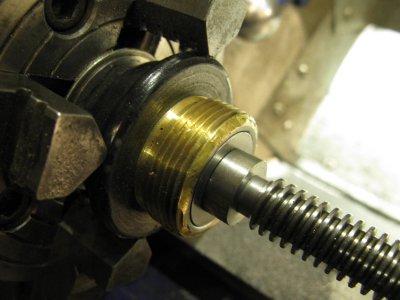
bored a recess in the tailstock nut/ screw holder for a thrust bearing. The new screw has a little extra length for one at the other end, but that'll have to wait for the extension tube to be finished.
IMG_0156.JPG
IMG_0157.JPG
 
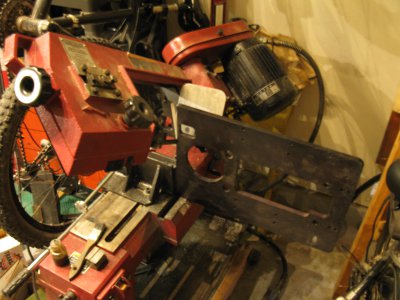
pushing the limits of my little 4x6 bandsaw. Had to take one of my bikes off the wall so it could fit!
IMG_0158.JPG

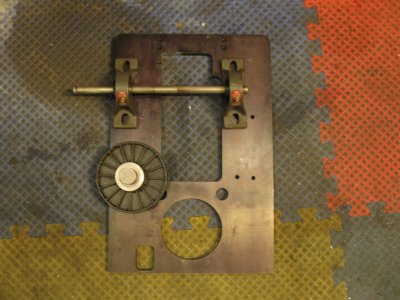
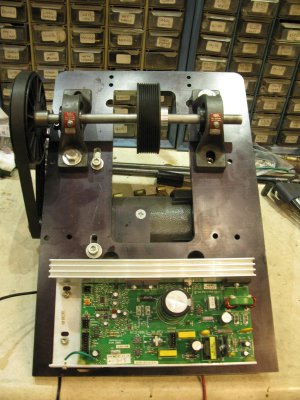
motor mount and countershaft in waiting. Got the pillow blocks ages ago from an estate sale for $1 and the plate was some piece of scientific equipment that my college scrapped.
IMG_0159.JPG

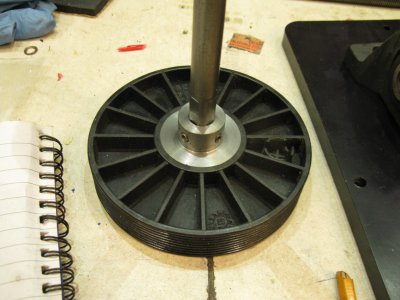
countershaft pulleys in waiting :) These will have to wait until the SB is running. I'll use an old treadmill pulley to get started.
IMG_0160.JPG

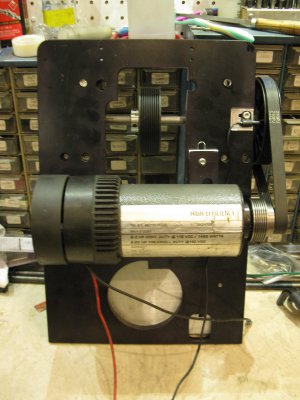
It's going to be a bit of jigsaw puzzle putting it all together. The motor will be screwed to the bit of plate that I cut off and that will attach to the main plate with a couple of bolts running in slots to allow for belt adjustment. The treadmill motor drive will be in a sealed case on the front, at the bottom of the plate.
 
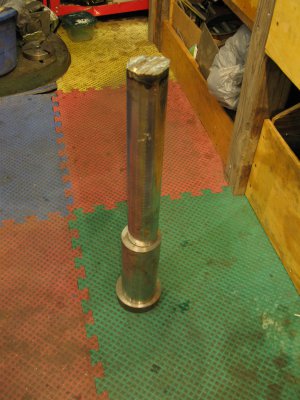
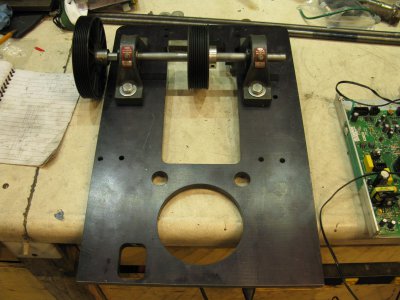
trundling along - finished the countershaft and temporary pulley. The large diameter part of that hub was the last piece of the trailer axle roadside find that I used for the tailstock extension tube :)
IMG_0162.JPG
IMG_0163.JPG

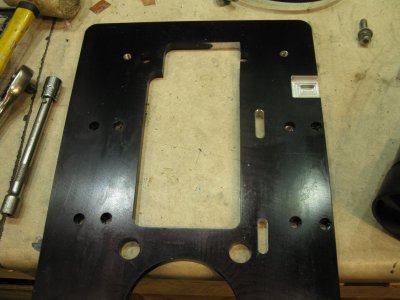
and finished the motor plate this morning using the bit cut off the bigger plate
IMG_0164.JPG

to finish that all up I'll need to take the countershaft back off and cut two slots for the screws sticking out of the motor plate. That'll allow me to adjust the tension of the motor>countershaft belt from the front.
 
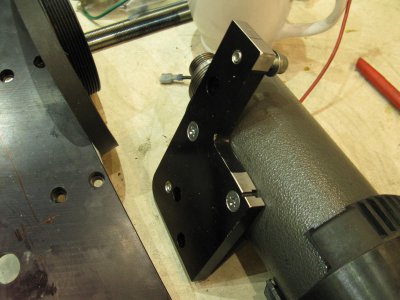
milled the adjusting slots for the motor plate and a recess for the tach pickup
IMG_01641.JPG
drilled and tapped the holes to mount the motor drive. This is what it'll look like assembled:
IMG_0165.JPG
IMG_0166.JPG
need to make a cover for the motor drive, drill and tap holes for the hinges and design/ make a tensioning lever set up.
 
trundling along..

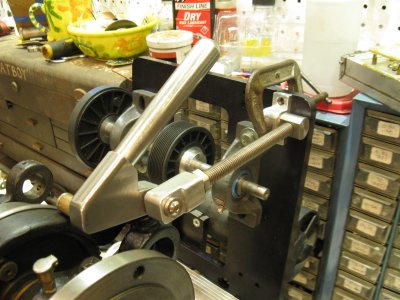
Currently making the belt tensioner, working from the motor/ countershaft plate back towards the headstock. I have everything lined up on my bench so I can more or less eyeball where things need to go. The tensioner will attach to the top right of where the right most countershaft bearing is and to the bull gear cover on the headstock.

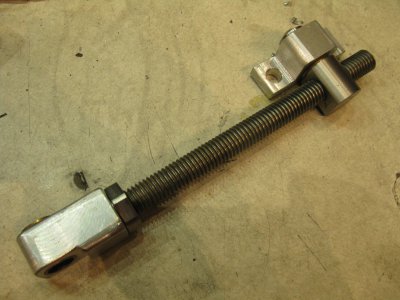
Finished up the turnbuckle-esque thing that will allow me to adjust belt tension. Came out just as I hoped it would
IMG_0170.JPG
IMG_0171.JPG

the pin allows the hex shaped piece to rotate in place but stops it from pulling out.

Current progress. Threaded rod will be loctited into the hex piece once I've figured out how long the threaded rod needs to be.
IMG_0172.JPG

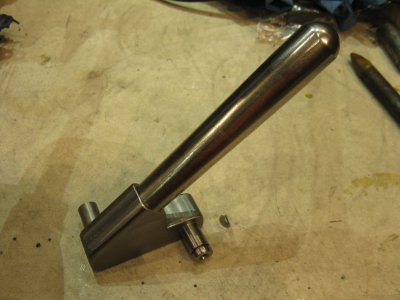
Next up is the handle..
 
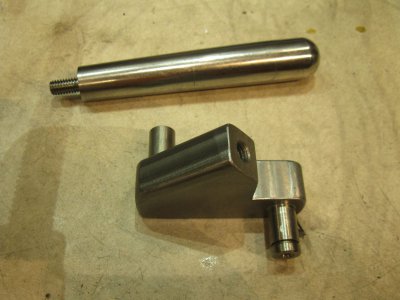
handle is done. First attempt at offset turning with the tailstock. Came out ok, though the finish was crappy in places (hence the polish job).
IMG_0180.JPG
IMG_0181.JPG
IMG_0182.JPG

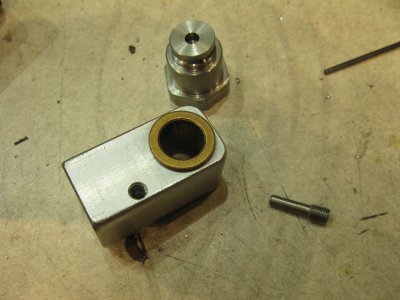
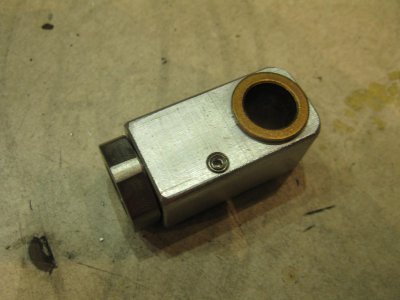
next up is the bracket to mount it to the headstock (what the bushing on the left will be pressed into)
 
Back
Top