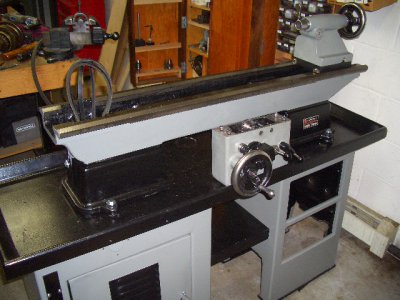
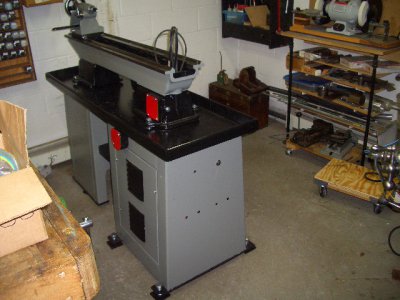
OK - time for some home shop creativity  . I'm installing the new half nuts. The old set had two .005" shims under the removeable V gib. When I installed te new set with the shims the half nuts were very loose in the V ways - loose enough that they were closing with their own weight. So I took the shims out and re-installed - the half nuts were still loose in the V ways. I can't move the gib any further in because the bolt hole is restricting it. Comparing the old to new - the new are .035" narrower at the widest part of the V wa so the gib isn't fully tightening down on the half nut V. I had some .003" shi stock and tried 3 pieces of that between the half nut and gib V way - that seemed to work except it didn't take long for the sliding motion of the half nuts to destroy the aluminum foil shim stock. I also had some .025" shim stock - that seemed to be more stable but when I tightened the gib down it lcked up the half nuts - even with the .010" shims under the gib.
So it seems that I have two options -find something that can function as a .010" shim and put it between the half nut and gib V or enlarge the hole in the gib to allow t to move in a little further - I'm thinking the hole would need to be 1/64 larger to get the required movement. Of course the third option is to call clausing to see if the half nuts are to spec - but I'm thinking that is going to have a good ending.
I don't like enlarging the hole - once that is done there is no going back. I also don't like a shim in the V way - I worry about the sliding motion of the half nuts. So what are your thoughts about the approach I should take? Any suggestions on what I may have laying around the house that would function as a .010" shim. I would prefer a one piece steel shim but am open to ideas versus purchasing a $60 roll for a 1/4 X 3" piece.
Thsanks
Rick


