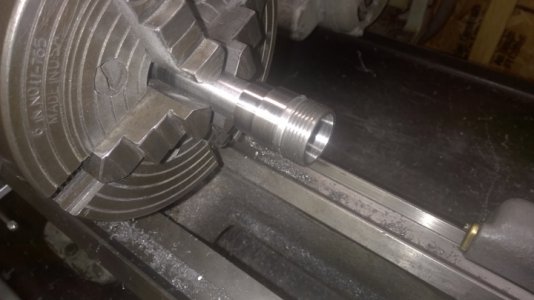
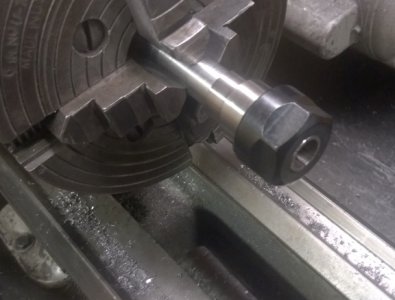
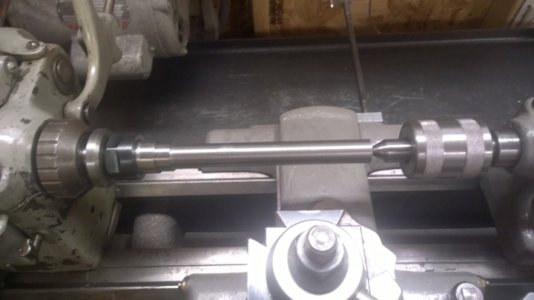
Got started on the spindle today. Had to wait till I was in the mood for this because it is the only piece of material I have that will make this housing. I can't afford to mess it up....BUT I DID ANYWAY!!!!! .... almost. I put it in the 4 jaw chuck, got it running true, drilled a 1" hole all the way through, bored it out to 1.125", all is good so far.
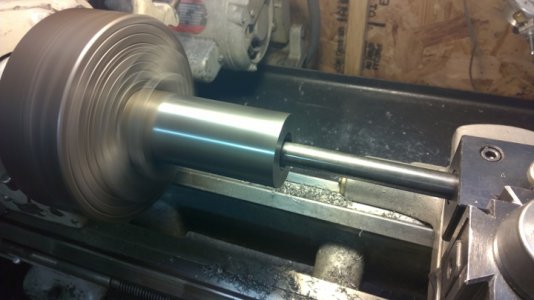
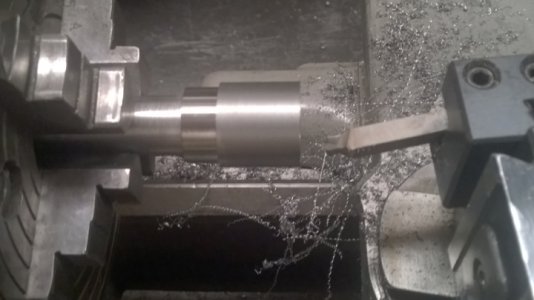
This is the hosing being bored out.
I bored the first bearing hole to within .010" of size, then came out and bored the end for the oil seal. Still good. I went back and snuck ( is that a word... or sneaked) up on the size cutting .002" at a time. The pucker factor is unreal at this point.

I got close and polished with emery cloth.... the bearing is a stiff hand press in

" whewwww!
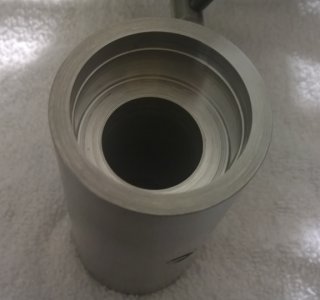
First side is done. Now turn it around in the 4 jaw, get it running true and bore the second side. Bored to within .010" and came out and bored the end for the oil seal, good so far.... now back to sneaking up on the last bore .002" at a time. ..... Still needs .004" to come out ..... WHAT THE..... that looks like more than two thousandths. The bearing falls in the bore with a couple thousandths to spare!!!!!!

......

. After I cooled down a little , I thought .... the bearing is 12 mm wide....I will bore deeper .250" and get it right, that will hold the bearing and just move it in .250" more. I bore a cut and check fit, bore and check fit, getting close bearing sticks in the end of the bore...... Oh rats... it seems to be stuck... I'll give it a little bump out to get it loose and .... OOPS!!! the angular contact bearing comes apart and the little balls are rolling all over the shop floor

..... after an hour of crawling and looking, I found all ten balls, washed everything up and put it back together and it seems fine.
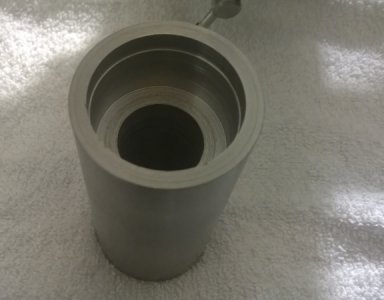
If you look close , that is why this bore looks deeper. It is .250" deeper than the other end. I will put this on the pulley end. It should be ok.
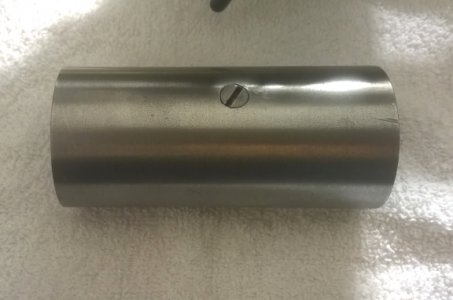
Drilled an oil fill hole and fit a 1/8" pipe plug to it. and the housing is done. GOD...... I hope the spindle goes easier than this did.


 I got close and polished with emery cloth.... the bearing is a stiff hand press in
  " whewwww!
 ......
 . After I cooled down a little , I thought .... the bearing is 12 mm wide....I will bore deeper .250" and get it right, that will hold the bearing and just move it in .250" more. I bore a cut and check fit, bore and check fit, getting close bearing sticks in the end of the bore...... Oh rats... it seems to be stuck... I'll give it a little bump out to get it loose and .... OOPS!!! the angular contact bearing comes apart and the little balls are rolling all over the shop floor

