Pinched oil line on Harig 618

I sent Jim (jdsserve@aol.com) an email about a week ago, but got no reply so I called him this afternoon.
It seems my email may have been a victim of some computer problems he had.
Anyway, Jim was very helpful on the phone and I wouldn't hesitate to reach out to him for future needs. He's a fount of knowledge regarding the Harig machines and operation.
It turns out that the OEM plastic "spire" looking cover for the elevation screw is no longer available. Jim does sell a fabricated metal substitute, but I'll just make my own.
 
I sent Jim (jdsserve@aol.com) an email about a week ago, but got nor reply so I called him this afternoon.
It seems my email may have been a victim of some computer problems he had.
Anyway, Jim was very helpful on the phone and I wouldn't hesitate to reach out to him for future needs. He's a fount of knowledge regarding the Harig machines and operation.
It turns out that the OEM plastic "spire" looking cover for the elevation screw is no longer available. Jim does sell a fabricated metal substitute, but I'll just make my own.
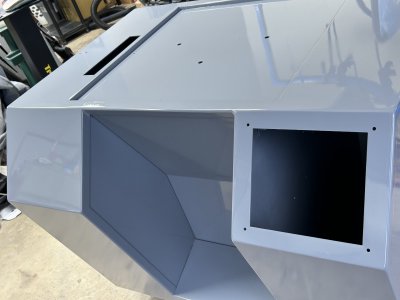
I will give him a call. I did send him an email but got no response. I’ve been busy working on getting the cabinet stripped and primed for paint so I have not had time to follow up with a call.I did get some 1/4 nylon tubing and some 1/4 Tygon for possible oil lines. Not sure which would be best. I am open to suggestions,lol.
 
I will give him a call. I did send him an email but got no response. I’ve been busy working on getting the cabinet stripped and primed for paint so I have not had time to follow up with a call.I did get some 1/4 nylon tubing and some 1/4 Tygon for possible oil lines. Not sure which would be best. I am open to suggestions,lol.
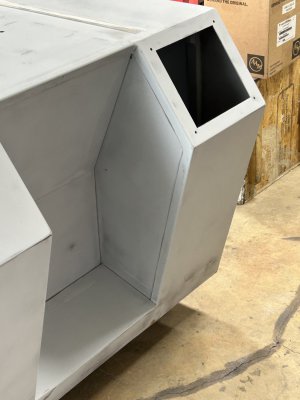
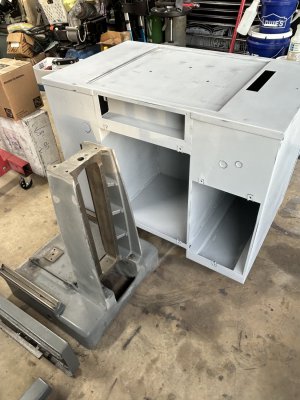
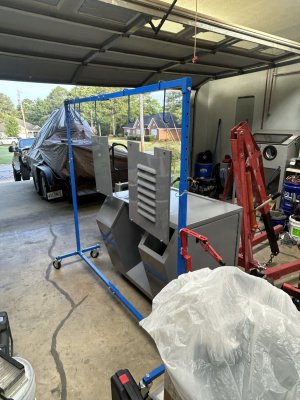
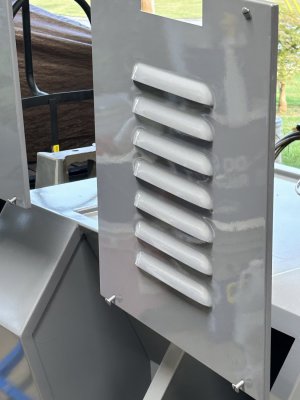
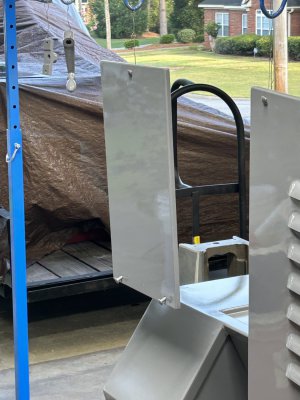
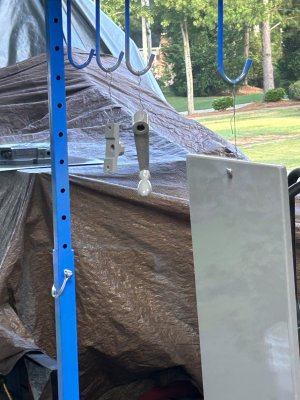
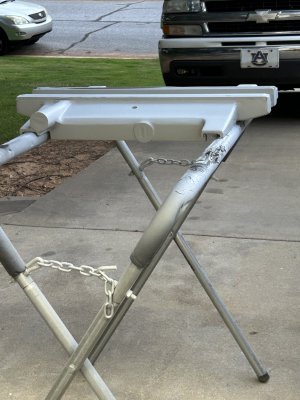
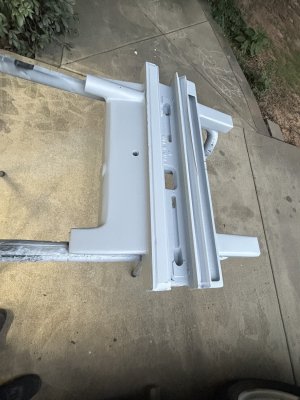
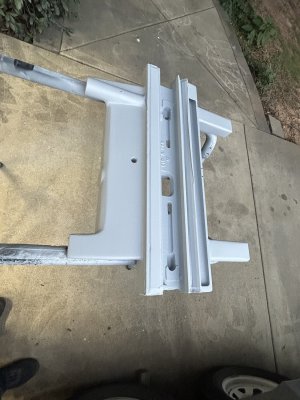
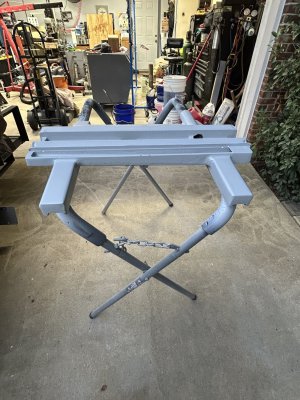
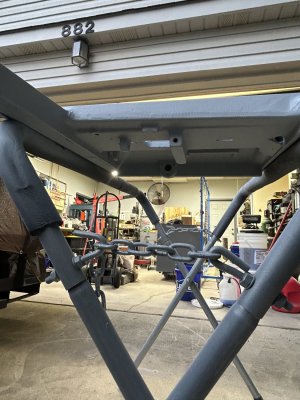
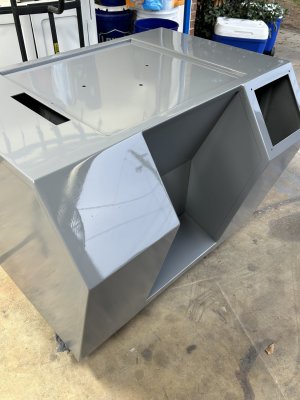
Few more pictures of the cabinet refinishing
 

Attachments

  • IMG_1950.jpeg
    IMG_1950.jpeg
    350.4 KB · Views: 6
  • IMG_1951.jpeg
    IMG_1951.jpeg
    106.3 KB · Views: 6
  • IMG_1952.jpeg
    IMG_1952.jpeg
    180.1 KB · Views: 6
  • IMG_1953.jpeg
    IMG_1953.jpeg
    302.2 KB · Views: 7
Few more pictures of the cabinet refinishing
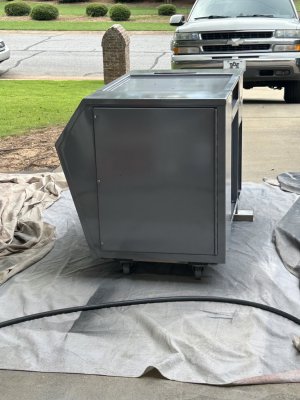
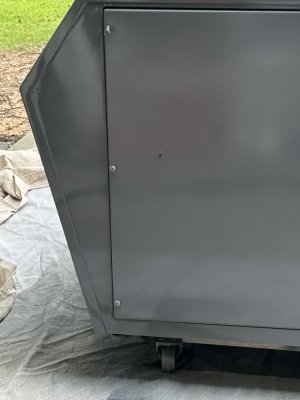
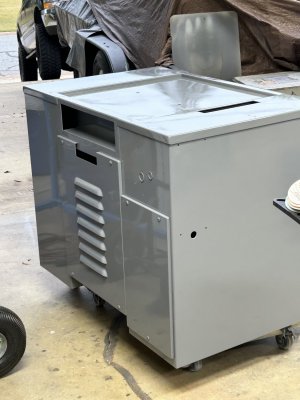
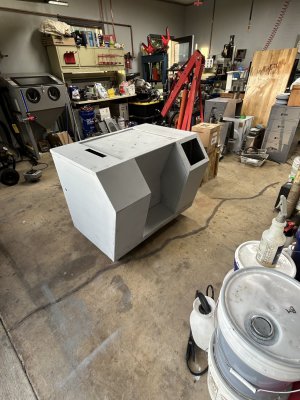
Just another update. Got the cabinet painted today. Turned out pretty well all thing considered. Still have a couple doors to paint then it’s on to the machine
 

Attachments

  • IMG_1955.jpeg
    IMG_1955.jpeg
    299.3 KB · Views: 11
  • IMG_1956.jpeg
    IMG_1956.jpeg
    153.8 KB · Views: 7
  • IMG_1957.jpeg
    IMG_1957.jpeg
    188.5 KB · Views: 7
  • IMG_1958.jpeg
    IMG_1958.jpeg
    373.8 KB · Views: 8
  • IMG_1959.jpeg
    IMG_1959.jpeg
    258.4 KB · Views: 9
  • IMG_1960.jpeg
    IMG_1960.jpeg
    286.6 KB · Views: 10
Just another update. Got the cabinet painted today. Turned out pretty well all thing considered. Still have a couple doors to paint then it’s on to the machine
 

Attachments

  • IMG_1961.jpeg
    IMG_1961.jpeg
    328.3 KB · Views: 10
  • IMG_1962.jpeg
    IMG_1962.jpeg
    167.3 KB · Views: 10
  • IMG_1963.jpeg
    IMG_1963.jpeg
    252.7 KB · Views: 10
  • IMG_1964.jpeg
    IMG_1964.jpeg
    296.8 KB · Views: 9
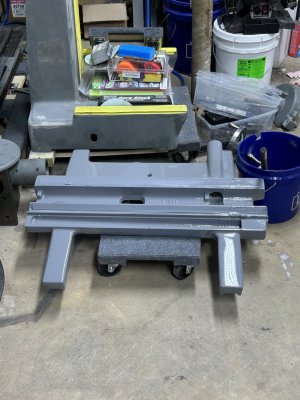
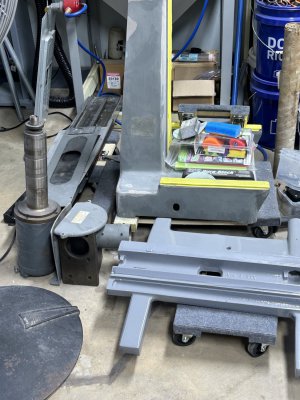
Just an update. The saddle and table had some pretty bad scars from daily use, so I decided to fill those with some good automotive grade putty and sand them away. Got the saddle in primer and gonna touch up a few spots before paint
 

Attachments

  • IMG_1985.jpeg
    IMG_1985.jpeg
    302.5 KB · Views: 11
  • IMG_1986.jpeg
    IMG_1986.jpeg
    355.9 KB · Views: 12
  • IMG_1987.jpeg
    IMG_1987.jpeg
    366.6 KB · Views: 10
  • IMG_1988.jpeg
    IMG_1988.jpeg
    435.6 KB · Views: 11
  • IMG_1989.jpeg
    IMG_1989.jpeg
    359.1 KB · Views: 11
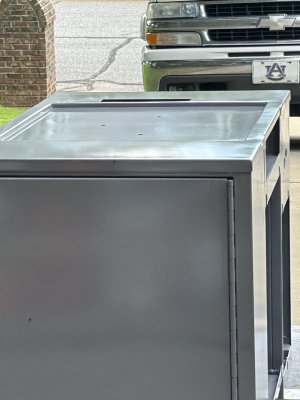
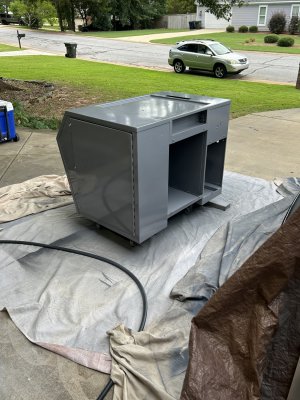
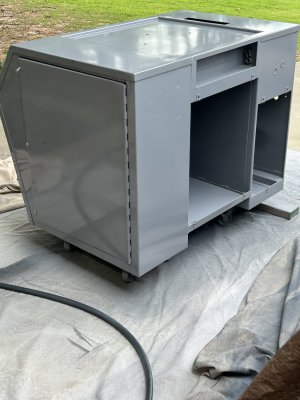
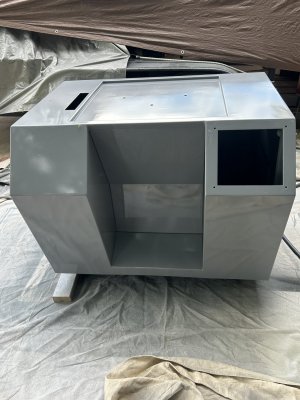
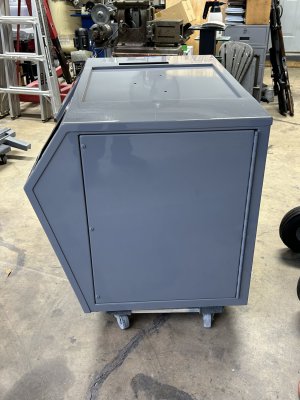
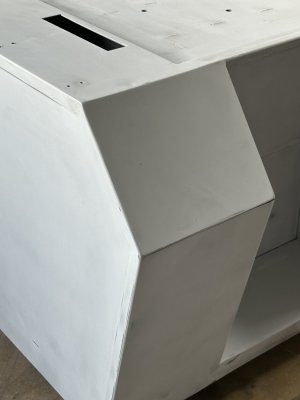
Just another update. I wasn’t happy with the cabinet after painting, so I stripped it down and resprayed it. It came out much better this time
 

Attachments

  • IMG_2167.jpeg
    IMG_2167.jpeg
    227.9 KB · Views: 5
  • IMG_2166.jpeg
    IMG_2166.jpeg
    215.9 KB · Views: 5
  • IMG_2168.jpeg
    IMG_2168.jpeg
    277.8 KB · Views: 5
  • IMG_2169.jpeg
    IMG_2169.jpeg
    214.7 KB · Views: 5
  • IMG_2170.jpeg
    IMG_2170.jpeg
    336.1 KB · Views: 5
  • IMG_2171.jpeg
    IMG_2171.jpeg
    327.4 KB · Views: 5
It turns out that the OEM plastic "spire" looking cover for the elevation screw is no longer available. Jim does sell a fabricated metal substitute, but I'll just make my own.
Recently acquired a Super 612 for $400.
I made an elevating screw cover from a piece of 1-1/2" ABS drain pipe and some 1/4" ABS plate I made by slitting and flattening 4" drain pipe. Just have to get a 1-1/2 cap to close it off.

20240919_203407[1].jpg

Also replaced the oil pump with a Little Giant, now I'm getting oil to all the important places. Had to remove some grease that had been applied to the elevating screw and bevel gears. Ways were DRY, but all the flaking was good. Don't think it was used much after the pump ceased to push oil up to the top.

I was worried because there appeared to be major cracks under the "top hat", but figured out that it had been removed and it was just the filler.
 
@MrWhoopee
Your elevation screw cover is exactly what I had considered after I found OEM was not available.
I had not done any DVW work in a couple decades and I was shocked by the price of ABS fittings at HD. Good God!
Just for reference, a 4" ABS DWV cap is $20.96. What?

Was your OEM oil pump missing or non-functional?
 
@MrWhoopee
Your elevation screw cover is exactly what I had considered after I found OEM was not available.
I had not done any DVW work in a couple decades and I was shocked by the price of ABS fittings at HD. Good God!
Just for reference, an 4" ABS DWV cap is $20.96. What?

Was your OEM oil pump missing or non-functional?
WOW!

The pump ran and would push oil to the ways but didn't have enough oomph to push up to the site glass.

Fortunately I've been working with ABS pipe that was here when I bought the house. I guess I should ask my local plumber to keep any drops he has. I've made a number of items from plate made by slitting and flattening, it glues and machines so nicely.
 
Back
Top