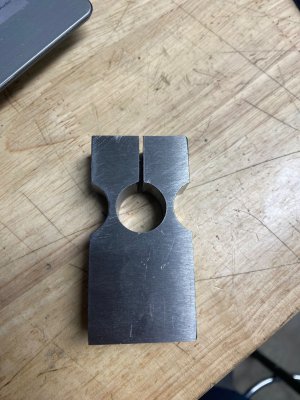
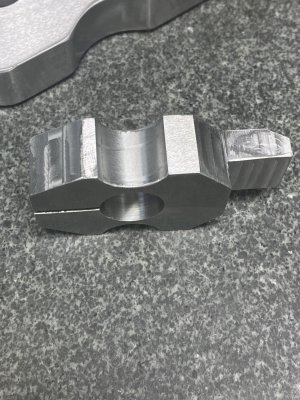
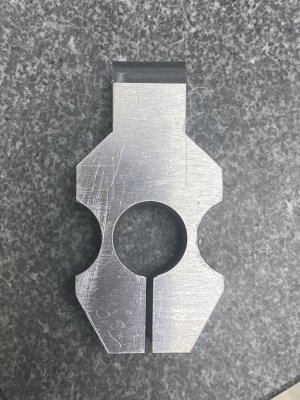
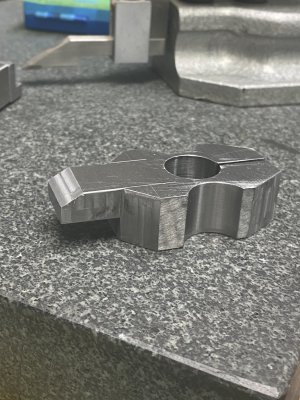
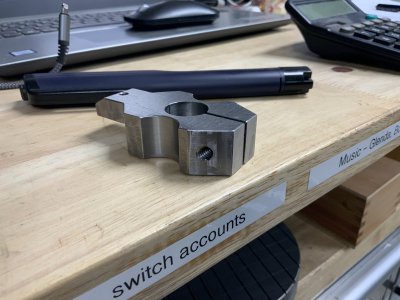
How would you cut this radius?

Too late for the side cuts....
A) Hole saws don't appreciate unguided scallop cuts; this isn't a tube notcher.
B) I don't subject boring heads to such interrupted cuts.
C) Instead, a flycutter does far better. Set the shank in a V block.
Touch off shank with height gauge, subtract one half for centerline.
Add desired radius to centerline.
Raise height gauge to that and set tool tip.
Mount cutter and rough out until depth is reached with a finish pass.
Remainder of project:
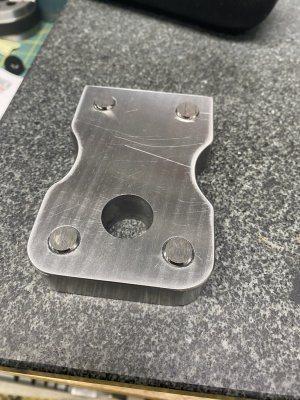
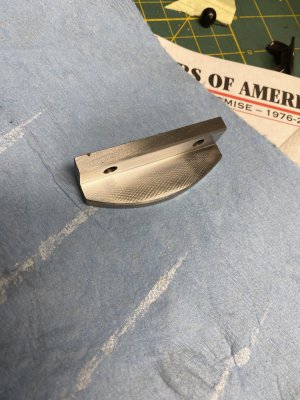
I wouldn't radius the front for accuracy, just clearance. Locate exact center of indicator post, bore for a close fitting 1/2" or 5/8" bearing ball, set just deeper than half diameter and stake 3 points- that's the correct contact of a squareness gauge. It's a good plan drilling through for a pin punch to allow replacing the ball.
I tried my small fly utter at first then decided to go with the boring head.
I’m sure a flycutter would have worked, I just had the wrong grind. I got it done in the end.
 
A bit more today.
I like the crosshatching done on the SG, cool!

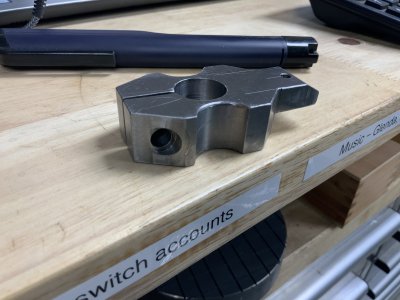
Bozo made a visit today. I haven’t heat treated yet and the balls are pressed in with epoxy.
1,600 degrees may have an unexpected negative impact on the pressed in balls. I know the epoxy won’t be happy.
Oh well, they don’t call me a dumb ash for nothing :)
 

Attachments

  • 0D0730A8-2DF9-422F-B11A-009B497CC720.jpeg
    0D0730A8-2DF9-422F-B11A-009B497CC720.jpeg
    394 KB · Views: 15
  • 33DCA6EF-B7DC-4627-8685-D354D7E19ED9.jpeg
    33DCA6EF-B7DC-4627-8685-D354D7E19ED9.jpeg
    365.8 KB · Views: 15
  • part.jpg
    part.jpg
    214.7 KB · Views: 3
Looking good. I am looking forward to the finished tool.


Cutting oil is my blood.
 
Looking good. I am looking forward to the finished tool.


Cutting oil is my blood.
Getting there my friend.
This is where Ieft off today.
 

Attachments

  • EF3EF2CA-7806-40F7-A9C3-08F8DE67600D.jpeg
    EF3EF2CA-7806-40F7-A9C3-08F8DE67600D.jpeg
    191.5 KB · Views: 11
  • E0DBBFF5-0914-4BF6-8395-A38F533A40C9.jpeg
    E0DBBFF5-0914-4BF6-8395-A38F533A40C9.jpeg
    335.6 KB · Views: 11
  • 4D891FB4-0621-48A8-94C8-42E82EBE9B3D.jpeg
    4D891FB4-0621-48A8-94C8-42E82EBE9B3D.jpeg
    326.8 KB · Views: 10
  • 03463189-484F-4A97-8F8E-D7B0B5E48C15.jpeg
    03463189-484F-4A97-8F8E-D7B0B5E48C15.jpeg
    318.7 KB · Views: 9
  • 1F35D3BC-F252-49F9-BC6F-D303842BE986.jpeg
    1F35D3BC-F252-49F9-BC6F-D303842BE986.jpeg
    368.6 KB · Views: 8
  • B34A6520-4E54-4254-9976-EBF721F6BD77.jpeg
    B34A6520-4E54-4254-9976-EBF721F6BD77.jpeg
    376.4 KB · Views: 9
So is the finger on the new pice going to be where your dovetail goes? Or is that going to be a fine adjustment and the indicator locates of of another piece.

BTW I like the circular cutouts you have designed in. It is looking really nice. They will make for a comfortable grip I bet.


Cutting oil is my blood.
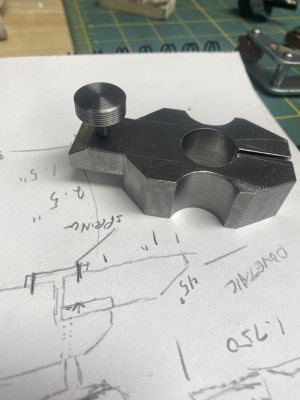
The next part will hold the test indicator.
The knob allows for fine adjustment and is held to this piece by a spring steel shim.
Stay tuned. Thanks for the interest.
 
Back
Top