2019 POTD Thread Archive

POTD was making a cap for the end of a debugging tool. I was using the tool to deburr the Delrin flange benders from the POTD post above and noticed some of the bits on the floor (after my annual sweeping of the shop . . .). The cap had a hole in the end. Extra bits are stored in the handle. The tool neck length is adjustable, the cap probably broke from me pushing down and driving the arbor through the bottom of the cap.

Chucked up a piece of 1” 6061 aluminum and turned a new cap. Steps are in the photos below. Figured I’d go with aluminum instead of plastic so I don’t blow a hole in the cap again.

Thanks for looking, Bruce


Blew a hole in the bottom of the deburring tool
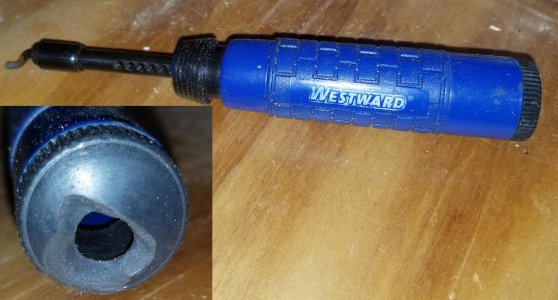
20190928_153417.jpg

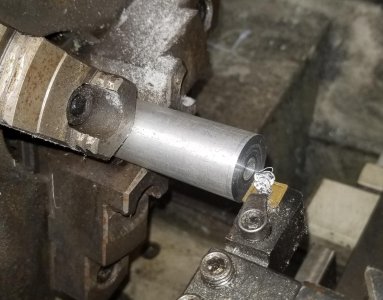
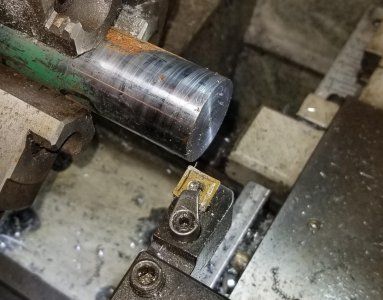
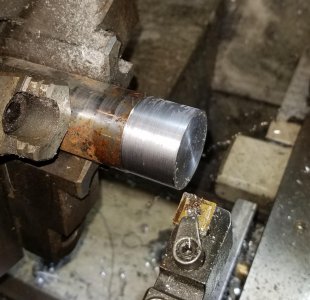
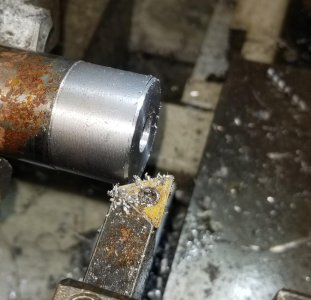
Facing a 1" aluminum round
20190928_153617.jpg

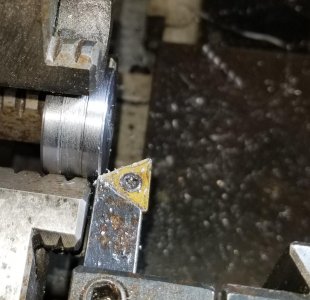
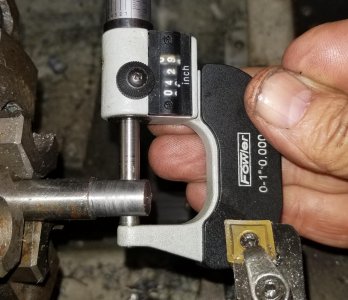
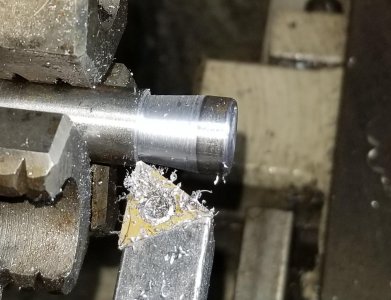
Cut a shoulder for the 0.872 x 10 tpi thread
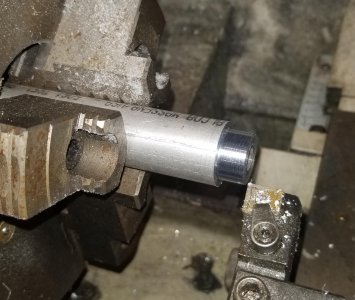
20190928_154213.jpg

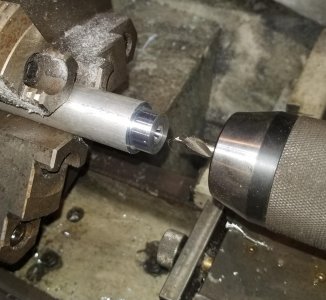
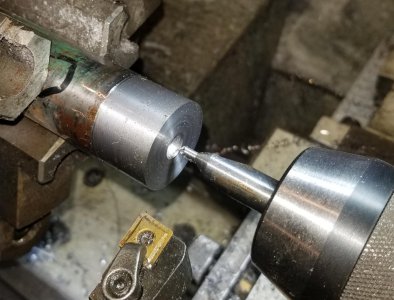
Center drill
20190928_154354.jpg

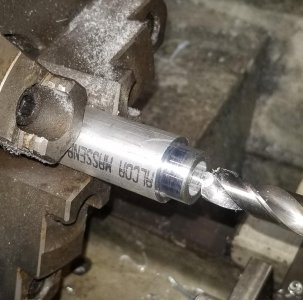
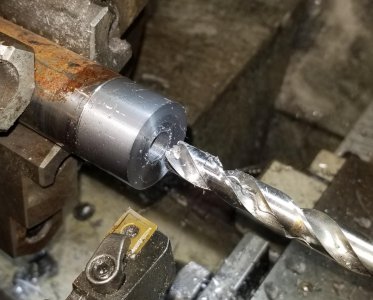
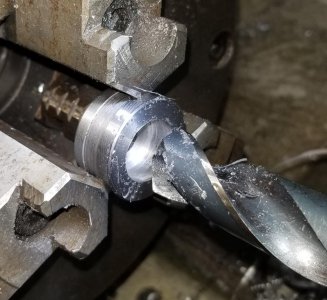
1/2" clearance hole in the cap
20190928_154535.jpg

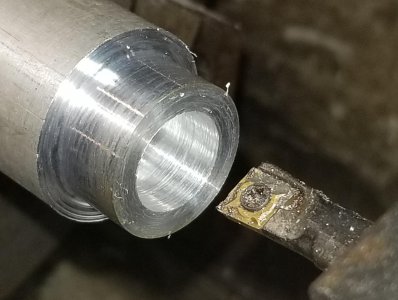
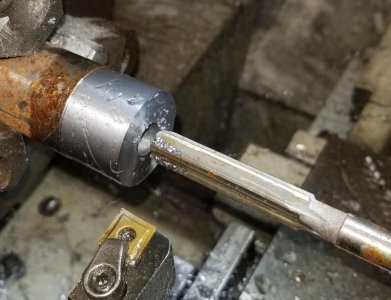
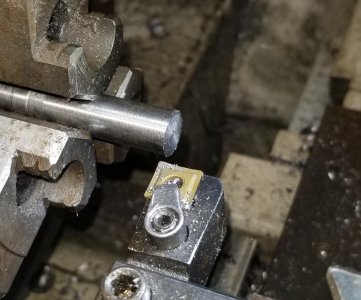
Boring the hole to a flat bottom
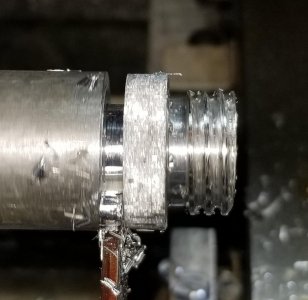
20190928_155017.jpg

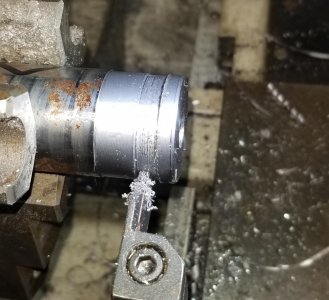
Relieved the base of the thread with a parting tool
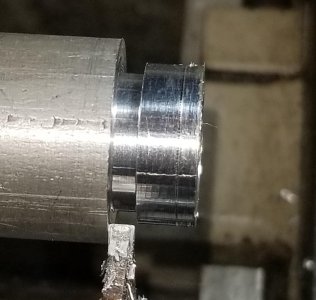
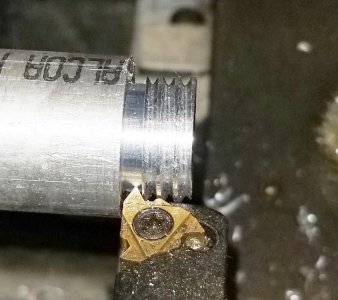
20190928_155409.jpg

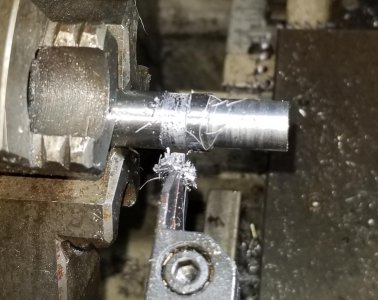
Scratch pass, verified 10 tpi with a thread gauge
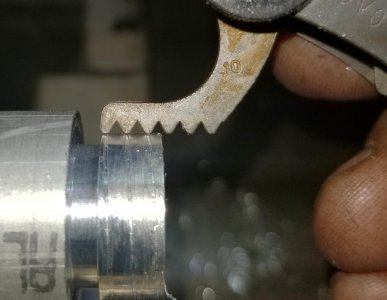
20190928_160420.jpg

Last pass.
20190928_161528.jpg

Pre-parting the end of the cap in prep for knurling
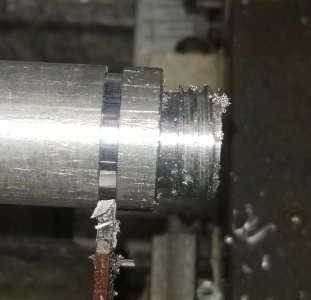
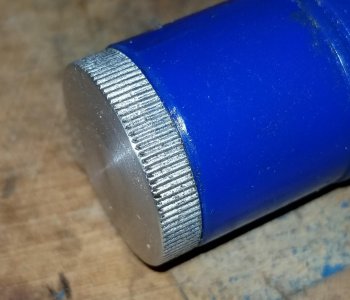
20190928_161727.jpg

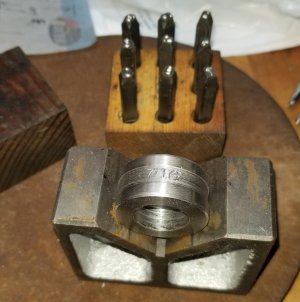
Knurling the cap with a Rockwin Knurlmaster hand knurling tool
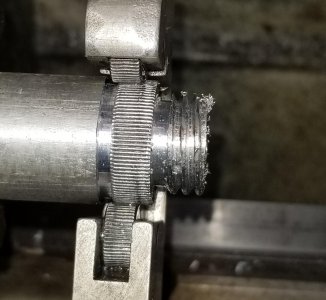
20190928_162145.jpg

Put a little chamfer on the cap edges
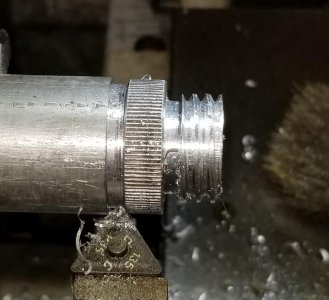
20190928_162323.jpg

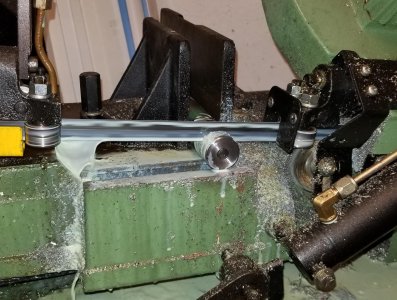
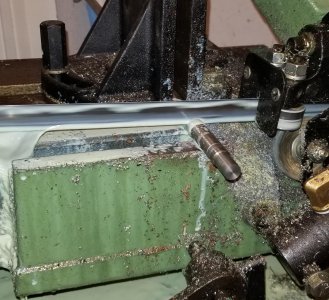
Parting off the cap
20190928_162542.jpg

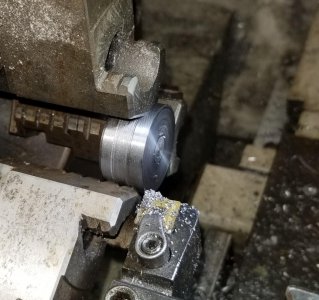
Set up on my Clausing lathe for facing the end with a 5 deg. angle. No DRO on the Clausing; measure movement in the Z-axis with a 2" travel dial indicator.
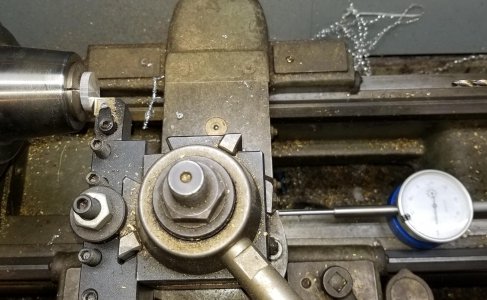
20190928_163525.jpg

Cut the 5 deg. angle on the end of the cap
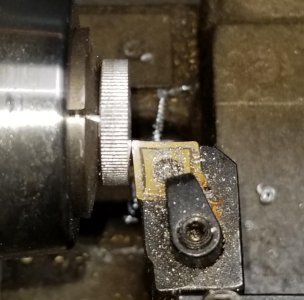
20190928_163534.jpg

Could of sworn there were 4-6 bits in the deburring tool . . .
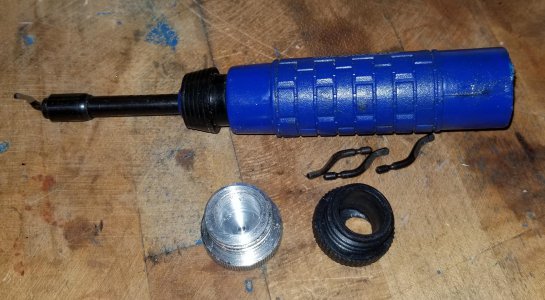
20190928_164048.jpg

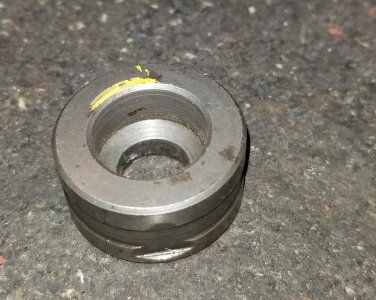
Better than new
20190928_164118.jpg
 

Attachments

  • 20190928_161829.jpg
    20190928_161829.jpg
    192 KB · Views: 11
Last edited:
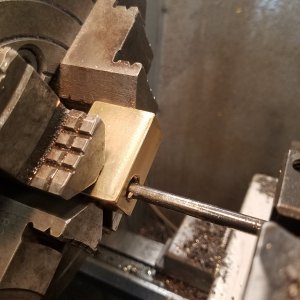
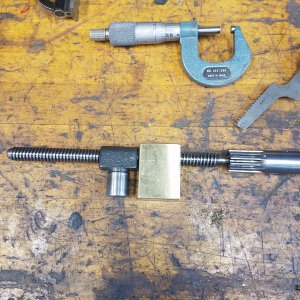
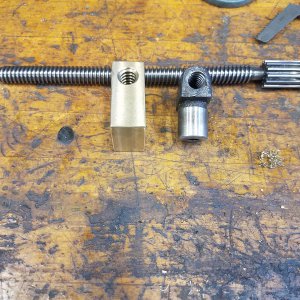
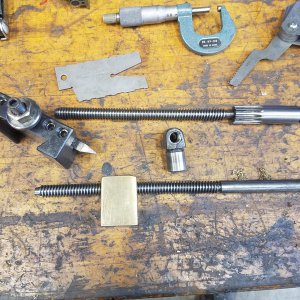
Today I started making a crosslide nut for the 9A. I cut a piece out of a bronze plate that I had in my scrap collection. Roughed it out on the mill. Mounted it in a 4 jaw bored and threaded it. I sized it to the unworn part of the crosslide screw, up near the gear.20190929_131515.jpg20190929_132454.jpg20190929_132708.jpg20190929_141026.jpg
Then I cut a screw to fit the nut. I still have to finish shaping the nut and attach the new screw....but it's time to watch football.
 
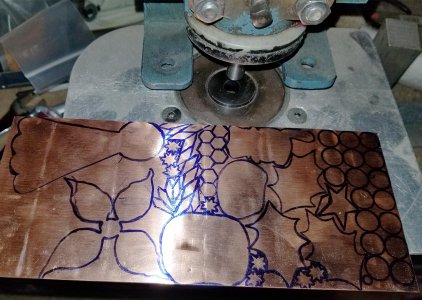
POTD was making a punch and die for my better half. She makes Christmas ornaments for family each year, this year she’s taking on copper enameling. I think it involves cutting the various pieces (from copper) to size, then heat and sprinkle enamel dust on top and heat it to melt/flow the enamel. The pieces are soldered together after the fact. I’m thinking clean the surfaces, flux and set pounded flat solder pieces in place. Then heat the assembly on a hot plate until the solder flows.

Anyway, one of the designs is a Christmas tree with ornaments. She drew up bulbs at 7/16” diameter for decorating the enameled tree. Figured the easiest way to make 7/16” copper circles is to punch them.

I have at least 50 different punches and dies for my Roper Whitney #218 punch press, but alas, no 7/16”. On top of that, most commercial punches have a point on them to align on a prick-punched hole. Usually you want the hole, in this case we want the slug so the standard punch would dimple the center.

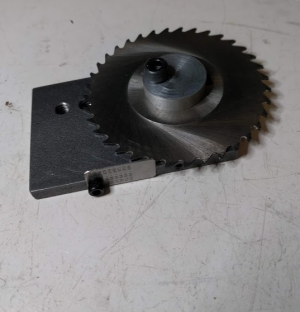
Small dies for the RW #218 press are 1 ¼” diameter, 5/8” thick. Punches are either ½” or 1” diameter. Started with the die. Turned a piece of 1.275 drill rod down to 1.249”. Then center drilled and drilled a clearance hole. Then reamed to size. For the most part (pun intended) I don’t struggle with parting on the lathe. But for drill rod I usually go to the band saw.

Chucked up the die with the back side out and faced. Then drilled a ¾” hole to depth as the thickness of the die where the punch passes through is generally around 0.20”. Knocked off the sharp edges and number punched the size.

Used a piece of ½” drill rod for the punch. Faced and turned down for 0.008” clearance to the die. The harder the material, the more clearance is required between the punch and die. The formula I go by is material thickness times the material factor. For stainless, it’s 0.2, CRS is 0.15, Aluminum is 0.1. I figured copper would be close to aluminum, but also might punch steel so went with the calculation: 0.15 x 0.060” thick for 0.009” clearance. I cheated just a bit smaller as her copper is 0.050” thick.
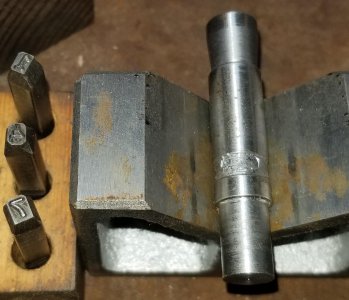
Band sawed the punch and flipped it in the chuck. Faced and turned a taper on the top end. The RW #218 has a clamp screw to keep the punch from turning. The tapered area is where the clamp screw will hit, so if any burr is raised it won’t affect the diameter of the shank of the punch. Number punched the size on the punch.

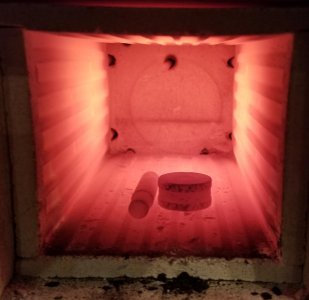
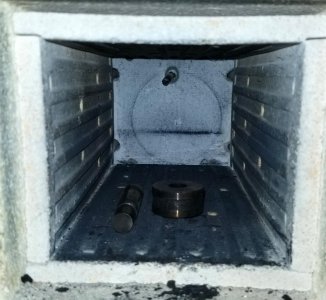
Heat treating was done in a Thermolyne muffle furnace. Took the steel to 1500 F, then quenched in motor oil. Cleaned off the scale and tempered to 460 F.

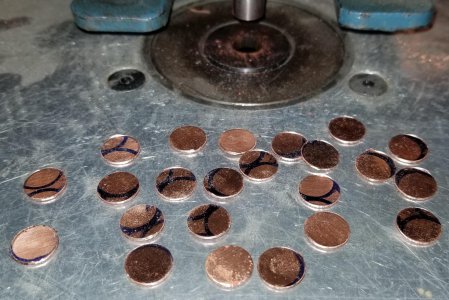
Punch and die work really well. No problem shearing annealed 0.050” copper.

Thanks for looking, Bruce


Facing the die steel
20190929_111043.jpg
Turing to diameter (1.249")
20190929_111454.jpg
Center drill for the punch hole
20190929_111642.jpg
Drilled a 27/64" hole (I usually go about 0.015" under the reamer size or 7/16" in this case)
20190929_111817.jpg
Reaming with a 0.4375" reamer
20190929_112049.jpg
Chamfering the sharp edge
20190929_112219.jpg
Cutting a relief on the side for number punching. Also, this is the area where the die holder has a set screw to hold the die in place.
20190929_112754.jpg
Sawing off the die
20190929_113140.jpg
Chucked back up - facing the bottom of the die
20190929_113632.jpg
Let's see how close I can get a tool to the chuck jaws . . . Chamfering the bottom of the die.
20190929_113723.jpg
Drilling a 3/4" clearance hole
20190929_114152.jpg
Commercial die from Roper Whitney.
20190929_114203.jpg
Number punching the die size
20190929_115303.jpg

Turned the punch from 1/2" drill rod. Was targeting 0.429" to give 0.008" clearance to the die.
20190929_120621.jpg
Relieving an area to number punch the size
20190929_120902.jpg
Sawing off the punch
20190929_121153.jpg
Facing the top of the punch
20190929_121422.jpg
Cutting a taper where the punch press's punch holder clamps the punch in place with a set screw
20190929_122156.jpg
Number punching the size
20190929_122809.jpg
Hardening to 1500 F
20190929_130033.jpg
Tempering at 460 F
20190929_134835.jpg
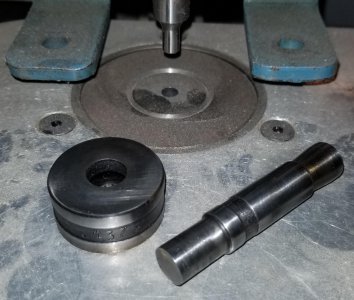
Finished punch and die
20190929_135627.jpg

My wife's pattern on a sheet of copper.
20190929_140902.jpg
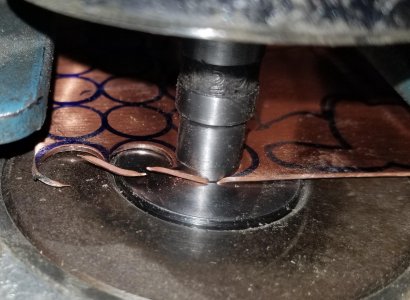
Punching out the Christmas tree bulbs
20190929_141037.jpg
Sharp punch and die make short work of 0.050" copper
20190929_141607.jpg
 

Attachments

  • 20190929_140902.jpg
    20190929_140902.jpg
    519.8 KB · Views: 17
my worries about lack of motor cooling on my bike due to the mods I made here turned out to be justified. Before any waste heat from the motor or controller was conducted to the frame and then radiated/ convected away. With the delrin bushings the only surface for heat loss was that of the motor itself which wasn't enough = very hot motor.

The fix - remake the longer top hat bushings out of alu, with a nice big flange for contact with the frame
attachment.php


was experimenting with step turning to reduce chatter, which is why the finish wasn't great on a couple. Really helped as these are 11mm at the small diameter and 45mm long.

All the mistakes I made with the first set paid off and they fit tightly without any modification
attachment.php


the one at the bottom has less space to fit in, so the flange is smaller in diameter.

in position
attachment.php


took up a little bit more slack between the motor and frame, to the extent that the lower mount shown had to be worked into position and pinned with a bolt before moving the rest of the motor in position. You can see the bushing on the left with a bit of leftover grease on it (aim was to help with thermal transfer) and the original delrin bushing on the right.

Seemed to work really well this morning, motor was noticeably cooler. Still warm to the touch, but not much more than if it had been left sitting in the sun. Big difference compared with before where it was almost too hot to touch. Also seemed to have stiffened the bottom of the bike up a bit, which is a nice plus.
 
Matt,
Nice job on the aluminum bushings.
I suggest that you consider coating the bushings (all surfaces) with an anti-seize compound. This would be primarily to keep moisture out and to slow corrosion. The high solids content typical in anti-seize compounds might even improve the thermal performance.
 
thanks! For the coating, is this because of potential corrosion? I did think about anodising them but didn't have time and the garage was too hot. They did get a good coating of thermal grease (zinc oxide) before going into the motor - you can just see some of the white goop that's squeezed out from behind the bushing - and the bushing/ frame junction got a coating of marine grease. No idea how much stayed there, but some did hopefully. Fingers crossed that should keep any corrosion from where it might cause problems, though I'll find out in 6mths or so when it's next time for a gear greasing and bearing check in the motor.
 
Yes, my primary concern was corrosion. The thermal grease might do everything you need.
 
I just finished a project today.
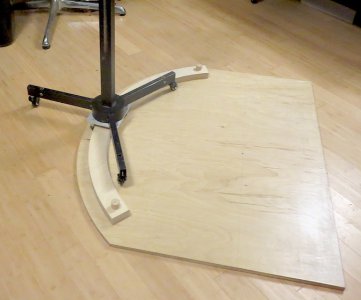
My client needed a device to rotate a studio monopod around a fixed center.

First, I had to make a track.
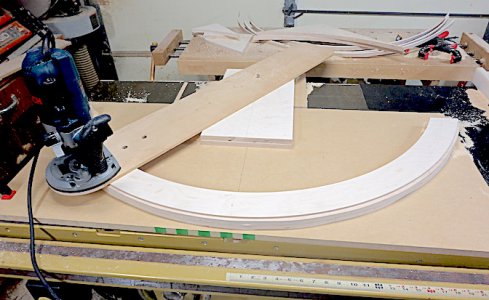
I glued two pieces of 3/4" baltic birch together and made a fixture to carve them in a perfect radius with a router and 2" straight bit.

IMG_1313.JPG

Then, a base to mount the track on a sheet of 3/4" birch plywood.
Then it was time to make a trolley to attach to the base of the monopod.
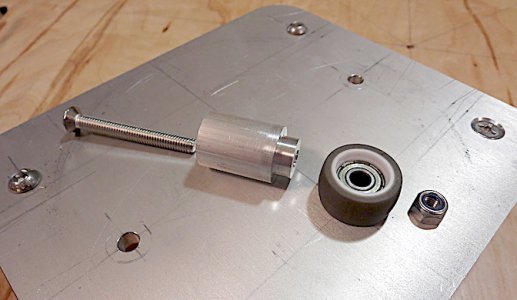
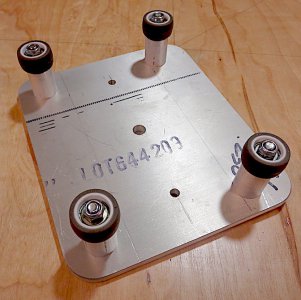
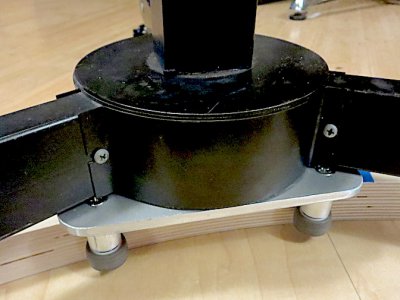
!" ball bearing wheels and stand-offs to mount on a 1/4" plate of aluminum.

IMG_1317.JPG

IMG_1318.JPG

IMG_1319.JPG

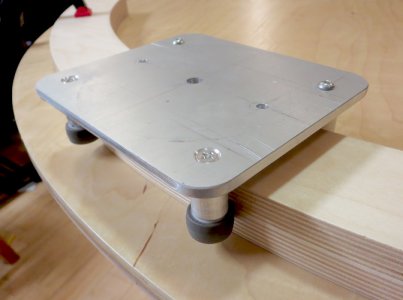
Then I mounted the trolley on the base of the monopod.

IMG_1324.JPG

Here is the finished product. I had to devise wheels that would keep the monopod square sitting on different levels.
Dowels on the ends are stops at 45º right and left.
All the wood is protected with two coats of water-based polyurethane floor coating.
The client is happy and will reward me with money. I like money.
I also like having something to do.

IMG_1320.JPG
 
Back
Top