- Joined
- May 27, 2016
- Messages
- 3,480
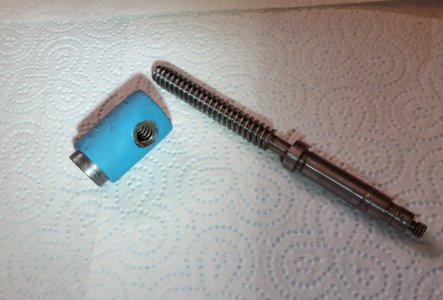
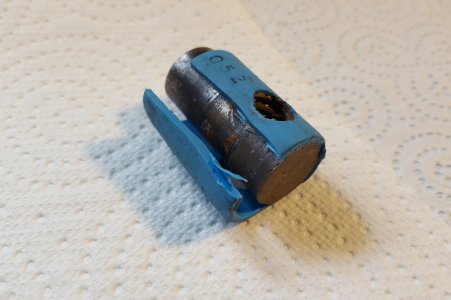
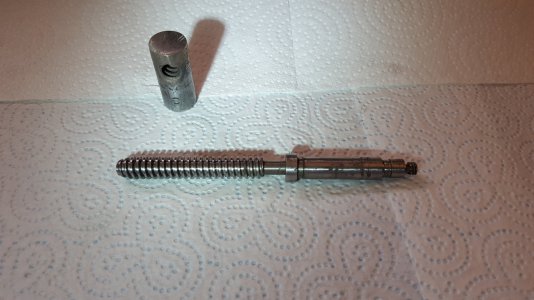
This continues the butchering of the Acme nut on my South Bend 9. I have posted a series of extra pictures on the tail-end of Part1
--> HERE
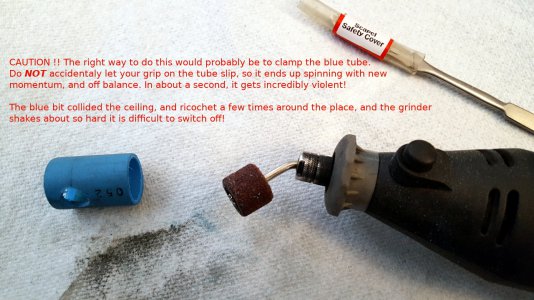
This time it starts with violence from a Dremel-style tool grinder. Having decided to try and make the mold from a short piece of captured polythene water pipe, it was too tight to fit over the compound nut cylinder, "Widening" using one of those little sanders that fit tight by squeezing the rubber middle between washers seemed easy enough, though it produces a tangled string of part-melted polythene dross that obsitnately hangs onto itself. This stuff does not really "abrade", but the scheme seemed to work if the tool is spun up, and pushed in in a series of stalls.
It all goes wrong!
Very, very quickly - if inadvertently, the grip in the blue bit is lost. It may have been better to clamp up the tube, but I didn't want to squeeze it "out of round", and things seemed to be going well. Let go, and the blue pipe starts spinning on the sanding wheel, but unbalanced, off centre, speeding up, and then POW! It throws the tube to collide with the ceiling, and it's bullet-like flight bounces off a few things before finding the floor. Meanwhile, the grinder is vibrating like a mad thing, and it was all I could do to get to the on/off rocker switch. The rubber tool inner was the only one I had, I "straightened it up" in a vise, but it is marked up, and will never be the same again.
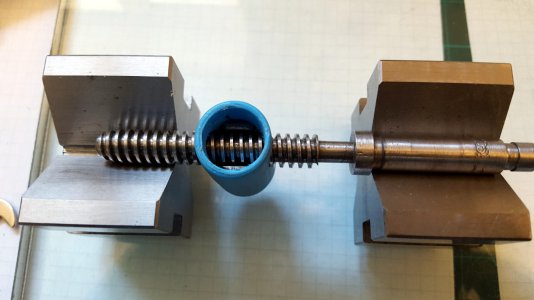
Here we can see the basic setup. The threaded and untrheaded parts are the same diameter 3/8". The bit at the dial indicator end was somewhat mangled by the hard grub screw, so I filed those burrs away, and put it between V-blocks stood on a 1/2" thick glass plate I have now finally put to a good use.
I then ran into some practical issues. It did not much matter if I made the mold too high, because I could cut off the excess to have it fit with the right clearance to the casting. The very important bit to get right was to have a reasonable amount of bronze on the other side of the thread, without ending up with the nut cylinder sticking up proud of it's hole in the slide. This was going to need some nominal measurements, though not too critical.
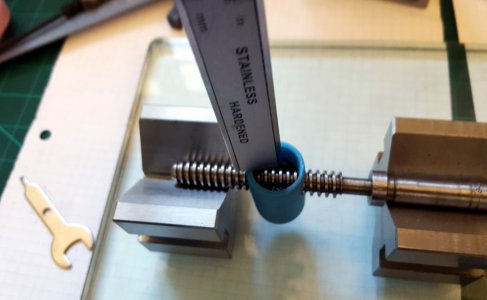
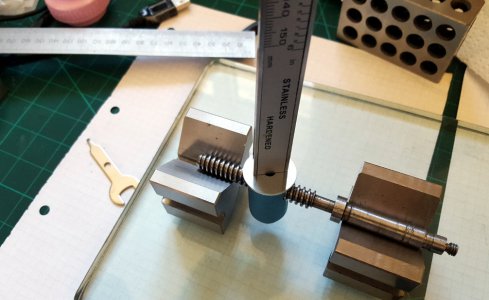
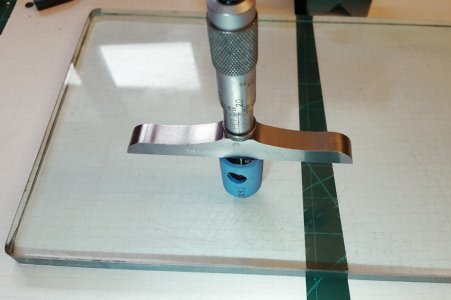
Using the "depth gauge" measure sticking out of the end of a caliper is not as easy to get consistent results as one may think. I went through a whole series of attempts.
 _
_ 
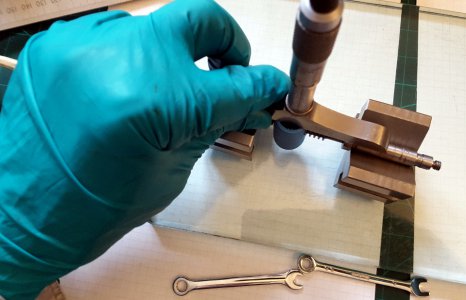
In the end, the only good way was to use my recently acquired $14 bucks old Starrett depth gauge that I cleaned up and re-calibrated. It seems to read spot-on accurately, so we went with that. There are two measurements needed. One is to the top of the Acme screw, and the other is all the way to the bottom. I figured out I would need 4mm of nut sticking out of the other end, to set the thickness of the bronze around the screw.
 -
- 
Much of this stuff does not have any critical measures, because they largely take care of themselves by the fact it is a mold, but we do need to make some attempt at getting the screw and the nut cylinder axis to be 90°, to prevent binding. That said, the amount of up/down flop in the screw when it is in place held by the bushing part is enough that I am sure the accuracy here is not super-critical, but that is the whole motivation for hanging it between V-Blocks.
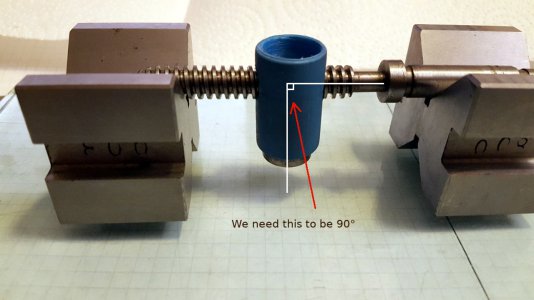
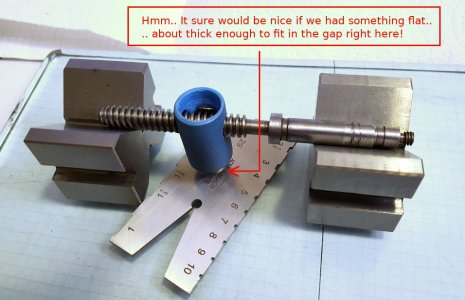
Of course, the drilling and threading of the plastic was only done with a hand drill, though carefully. The screw can be "moved" a little in angle, and it cannot be trusted to "dangle" at a reliable 90°. This is where we "force it" a little.
 _
_ 
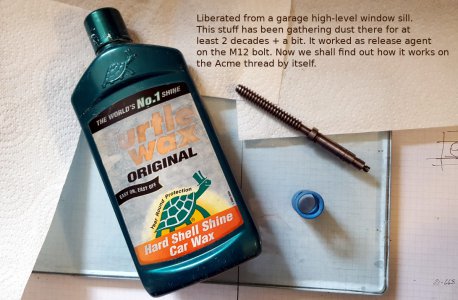
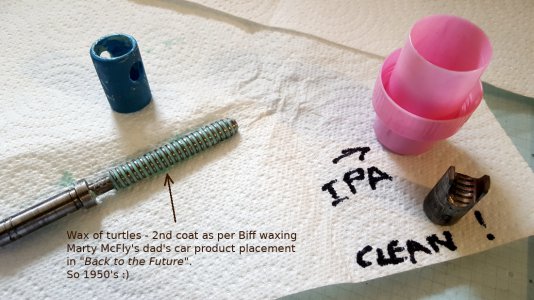
It's like the 1950's with the car polish!
The old stuff has been in the garage for decades. This time, I used 2 (or is it 3?) applications as per the way it must be (Ref: "Back to the Future" movie), but this time without the wood floor treatment wax. I don't have any promotional interest in wax from turtles, which might be deduced that the 500ml plastic bottle has lasted me about a quarter of a century!
 _
_ 
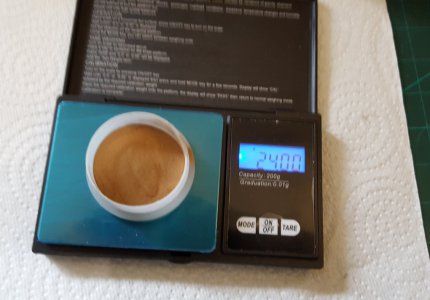
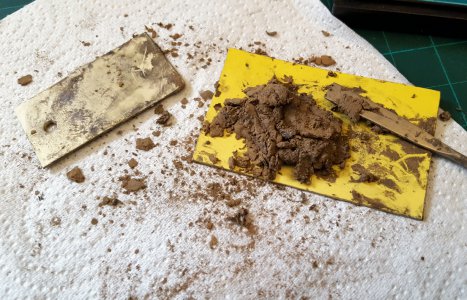
I buffed up the insides of the threads using a piece of knitting wool stolen from the lady of the house. So here we are, trying to complete the deed. Darn - but it's a messy business! So easy to spill, or wobble while weighing out. This time, estimating, and not wanting to end up short, I went for 24grams of powder instead of 16. That was wrong. There was 13g of nut mix left over, so that's 10.4g of bronze too much, and 2.6g of epoxy.
The advice @Superburban on mixing the bronze with the epoxy first, and then adding the hardener did not make things easier. The mix of powder so overwhelmed the epoxy volume that it was all just dry lumps, very difficult to get it to "coat" all the powder. When I added in the hardener, things eased up some, but I was not sure I would get the stuff fully mixed. Eventually, I got it to a consistent lump of "dough", and I just kept flattening and re-folding it until I had no loose bronze.
 _
_ 
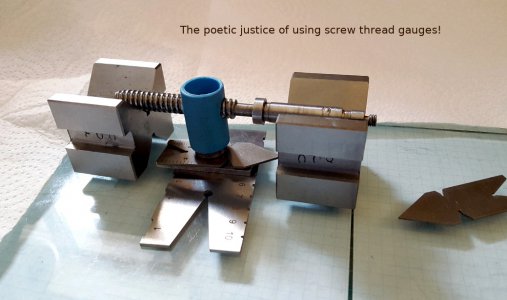
Finally, with some irony in the use of thread gauges, I got it together. I put enough in on top of the nut remnant to help fill up to the threads, then I wound the screw in, and set about tamping and loading. I pushed with my thumb from the top, to force the mix down a bit "hydraulic-style". I found by whacking the top with the flat of the spatula. I could shock the mix into giving me a somewhat shiny top, and hopefully, forced it into all the shapes below.
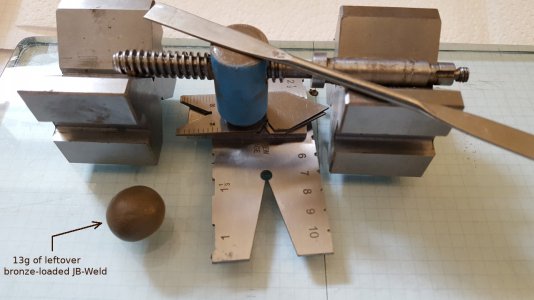
So here we have it. After some hours, it has "gone hard". The test nut I unwound after about 16 hours. I now have to find a non-damaging attach to be able to get some torque onto this, because it does not come with a convenient hex head. If I can get it to unwind, I will post what happened.
--> HERE
This time it starts with violence from a Dremel-style tool grinder. Having decided to try and make the mold from a short piece of captured polythene water pipe, it was too tight to fit over the compound nut cylinder, "Widening" using one of those little sanders that fit tight by squeezing the rubber middle between washers seemed easy enough, though it produces a tangled string of part-melted polythene dross that obsitnately hangs onto itself. This stuff does not really "abrade", but the scheme seemed to work if the tool is spun up, and pushed in in a series of stalls.
It all goes wrong!
Very, very quickly - if inadvertently, the grip in the blue bit is lost. It may have been better to clamp up the tube, but I didn't want to squeeze it "out of round", and things seemed to be going well. Let go, and the blue pipe starts spinning on the sanding wheel, but unbalanced, off centre, speeding up, and then POW! It throws the tube to collide with the ceiling, and it's bullet-like flight bounces off a few things before finding the floor. Meanwhile, the grinder is vibrating like a mad thing, and it was all I could do to get to the on/off rocker switch. The rubber tool inner was the only one I had, I "straightened it up" in a vise, but it is marked up, and will never be the same again.

Here we can see the basic setup. The threaded and untrheaded parts are the same diameter 3/8". The bit at the dial indicator end was somewhat mangled by the hard grub screw, so I filed those burrs away, and put it between V-blocks stood on a 1/2" thick glass plate I have now finally put to a good use.

I then ran into some practical issues. It did not much matter if I made the mold too high, because I could cut off the excess to have it fit with the right clearance to the casting. The very important bit to get right was to have a reasonable amount of bronze on the other side of the thread, without ending up with the nut cylinder sticking up proud of it's hole in the slide. This was going to need some nominal measurements, though not too critical.
Using the "depth gauge" measure sticking out of the end of a caliper is not as easy to get consistent results as one may think. I went through a whole series of attempts.
 _
_ 
In the end, the only good way was to use my recently acquired $14 bucks old Starrett depth gauge that I cleaned up and re-calibrated. It seems to read spot-on accurately, so we went with that. There are two measurements needed. One is to the top of the Acme screw, and the other is all the way to the bottom. I figured out I would need 4mm of nut sticking out of the other end, to set the thickness of the bronze around the screw.
 -
- 
Much of this stuff does not have any critical measures, because they largely take care of themselves by the fact it is a mold, but we do need to make some attempt at getting the screw and the nut cylinder axis to be 90°, to prevent binding. That said, the amount of up/down flop in the screw when it is in place held by the bushing part is enough that I am sure the accuracy here is not super-critical, but that is the whole motivation for hanging it between V-Blocks.

Of course, the drilling and threading of the plastic was only done with a hand drill, though carefully. The screw can be "moved" a little in angle, and it cannot be trusted to "dangle" at a reliable 90°. This is where we "force it" a little.
 _
_ 
It's like the 1950's with the car polish!
The old stuff has been in the garage for decades. This time, I used 2 (or is it 3?) applications as per the way it must be (Ref: "Back to the Future" movie), but this time without the wood floor treatment wax. I don't have any promotional interest in wax from turtles, which might be deduced that the 500ml plastic bottle has lasted me about a quarter of a century!
 _
_ 
I buffed up the insides of the threads using a piece of knitting wool stolen from the lady of the house. So here we are, trying to complete the deed. Darn - but it's a messy business! So easy to spill, or wobble while weighing out. This time, estimating, and not wanting to end up short, I went for 24grams of powder instead of 16. That was wrong. There was 13g of nut mix left over, so that's 10.4g of bronze too much, and 2.6g of epoxy.
The advice @Superburban on mixing the bronze with the epoxy first, and then adding the hardener did not make things easier. The mix of powder so overwhelmed the epoxy volume that it was all just dry lumps, very difficult to get it to "coat" all the powder. When I added in the hardener, things eased up some, but I was not sure I would get the stuff fully mixed. Eventually, I got it to a consistent lump of "dough", and I just kept flattening and re-folding it until I had no loose bronze.
 _
_ 
Finally, with some irony in the use of thread gauges, I got it together. I put enough in on top of the nut remnant to help fill up to the threads, then I wound the screw in, and set about tamping and loading. I pushed with my thumb from the top, to force the mix down a bit "hydraulic-style". I found by whacking the top with the flat of the spatula. I could shock the mix into giving me a somewhat shiny top, and hopefully, forced it into all the shapes below.

So here we have it. After some hours, it has "gone hard". The test nut I unwound after about 16 hours. I now have to find a non-damaging attach to be able to get some torque onto this, because it does not come with a convenient hex head. If I can get it to unwind, I will post what happened.
Last edited:


