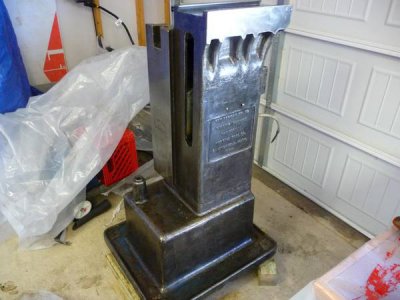
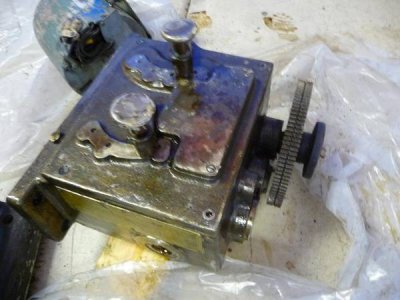
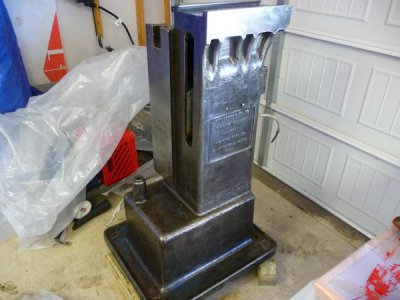
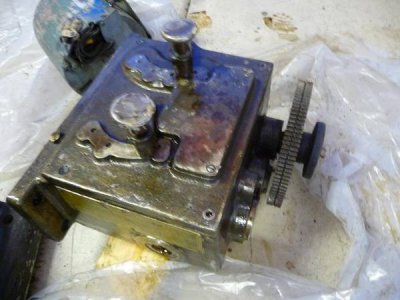
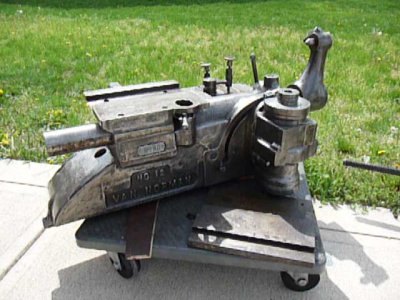
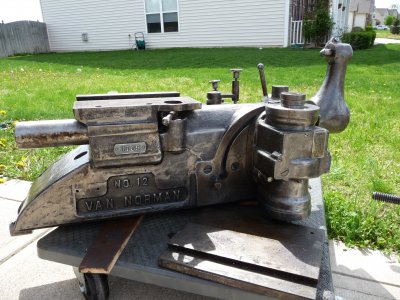
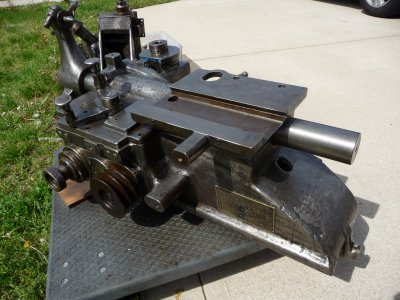
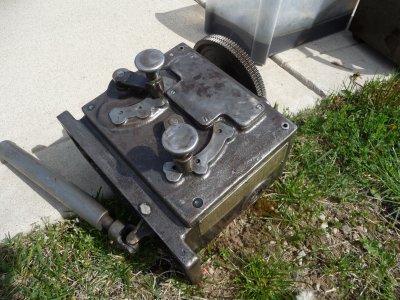
ScubaSteve's Van Norman #12 Restoration

Steve,
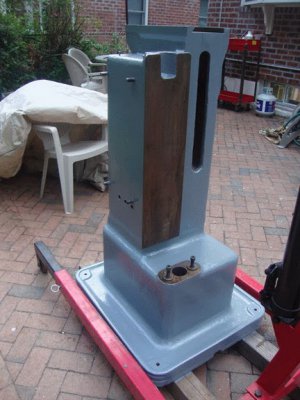
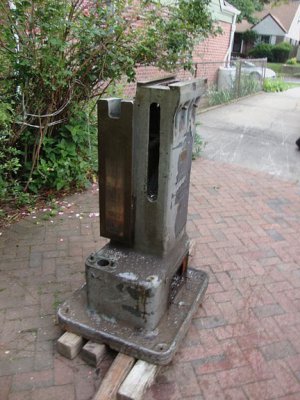
SHOULD I take this down to bare metal? Or can I take advantage of the filler that is already in place and just fill (a little more), prime, and paint? Will my use of stripper cause issues with the paint adhering later on?

While I had my #12, 1952 vintage down to the same level of "strip"; I only found filler in the seam between the base
and column!

Here's the before picture: <https: picasaweb.google.com="" lh="" photo="" 0zxz1hfb7dck-stgv93gposc3tge6eogag5vhp7aegq?feat="directlink">https://picasaweb.google.com/lh/photo/0ZXZ1Hfb7DcK-Stgv93gPOsc3tGe6eOGAG5vHp7AEgQ?feat=directlink

Here's the after:</https:>
https://picasaweb.google.com/lh/photo/HX9h4OfO9y-t_JfY-8FNzOsc3tGe6eOGAG5vHp7AEgQ?feat=directlink
<https: picasaweb.google.com="" lh="" photo="" 0zxz1hfb7dck-stgv93gposc3tge6eogag5vhp7aegq?feat="directlink"><https: picasaweb.google.com="" lh="" photo="" hx9h4ofo9y-t_jfy-8fnzosc3tge6eogag5vhp7aegq?feat="directlink">
Since they perhaps came from the same pattern/sand mold/foundry, I suspect what you're seeing is a
reaction between the methchoride stripper and the original base coat of lead paint! Of course, YMMV; but
why would they "bondo" a brand new machine that had very few casting defects before paint?

I'd do a test with another M-C layer on a small spot and see if it re-dissolves it into a scrapeable layer of schmutz before
doing any "dry wheeling". And the dust is toxic, so cover up well if you decide to grind/needle/wheel it.

HTH.

--frankb
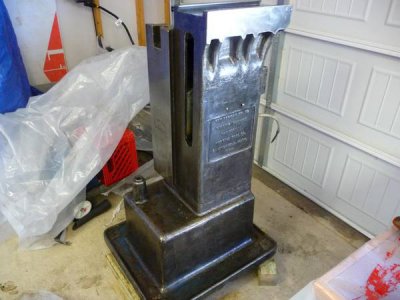
And I liked the color of the "raw" f-c coated cast iron I just threw a couple of coats of wax on it, and it remains
that finish to this day. Sort of "gun blue".
https://picasaweb.google.com/lh/photo/xZ2eKmzzb49W0_h5jwBl6esc3tGe6eOGAG5vHp7AEgQ?feat=directlink

Edit: Going back through my journal, I had a reaction between the ferric chloride converter and something; perhaps the soap I used to clean:https://picasaweb.google.com/lh/photo/R9z4s0ujyqdiWbK7Nqwht-sc3tGe6eOGAG5vHp7AEgQ?feat=directlink


</https:></https:>
 
Last edited:
Frank-

Nice looking machine! It's funny the amount of changes there were in less than 10 years. I suspect mine is early 40's/WW2 era and it does not have the sump compartment.

I would be inclined to think it were some sort of reaction, BUT I used the needlegun first. When I saw how the compressor was working, I decided to use chemical warfare. The filler was always present, this is not uncommon for machine tool makers to do since it helped mask imperfections in the casting. I know Bridgeport, SB, and several others did it....some of those that were producing during the war cut back on this extra step because they just wanted to get the iron out the door.

Lastly, I really like how you left the machine "natural". I posted this thread http://www.hobby-machinist.com/showthread.php/10854-Naked-Machine-Tools?p=89961&viewfull=1#post89961 trying to find out what that was called. I like paint and all, but it strikes me as being temporary....and it may not match other colors in your shop. The sheen of clean cast iron is really nice....I think if you get enough oil absorbed in the pores it can be as protective as paint, lots cheaper, and lower maintenance.

Got any more pics of your machine reassembled?
 
The first 12 I had I painted with Rustroleum smoke gray- several coats:


VN12.jpg

Before:

VN12_before.jpg

I used Citrustrip to get rid of the old paint (3 coats). I left all the filler, but did not add any more.

VN12.jpg VN12_before.jpg
 
Last edited by a moderator:
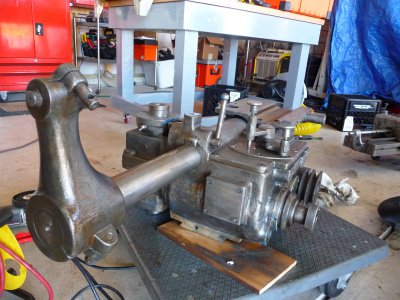
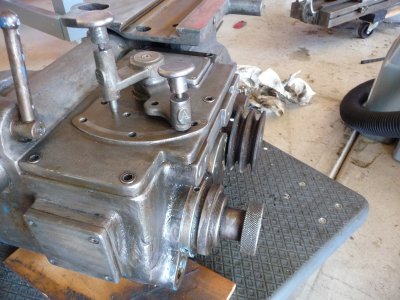
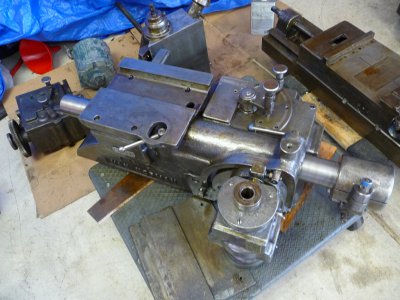
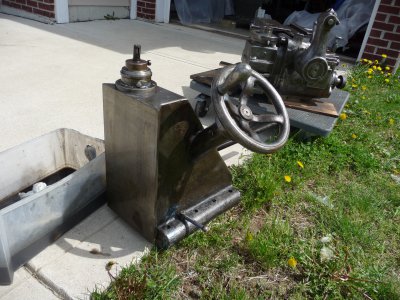
A little more progress....I went after it with a needle scaler. I did use some of the hardcore paint stripper in gel form. It works really well to remove paint, but because of the filler I still had to needle scale it. I found that going straight to the needle scaler was quickest. Lastly, I rubbed it down with motor oil. I was debating on what color to paint this, but I actually kind of like the natural finish. No paint that will fade, chip, crack, or yellow. A routine wipe down with oil is all that is needed and the machine looks quite handsome.
P1040717_zps55f8afaa.jpg

P1040718_zps3709ee28.jpg

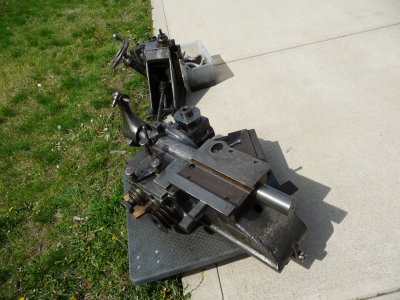
I'll be moving soon, so this will be a good time to do it...no paint to mess up during transport and I won't have to get the garage at the new place dirty with filler dust and grime. I'll need to do the same to the ram, knee, etc. but the biggest part is done. From there I'll need to get into the guts of the saddle for a good cleaning, and then finally reassemble.

P1040717_zps55f8afaa.jpg

P1040718_zps3709ee28.jpg

P1040717_zps55f8afaa.jpg

P1040718_zps3709ee28.jpg
 
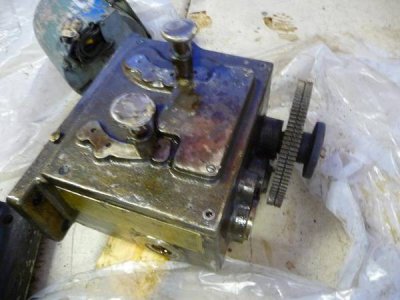
in youre first post of pictures, the picture that is a shot inside a bucket of various hardware there is a flow regulator with two copper tubes coming out of it. has a quick connect for compressed air but do you know what is was used for by the PO?
 
in youre first post of pictures, the picture that is a shot inside a bucket of various hardware there is a flow regulator with two copper tubes coming out of it. has a quick connect for compressed air but do you know what is was used for by the PO?

I have no clue what it was used for, but it was most likely for coolant or air to blow away chips. Could potentially have been a coolant misting system...not sure. For my limited uses, I will probably just squirt coolant by hand.
 
makes sense, dunno why i was thinking something to force lube into the saddle ways and table ways. they are a pain with how they are situated
 
What a beast! Good luck with the resto. Looking good so far. Quick question: does Citrustrip remove the filler?
 
I haven't tried the citrustrip on this project, but considering that maximum strength Kleen-Strip methylene chloride didn't do much......:dunno:

I have tried many different methods and actually like electrolysis the best, but for the heavy stuff you gotta strip them in place. I have used oven cleaner, citrustrip, and various strippers. I DO like the citrustrip....it says that it's safer, but I think you can get a lot more done with the Kleen-Strip gel as long as you have EXCELLENT ventilation and proper PPE...meaning glasses, mask, and long gloves. Not only is it cheaper, but it is a lot more aggressive. You will immediately know if you have it on your skin...it is just as painful as hot grease from a fryer.

That being said, on this project I found that I had to use the needle scaler anyway....so I went without chemicals. Still, I used a lead-rated N-95 mask and was careful about ventilation and a scrupulous cleanup.
 
Last edited:
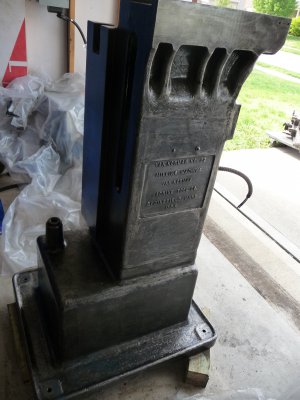
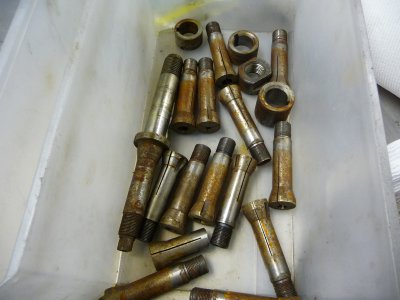
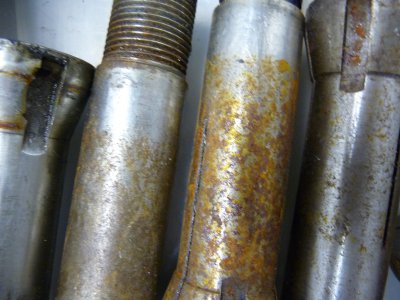
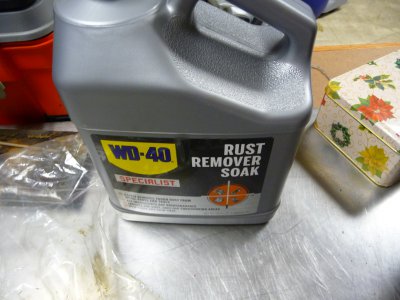
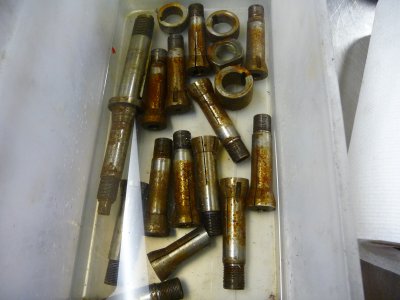
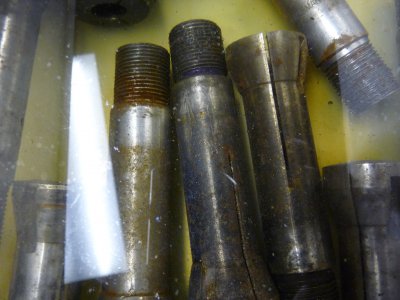
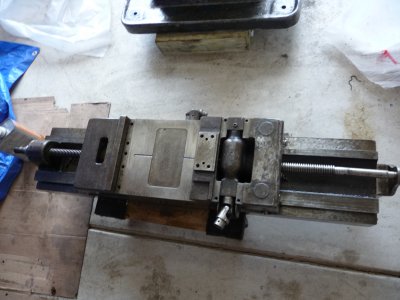
Here's some more....I used kerosene to clean the castings of the motor oil I had used....I just didn't like the greasiness of it, plus it was collecting a lot of dust. I multitask in my shop, and do woodworking from time to time, so I didn't want a dust magnet. Incidentally, I "discovered" a good way to clean the leadscrew...get a good brand of pipecleaner and tie it arouund the threads....then just "unscrew the dirt". I also used a product similar to evaporust on the collets. Seemed to be the exact same stuff.

After a lot of research and sitting on the fence, I applied a mixture of 70 percent Boiled linseed oil/ 30 percent Turpentine. I let the castings warm up in the sun, and wiped them down with a thin coat so I wouldn't get the tackiness that most people complain about with BLO. It is still curing a bit, but there is a slight "rubbery" skin over each part that should keep things rust free and less oily to the touch. I can still paint the machine if I so choose.

P1040742.JPG P1040743.JPG P1040745.JPG P1040749.JPG P1040750.JPG P1040751.JPG P1040752.JPG P1040755.JPG P1040757.JPG P1040760.JPG P1040761.JPG P1040762.JPG P1040763.JPG P1040764.JPG P1040765.JPG P1040766.JPG
 
Back
Top