ScubaSteve's Van Norman #12 Restoration

HMF

Site Founder
Administrator
Joined
Sep 22, 2010
Messages
7,223
Posted with permission from Steve

Hello all-

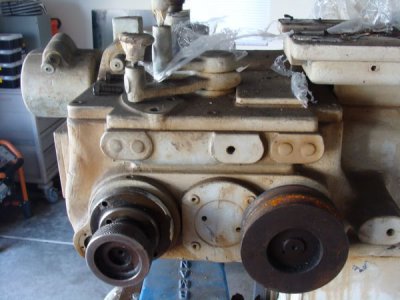
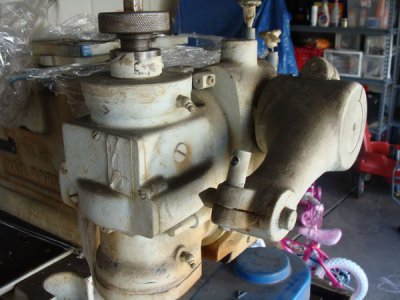
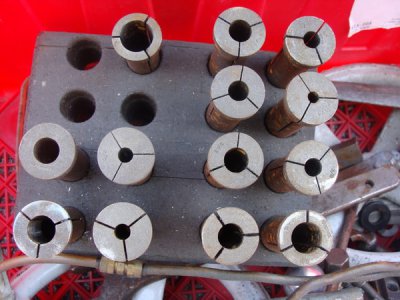
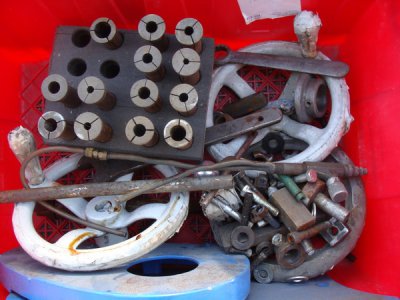
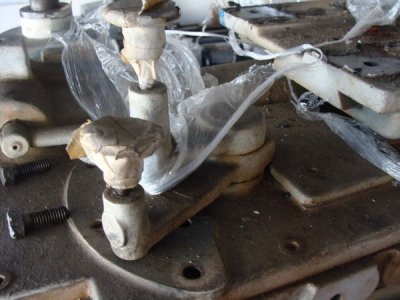
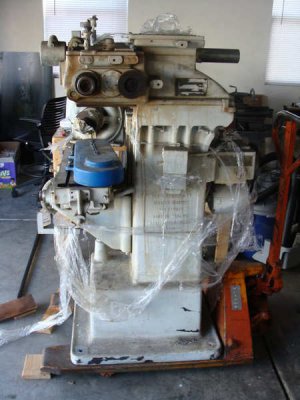
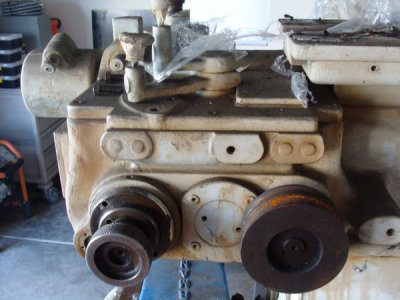
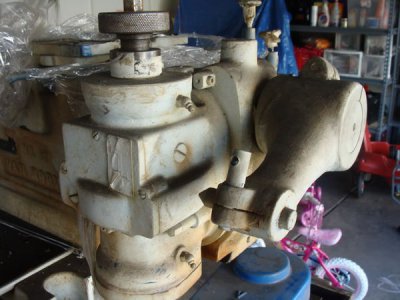
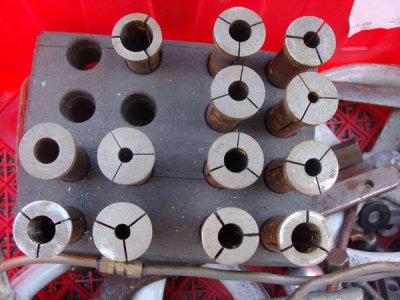
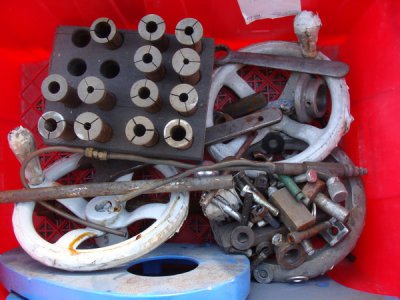
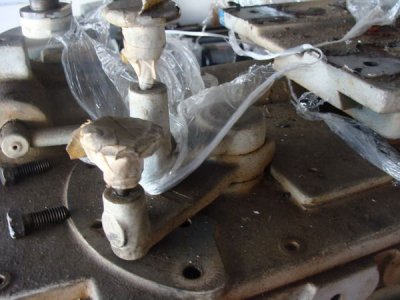
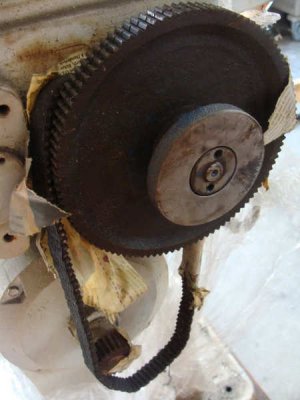
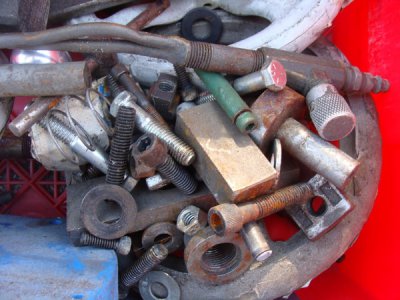
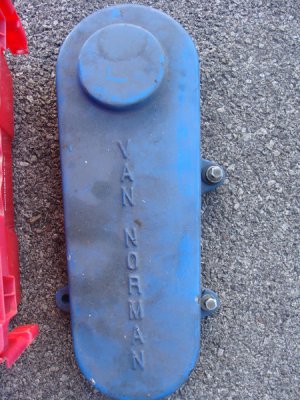
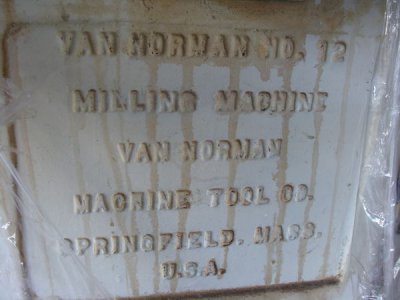
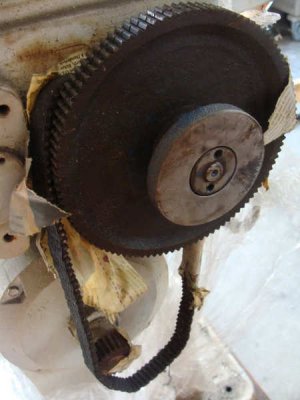
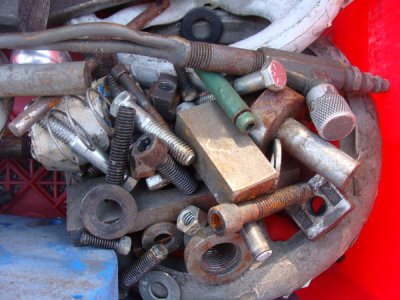
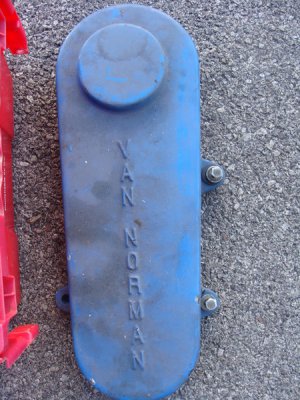
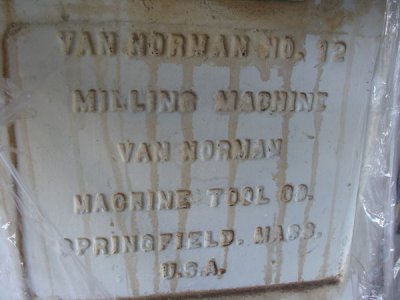
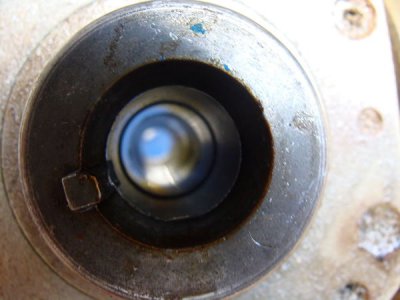
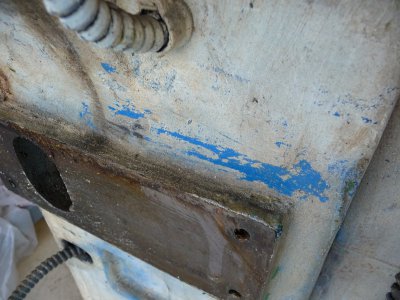
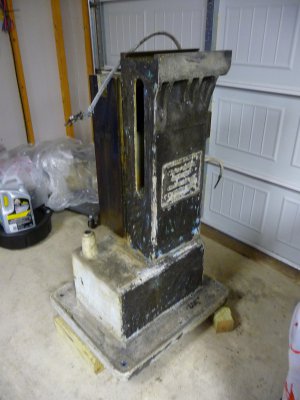
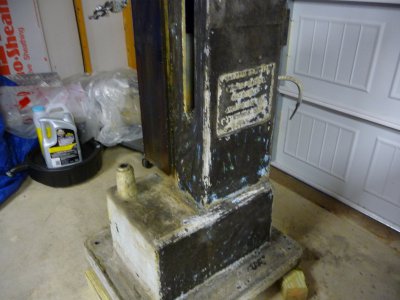
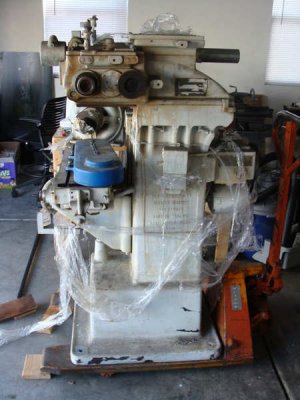
I'm creating this thread to chronicle my progress as I "refurbish" a Van Norman 12 milling machine. My plan at the outset is to scrape in the various sliding surfaces, but overall I just want a functioning machine tool with reasonable accuracy for a home shop. I acquired this mill a few days ago in less than stellar condition. It was given a terrible paint job of white (over a previous coat of safty blue) and the masking tape, etc. was still on the mill when i had it delivered. It looks to be in reasonable mechanical condition, as the spindle and gearbox seem to turn freely. I can't see any evidence of the mill being dropped, though there IS a portion of the leadscrew which has been brazed on; the far left of the x leadscrew has a threaded portion fitted on, I suspect it could have been done to accept a different handwheel since the PO had 3 original and one "different" handwheel on the machine. I also received a set of collets and an arbor, which are nice to have since these parts are hard to come by.

[h=2][/h]
DSC04518.jpg


DSC04519.jpg

DSC04525.jpg


[h=2][/h]
DSC04536.jpg

DSC04532.jpg

DSC04530.jpg

DSC04529.jpg


DSC04518.jpg

DSC04519.jpg

DSC04525.jpg

DSC04536.jpg

DSC04532.jpg

DSC04530.jpg

DSC04529.jpg
 
DSC04523.jpg

DSC04531.jpg

DSC04533.jpg

DSC04535.jpg


I'm getting pretty close to the "good paint job" phase, just because I know what an undertaking a complete dis-assembly and rebuild can be. Unfortunately with this machine, the paint job was bad enough that I think I'm gonna have to citrustrip the whole thing. There's not a stable coat of paint anywhere on the thing, so painting over everything is out of the question, plus the paint got in all the wrong places so I need to get it out.

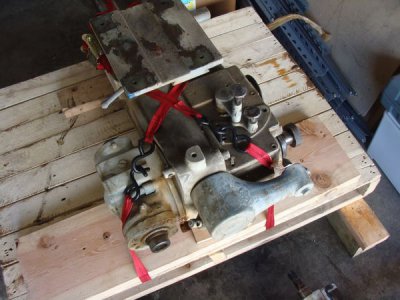
The irony of all this is that I'm moving in just over a week. I'm not sure what I'm going to do yet, but I'm thinking of breaking the machine down into large subassemblies and fixing them to pallets I find behind grocery stores, etc. I think this will kind of start the process of restoration without having too many loose parts during the move, and maybe make moving the thing safer/easier. Has anyone ever moved a VN12 without the ram,etc on top? Any tips on where to lift from?

DSC04523.jpg

DSC04531.jpg

DSC04533.jpg

DSC04535.jpg
 
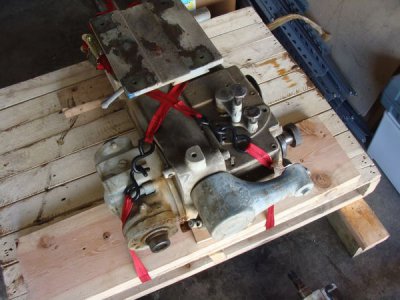
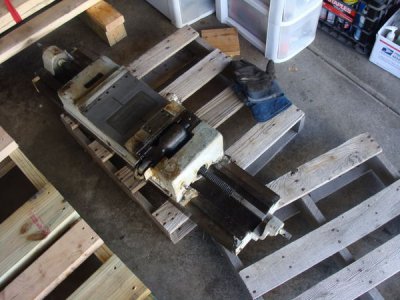
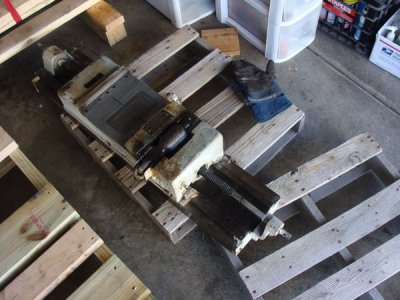
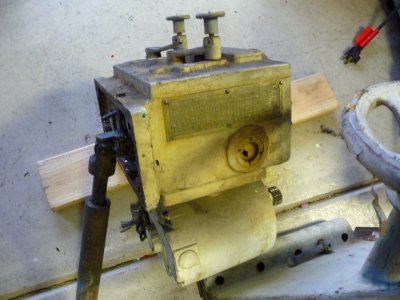
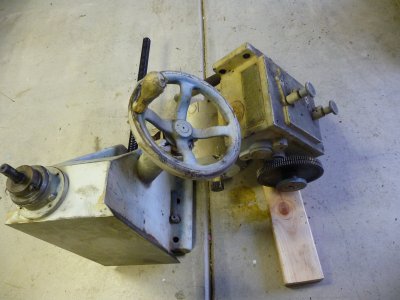
Well, got a few chunks bitten off. The motor and table are off. That table is pretty heavy; I'm stronger than most and it still would have been wise to have safely lowered the table with a hoist vs. the slow "drop" onto a pallet that I executed

Can't get the ram off, but it seems to be because it is gummed up. I cranked it off as far as it would go and removed the stopper on the side...but I may need to tap it off with a deadblow hammer. The hoist is connected and will take over the job once free from the column.

I was going to take off the power feed and knee too, but we'll see. I may lay it on it's left side and call it a day...will probably make a skid out of the remaining scrap wood I have in the shop.

My biggest worry at this point is still getting that column up high enough to go in the truck. Budget truck rental assures me it's a 3 ft bed height, but I'll believe it when I see it. If the column is on its side and strapped to a solid skid, I *think* it should be low enough to give the crane enough "gumption" to raise everything at least 3 feet.

Oh, and BTW, I wasn't dazzled by flaking and scraping once the parts were removed, but we'll see once I clean the gunk off. Also, I managed to drop the gib for the table and crack it clean in half It looks like I may be able to epoxy it back together and bolt back into place.....

 
Last edited by a moderator:
Steve,

I helped move a VN12, with ram in place (low mounted motor), using a small trailer and unloaded it using a 2-ton engine hoist and a pallet jack. We completely dismantled another using the same engine hoist and pallet jack. If your "shop hoist" is a typical engine hoist, the problem that you may run into is that the legs of the hoist are too close together at the ram end to straddle the base of the mill. The base is 22" wide and 29-1/4" deep and almost 3" thick. An engine hoist that was modified so that it could straddle the base would make the job of dismantling one pretty quick. With the right hoist or an overhead chain hoist you could pull the motor, ram, table and saddle in pretty short order. I wouldn't think it would be necessary to go farther than that.

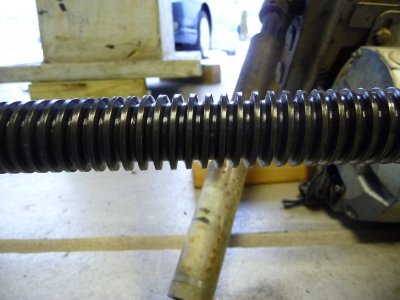
I see that you've already wrestled the table off. I hope you didn't damage the leadscrew. You must be a young fella to try to lift something like that by yourself and brute force...

Your problem with the ram may be that the gib is jamming it.

If you let me know what you have to work with and how far you want to strip it I can probably save you a lot of grief, having learned a thing or two the hard way.

As far a loading it goes, call a local towing company and see that they would charge to have a wrecker put it on the truck for you. $50 will usually get-er-done.

Cal
 
Because the gib literally cracked right through the middle bolt hole, there are two other holes per "piece" that can be used to keep it in place....so you're probably right...epoxy etc may just make it worse.

CAL-

We moved this one off the trailer in one piece, so I got a feel for how top-heavy they can be. Since I'm moving, I'm gonna break it down into moveable pieces and put it on the moving truck. I kind of needed to do this anyway in order to clean/paint the mill.

No damage to the leadscrew, I laid the table down on its side

I will definitely take a look at that gib....you're probably right about it binding the ram. This time I won't drop it

 
Last edited by a moderator:
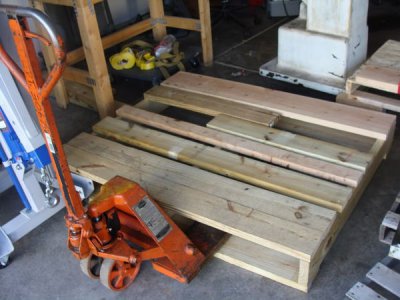
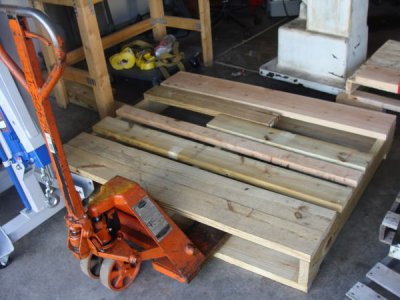
Ok, so I managed to finally get the ram off. Like an idiot, I wasn't looking on the underside and didn't see the screws which held the gib....which was exactly what was holding things in place. I got the ram cozy on a skid of its own, and made a bigger pallet for the main column. Just gonna tip it on its side (with help) and lash it down. Here's some pics:

DSC04539.jpg

DSC04538.jpg

DSC04537.jpg
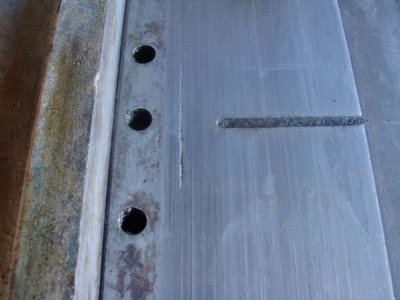
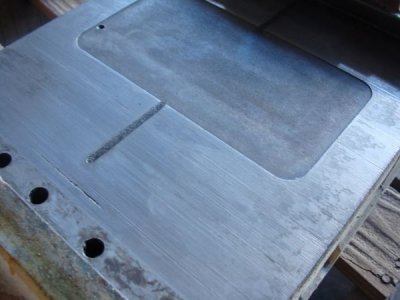
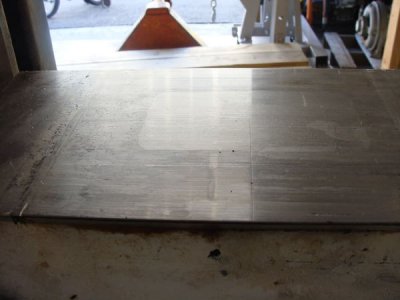
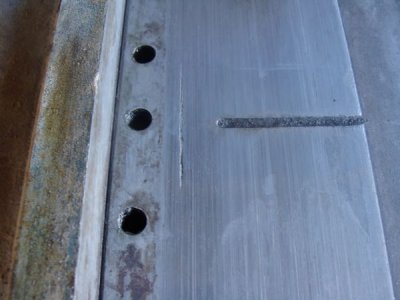
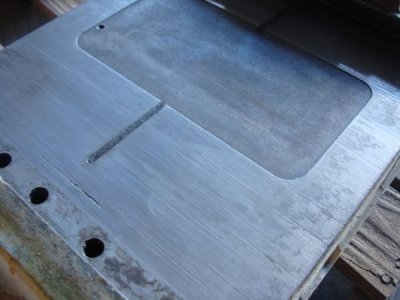
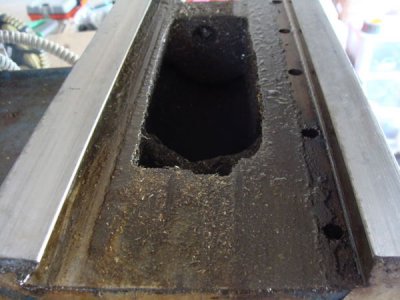
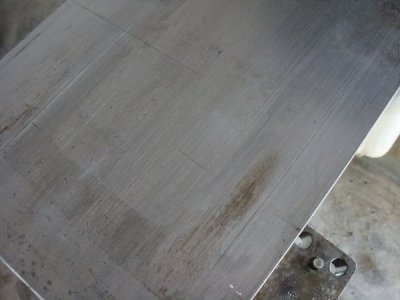
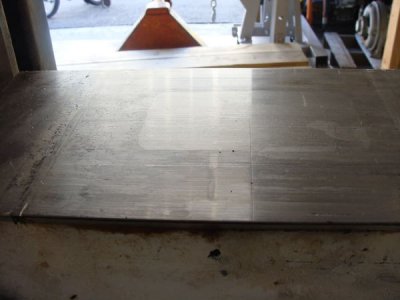
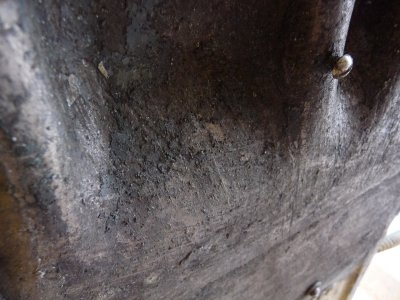
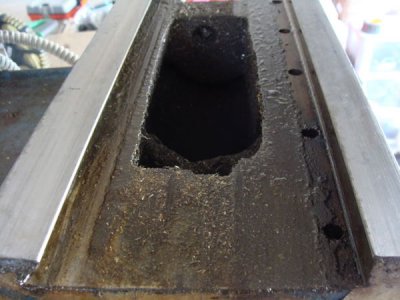
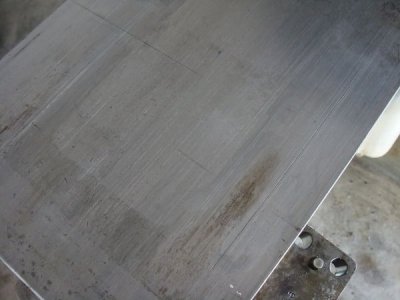
I also did a bit more cleaning of the critical surfaces, just to see the wear. They don't look too great in my opinion. There's scoring, nicks, and zero scraping present...but I wonder if they came scraped in the first place. I'll let everyone else chime in, though.

DSC04547.jpg

DSC04545.jpg

DSC04544.jpg

DSC04543.jpg

DSC04555.jpg

DSC04550.jpg

DSC04561.jpg

DSC04539.jpg

DSC04538.jpg

DSC04537.jpg

DSC04547.jpg

DSC04545.jpg

DSC04544.jpg

DSC04543.jpg

DSC04555.jpg

DSC04550.jpg

DSC04561.jpg


I've heard of people just lightly running a very fine whetstone and oil over the surface....maybe I'll do that to knock down some of the burrs, then commence the rest of the cleanup. Scraping in general doesn't intimidate me, it's the dovetails that look like they could be a problem.


With it torn down like this you can make some basic assessments. Bear in mind I am not an expert. Take a good straight edge like a machinists square , and lay it across the bearing surfaces. Look for rocking, if you see a gap stick a feeler gauge in there and get some idea how much of a groove is worn. Also check to see how much lip there is between where the gib rides (original surface) and the wear areas.

I would not recommend a stone on the surfaces, , one, you don't want abrasives in the iron, and two, you don't know how flat the stone is.​
 
Okay...so I finally made some progress on this machine. I finished up restoring a Sheldon lathe, so this has my attention as far as machines go. Here's some more pics, and a few questions for the group....

P1040654.JPG P1040658.JPG P1040664.JPG P1040667.JPG P1040670.JPG
 
I took the knee and gearbox off...so the column is pretty much bare. I proceeded to go at it with a needlegun, which worked quite well. Unfortunately, my little 2HP compressor was running constantly....even when I dialed it down. So, I applied some of the really hardcore methylene chloride gel stripper. I know I said I wouldn't use this stuff again due to its toxicity, but this time I have the machine right next to a garage door so I can just pop the hatch when doing the really messy work. I then took a carbide paint scraper and raked off layers of paint in no time.

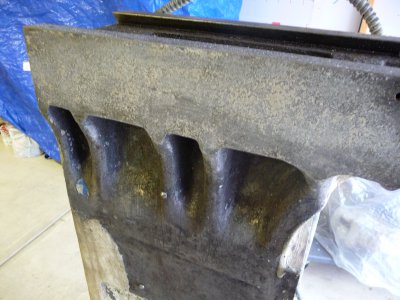
The problem is....FILLER. Van Norman used a lot of it...the machine is completely covered in 1/8" of the thick black junk!


P1040671.JPG P1040678.JPG P1040679.JPG P1040681.JPG P1040683.JPG
 
You can see in one of the pics the clear delineation between bare metal and the filler. I can chip it off pretty well with the needle scaler, but it takes a lot of time. I have previously encountered this stuff with a 1919 SB Lathe....that time I used a knotted wire wheel and it took everything off quickly....but it was incredibly messy and the powdered filler completely coated everything in my shop. If I do that again, I will use tarps to create an enclosure around the machine while I use the angle grinder/wheel.

SHOULD I take this down to bare metal? Or can I take advantage of the filler that is already in place and just fill (a little more), prime, and paint? Will my use of stripper cause issues with the paint adhering later on?
 
Back
Top