-
Welcome back Guest! Did you know you can mentor other members here at H-M? If not, please check out our Relaunch of Hobby Machinist Mentoring Program!
- Forums
- GENERAL TYPES OF METALWORKING MACHINES
- ANTIQUE & VINTAGE MACHINERY
- MISC ANTIQUE & VINTAGE MACHINERY
You are using an out of date browser. It may not display this or other websites correctly.
You should upgrade or use an alternative browser.
You should upgrade or use an alternative browser.
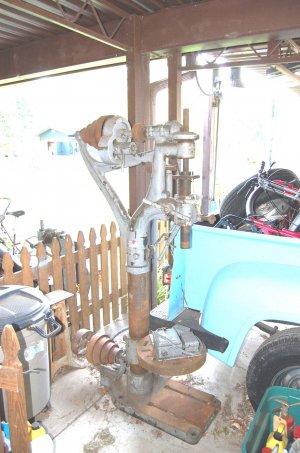
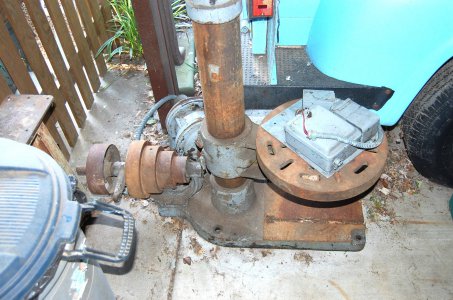
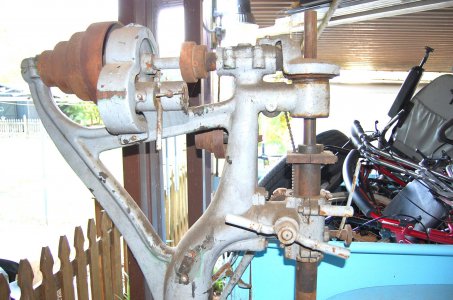
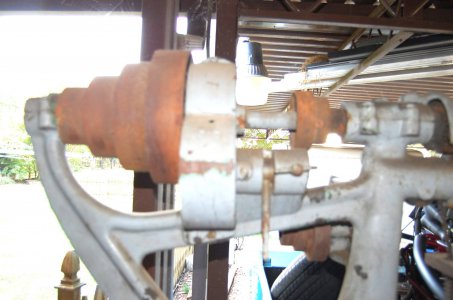
Reconditioning The Champion Forge Camel Back Drill Press
- Thread starter Old Iron
- Start date
- Joined
- Nov 8, 2011
- Messages
- 1,678
OK, Enough of this BS your making me look bad, I've had a Bridgeport for 6 months that needs rebuilt and haven't even looked at it in 5 months
- Joined
- Sep 29, 2010
- Messages
- 1,558
OK, Enough of this BS your making me look bad, I've had a Bridgeport for 6 months that needs rebuilt and haven't even looked at it in 5 months
Well if-n you don't want to look bad :rofl: get to work on it.:nono:
Paul
- Joined
- Oct 6, 2010
- Messages
- 699
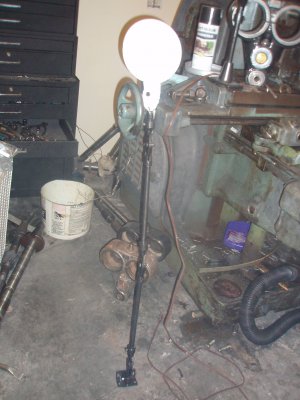
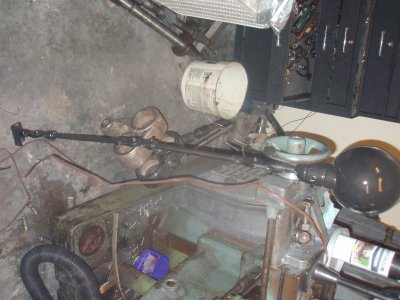
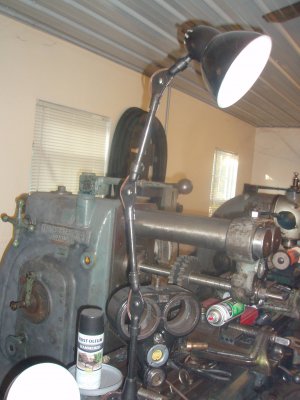
Mite as well throw theses in 2 old machine lights I've been working on.
Paul
Paul,
The drill press and lights are looking great and I like your horizontal milling machine. What model is it? Now a newby question. How many outboard arbor supports does a mill need? I see what looks like three in one of the light photos.
I liked the color your selected for the drill press so much I went and bought a quart at Home Cheapo. Will use it on a project I am working on to see how it looks in person.
Benny
- Joined
- Sep 29, 2010
- Messages
- 1,558
Paul,
The drill press and lights are looking great and I like your horizontal milling machine. What model is it? Now a newby question. How many outboard arbor supports does a mill need? I see what looks like three in one of the light photos.
Benny
Mine is a K & T Milwaukee 2CH and it depends on what your doing. It comes with three one for the end and one that goes on the inside of the cutter. You would only use it to make heaver cuts, I don't know if-n I'll ever use it but just in case I have it.
One of the ones in the picture is a extra one needs paint and a site oil glass.
Paul
- Joined
- Sep 29, 2010
- Messages
- 1,558
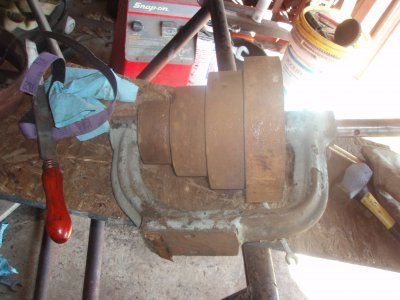
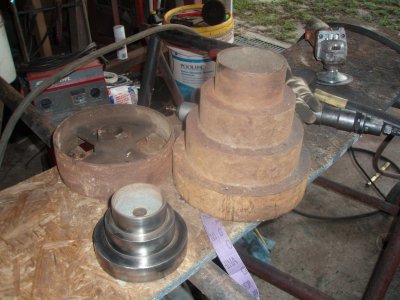
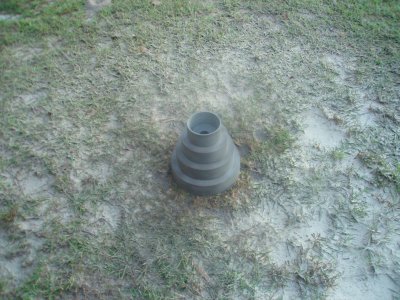
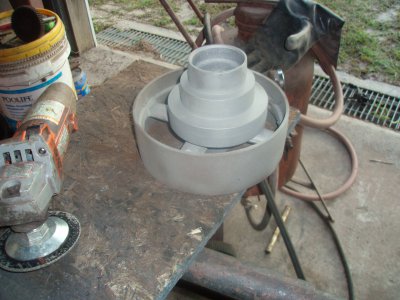
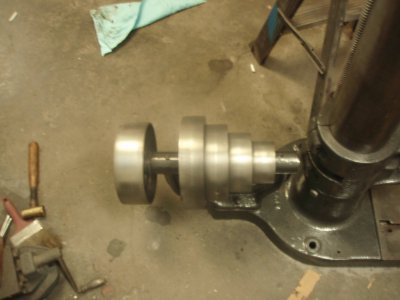
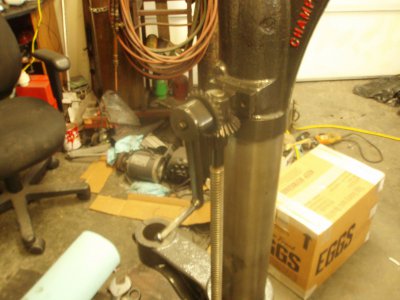
Didn't get a lot done today but at least I did do something. I got the drive pulleys back together and mounted.
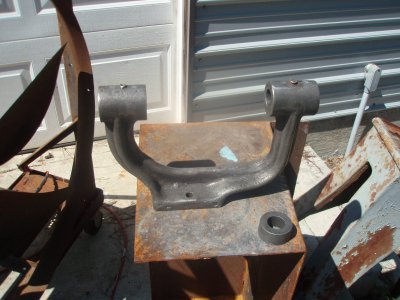
I Also got the Back Gear Cam cleaned up and installed.
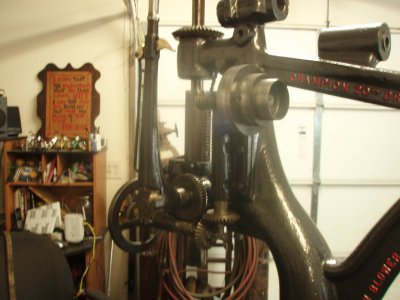
Got the power feed done except the main shaft.
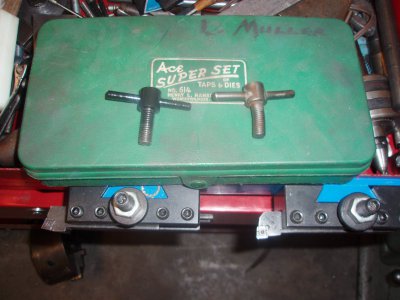
Had to make a new set screw for the cam lock.
Except for 2 bolts the table lift is done.
Paul
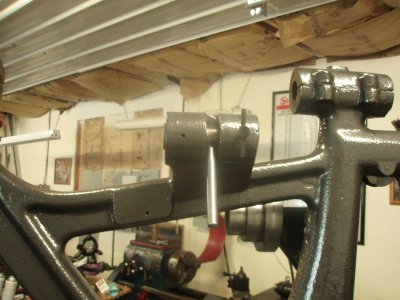
I Also got the Back Gear Cam cleaned up and installed.
Got the power feed done except the main shaft.
Had to make a new set screw for the cam lock.
Except for 2 bolts the table lift is done.
Paul


