Power Hacksaw Rebuild

fastback

Active User
Registered
Joined
Jan 7, 2013
Messages
485
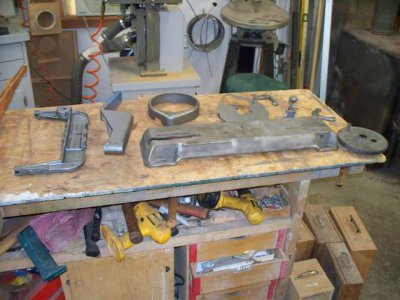
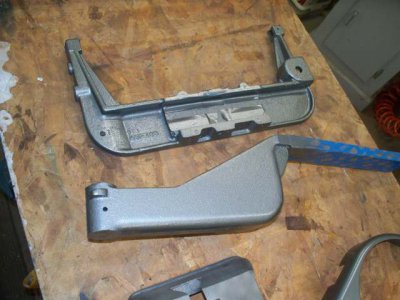
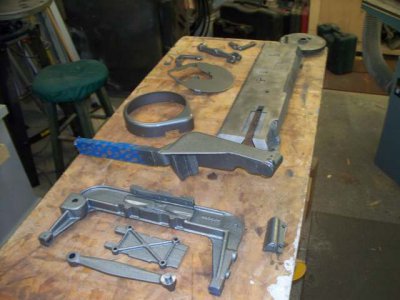
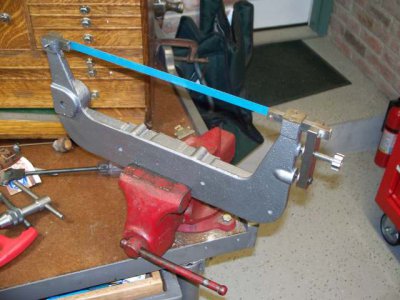
So as indicated I started to degrease and bead blast the little beast. As I have already indicated there are a number of parts missing or in need of replacement. Most of the parts are now either painted or waiting to be painted.

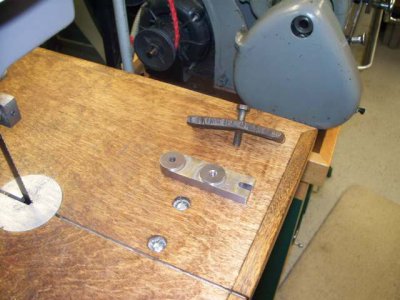
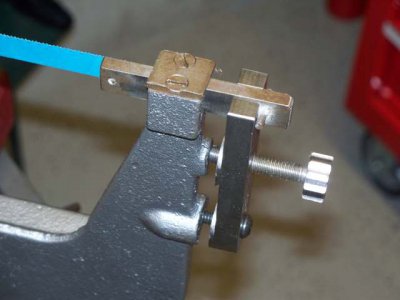
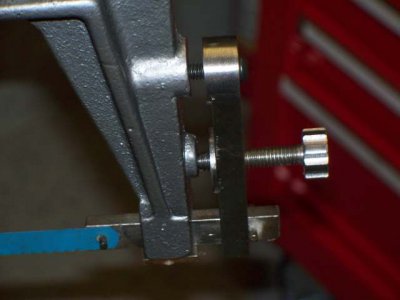
I have also started to make some replacement parts. The first one is the blade tensioner. What was on the machine was a rusted piece of steel. Since I don't have the original I had to use a picture as my plan. The tensioner is now complete except for the thumb screw (its in the lathe being turned). I am guessing but I expect the top hole in this part is elongated so when adjusting the tension the end has the ability to pivot.


Well anyway here are a few pictures.


Oh the paint and color I am using is a Rustoleum hammer gray.
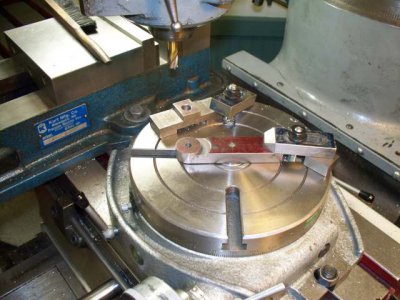
000_0493 copy.jpg 000_0494 copy.jpg 000_0495 copy.jpg 000_0497 copy.jpg 000_0498 copy.jpg
 
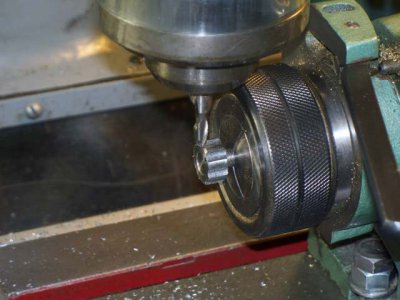
Continued work on the hacksaw today. I thought it would be good to continue on the tensioner. I also had time to make a thumb screw. I decided to make it all one piece and put some flutes on the handle. Now I need to remove and paint it.

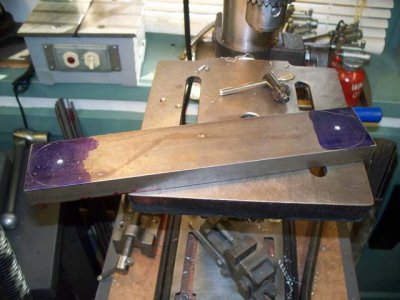
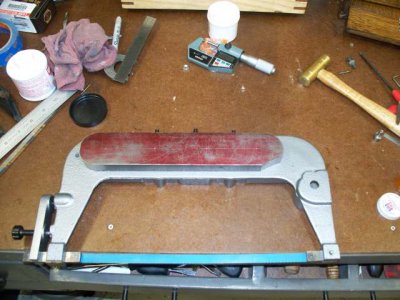
Next time out I'll work on the weight. I have the piece rough cut. I have no idea of the weight or thickness but going by the picture it look to be around 3/4 inch. Right my piece CRS 3/4 x 2 x 12 inch it is just a guess.

Enjoy the pictures.

Paul

000_0501 copy.jpg 000_0502 copy.jpg 000_0503 copy.jpg 000_0506 copy.jpg
 
That looks like my SawMaster there pretty close. Nice job your doing and the new parts look like they came with it.

Paul
 
I like it! :thumbsup: Keep up the good work.
 
Thanks Paul, I am enjoying the rebuild and looking forward to seeing it run.

Paul
 
Hay. Fastback. I. Have a excell. Looks. The same. If you want some pics and measurements of the weight I can take

Mine off take pics.

Can't figure out how to post pics. So send me a pm. With cell phone # and I'll send pics their


Thanks Scruffy
 
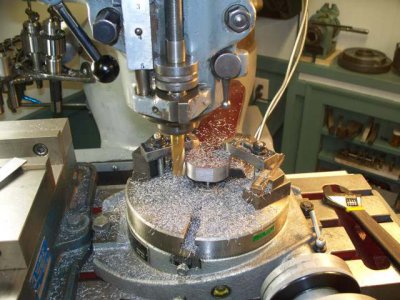
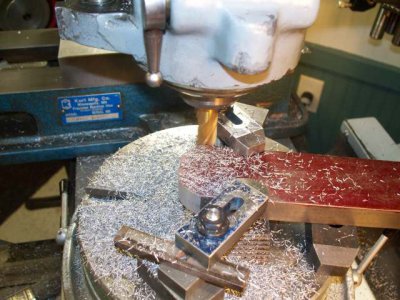
So today I did a little painting and then started on building the saw weight. Just keep in mind that I am guessing at the size. I measured off a picture that I recently down loaded off the net.

You will notice that the last picture shows the part I finished yesterday, but now with paint. I still need to cut the slots for the screws and that should be about it.

000_0508 copy.jpg 000_0509 copy.jpg 000_0510 copy.jpg 000_0512 copy.jpg
 
Scruffy, I did send you a PM, but as you can see I started without measurements. I don't think I need pictures just some measurements would do the job. I think I'm close to the right size, thanks.

Paul
 
Just wanted to thank Scruffy again for the help on the weight measurements. I guess I should have waited to start on the weight, but I guess what I have will be alright. Scruffy told me the size was 7/8 x 2 x 11 3/8, I ended up at 3/4 x 2 x 11 which should be OK since it is adjustable.

Again thanks a bunch.

Paul
 
Back
Top