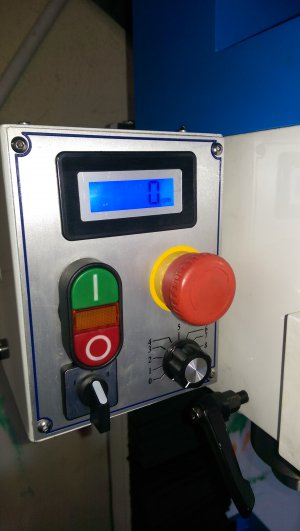
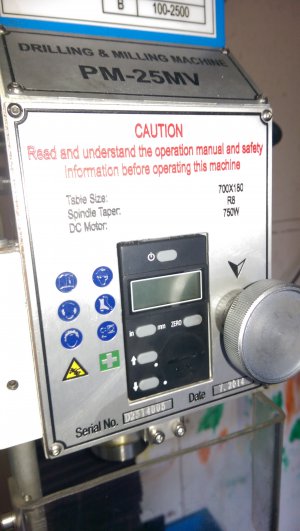
New PM25!

Congratulations!

I have been debating for a while now on whether to get the g0704 or the pm25, and after reading all the posts here and from other places, I called Matt and asked some questions, and today, pulled the trigger and bought the pm25, it will ship on Monday they tell me. Can't wait, i'm planning to cnc it.
 
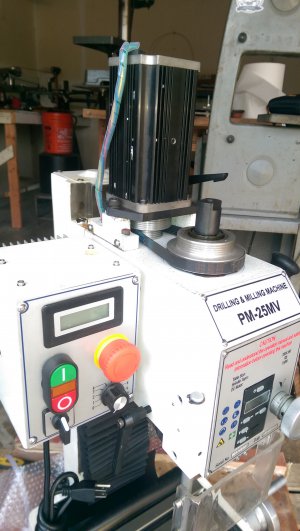
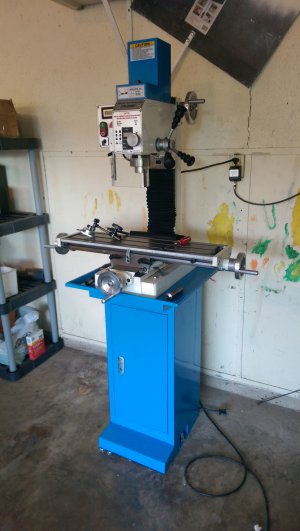
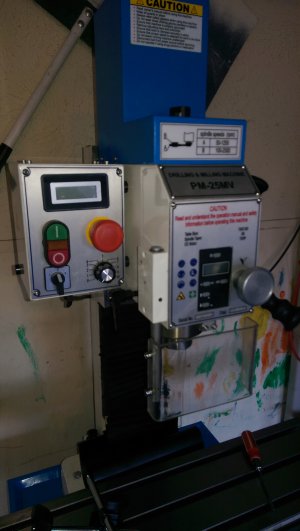
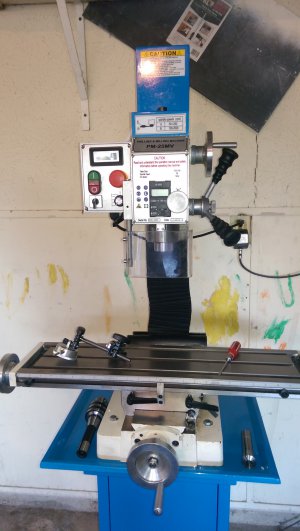
Good morning everyone. I mounted the base to the garage floor on Thursday night. I had a spot cleaned out for a few weeks anticipating it's arrival but quickly found out that it was not wide enough for the full travel both ways of the X axis. Yesterday afternoon I was able to get the mill on to the base. My wife and two daughters on one side and me on the other. (I will not be taking any chances like that again in the future.) I was able to start the mill last night as it is very quiet. I did speak with Matt on the setup proceedures. He told me to go ahead and start using it and that he has already run my machine for a bit. no break in necessary. Seems like I should be checking tram though.

I tried to post pics and the choose image button will not engage from my phone. I do have a video of the belt drive on instagram at harwellcarboncustoms. I will go take additional pics and try to load the from my desktop shortly.

Be back in a bit.

Jeff
 
IMAG0554.jpgIMAG0557.jpgIMAG0558.jpgIMAG0559.jpgIMAG0561.jpgIMAG0563.jpg

IMAG0554.jpg IMAG0557.jpg IMAG0558.jpg IMAG0559.jpg IMAG0561.jpg IMAG0563.jpg
 
Well I am officially a PM-25mv assembly specialist now. I set out to tram the head and was trying to figure out how to loosen it so it would rotate. That is when I found two screws, one was a hex and the other was inserted from behind the head when the column sliding mechanism was not installed yet. I did not have the 12mm hex so I went to HB and purchased a metric hex socket set. I had to shorten the length of the hex socket on my belt grinder so the ratchet and socket would fit in the area where these screws are located. Then I used a dial indicator from HB and proceeded to tram the machine and was successful within a couple of thousandths. I was able to tighten the head hex screw to a snug position, no problem. Proceeded to tighten the nut on the bolt that was inserted from behind the whole mechanism and turned it a couple of quarter turns and noticed I was not making any progress. I took off the nut and the bolt was stripped severely. So I had to take the whole head off so I could take the bad bolt out and insert a new bolt from behind the sliding column mechanism. What a pain. I could have put a couple more washers on the bolt so a new nut would secure to the non-stripped area of the threads but I was never going to be able to live with that. Well it all worked out because now I know how this thing works. The head is trammed within 2 thousandths on the X axis. The Y axis is out of whack a good bit. Hoss has a vid on shimming the Y axis but that is not possible with this config. The column cannot be removed from the foot of the machine like the G0704 in the video. It worked out because now I know a lot more about the machine. I can tram it in a matter of minutes now!

If anyone know how to tram the Y axis on this version of the PM-25mv please share.

Thanks,
Jeff

I have not seen a PM25... so asking: On the PM45/932, the column is mounted to the base with 4 bolts... loosen and shim under to tram the Y axis is the procedure I have read about... Is this not possible on the PM25? Just curious, since I have not seen one of them.
 
Hello Everyone

My PM25 arrived yesterday. Nothing short of a superb experience with R&L Carriers who QMT used to ship my mill. The driver was awesome and the crate/mill sustained zero damage. The first issue I'm dealing with is that the specs on QMT's website claims the table T-slots are 1/2" when in fact mine are 12mm. In anticipation and getting tool'd up, I purchased a 1/2" clamping kit and am now grinding T-nuts to fit. Not a big deal and once my vice is mounted, milling the remaining T-nuts to size will be an excellent first project. My mill is still in the crate and sorry no pics yet (my camera sucketh greatly). I am quite pleased with what I've seen so far and I did run it and it is REALLY quiet !

Bob
 
Congrats Bob! Mine is two days away! I purchased 1/2" clamping set as well, so I will be in the same boat.:thumbzup3::thumbzup3:

Hello Everyone

My PM25 arrived yesterday. Nothing short of a superb experience with R&L Carriers who QMT used to ship my mill. The driver was awesome and the crate/mill sustained zero damage. The first issue I'm dealing with is that the specs on QMT's website claims the table T-slots are 1/2" when in fact mine are 12mm. In anticipation and getting tool'd up, I purchased a 1/2" clamping kit and am now grinding T-nuts to fit. Not a big deal and once my vice is mounted, milling the remaining T-nuts to size will be an excellent first project. My mill is still in the crate and sorry no pics yet (my camera sucketh greatly). I am quite pleased with what I've seen so far and I did run it and it is REALLY quiet !

Bob
 
Thanks Bob I am going to try and mill mine down with my new mill.
 
Back
Top