Chance to buy a South Bend Lathe

Chuck -

Looks look you did really good. Considering all you got there, $750 is definately a great buy. It is a 10L (Heavy 10) with what looks to be a single phase motor. Catalog Number 8187ZS is the toolroom model with taper attachment. The "Z" tells us 3-1/2 foot bed. I do not know what the "S" means but it could indicate special order as you have the handlever collet attachment in lieu of the handwheel collet attachment which was standard for the toolroom model. I do not see the collet rack which would also have come with the toolroom model nor do I see the steady rest and follower rest. I do see the micrometer carriage stop, spindle nose thread protector, collet sleeve, faceplate, and three jaw chuck. From what I can see the gears appear to be in excellent condition. I could not see the bed well enough to see the condition of the ways. You do have some work to do in cleaning up this machine and getting it into running condition but it is going to be a real nice machine when you finally get it all together!

I do not know what the unidentified part is. The piece you are missing, one half of the yoke segment, for the handlever collet attachment may be a little difficult to find without buying the whole attachment. But, there are always handlever collet attachments out there not in the best of shape which may work as a doner for that part.

- Kent
 
klschepler link=topic=601.msg3191#msg3191 date=1295991815 said:
Chuck -

Looks look you did really good. Considering all you got there, $750 is definately a great buy. It is a 10L (Heavy 10) with what looks to be a single phase motor. Catalog Number 8187ZS is the toolroom model with taper attachment. The "Z" tells us 3-1/2 foot bed. I do not know what the "S" means but it could indicate special order as you have the handlever collet attachment in lieu of the handwheel collet attachment which was standard for the toolroom model. I do not see the collet rack which would also have come with the toolroom model nor do I see the steady rest and follower rest. I do see the micrometer carriage stop, spindle nose thread protector, collet sleeve, faceplate, and three jaw chuck. From what I can see the gears appear to be in excellent condition. I could not see the bed well enough to see the condition of the ways. You do have some work to do in cleaning up this machine and getting it into running condition but it is going to be a real nice machine when you finally get it all together!

I do not know what the unidentified part is. The piece you are missing, one half of the yoke segment, for the handlever collet attachment may be a little difficult to find without buying the whole attachment. But, there are always handlever collet attachments out there not in the best of shape which may work as a doner for that part.

- Kent

Thanks Kent and welcome to the Forum!

Yes, I am quite happy that I finally made the deal and feel lucky to have ran across it. I am excited about restoring it and am looking forward to the day when it's done. I am still debating the paint.. either Benjamin Moore or Spray Rustolem High Performance paint.. I think the latter is less likely to chip.

I should have taken a close-up of the ways, that look very good to me, based on my limited knowledge. I will do so the next chance I get.

I realize now that the unidentified part goes to something else.. it is made of cast aluminum.. The PO is probably missing a part to something of his. I think I will send him a picture of it and ask him if he needs it.Speaking of which, I have emailed him with a picture of the sleeve and he assured me if he finds it he will let me know. When I bought the lathe, he told me that if he finds anything else that belongs to it, he will contact me.


chengdave2003 link=topic=601.msg3193#msg3193 date=1295992841 said:
I'm just wondering how hard it would be to make that collet closer part? Something tells me that it's brass, but I could be wrong. You'd make the basic piece using the old piece for external dimensions and rough internal dimension. Then drill the holes, split the collar and tap one half with whatever threads it takes (anyone know?), and the other half with clearance/countersunk holes in the other. Screw together and rebore it to the correct internal dimension.

Does the Heavy 10 use the fiber thrust washer on the left hand side of the left bearing support? Can it use a similar upgrade to the 9"/10K spindle thrust bearing by installing a needle thrust bearing? It would allow zero axial clearance that is not possible with the fiber thrust bearing....

Just thinking out loud.

Dave

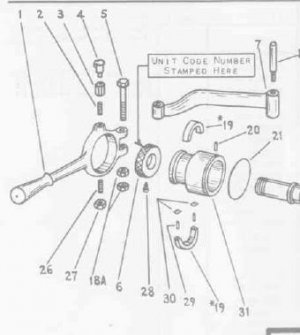
Yes I was thinking about trying to making one.... the two halves(#19) lock together with two pins(#29) and there is an indent on each half 180 degrees apart that the lever screws(#2 & 26) with rounded tips go into.. it is basically a bushing.. there is an oiler for it on the top lever screw. I'm not too worried about it.. Maybe the PO, Tim, might find it.. I did find the bracket stud for the lever screwed in the headstock casting..

colletlever.jpg

As far as thrust bearings, look at my picture of the spindle shaft..those go on the left side of the headstock.. is that what you're talking about?
 
Last edited by a moderator:
chengdave2003 link=topic=601.msg3214#msg3214 date=1296005402 said:
Hey Chuck,

No, those go to the right of the left spindle housing. The one I think it is that you're showing is between the take-up nut and the ball thrust bearing...the whitish/grayish part...goes to the left on the left spindle housing...

Dave

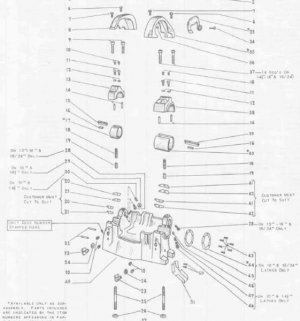
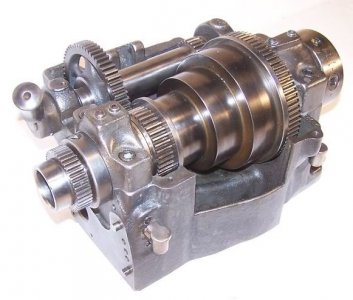
I'm confused.. (easily happens!!) Here is my spindle shaft and housing.. tell me which# you're talking about..

spindleshaft.jpg

headstockhousing.jpg
 
Last edited by a moderator:
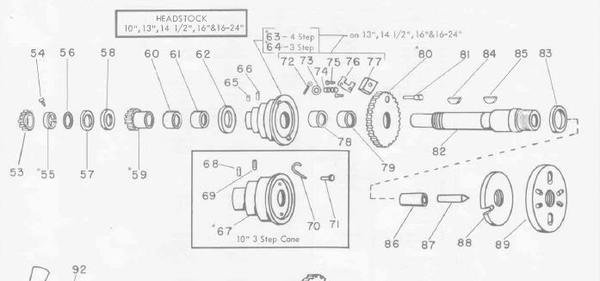
56 is the flat washer shown in my picture, 57 is the three piece thrust washer shown in the picture (two races and bearing) The ten inch lathe doesn't use 58.
 
chengdave2003 link=topic=601.msg3221#msg3221 date=1296009804 said:
And #56 goes to the left of the left bearing spindle housing right? Between the take up nut and the housing? That's a solid thrust bearing on a 9"....it's replaced with a three piece needle thrust bearing....

It looks like in this picture that #56, which is a flat washer, goes on the inside of the housing, just left of the 3 piece thrust bearing. Maybe someone will come along and verify that.

(The spindle reverse gear, #53, that I have is wider than the one in this picture, because mine is meant to be used with a handlever collet. I think that some people don't realize that there's two different reverse gears and complain that their draw bar is too long)


10LHeadstock.jpg
 
Last edited by a moderator:
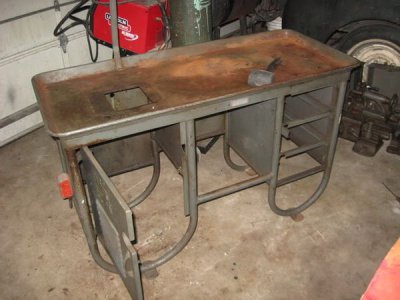
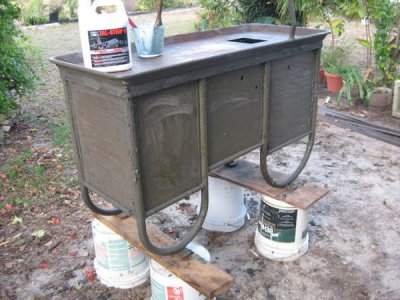
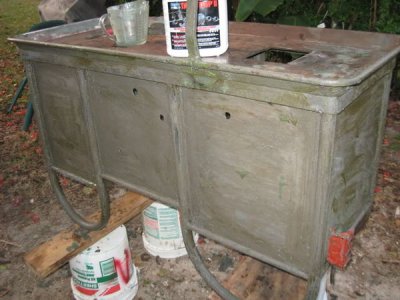
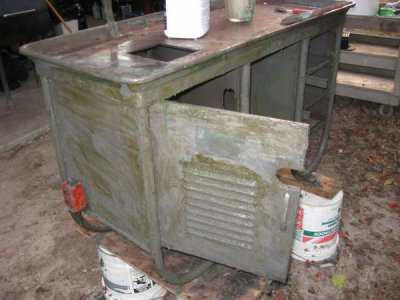
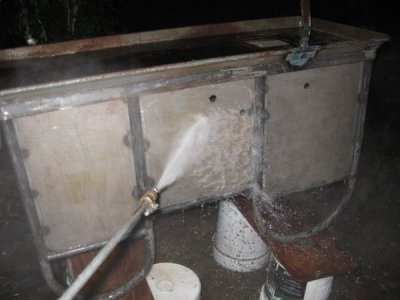
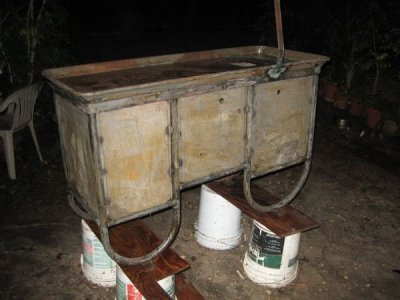
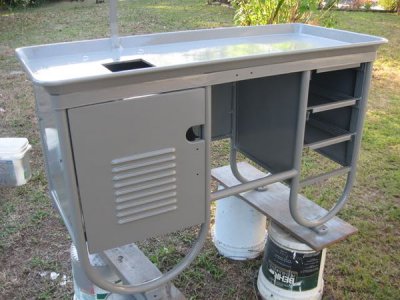
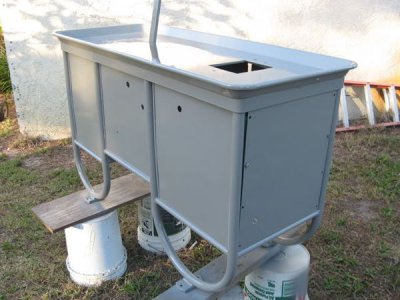
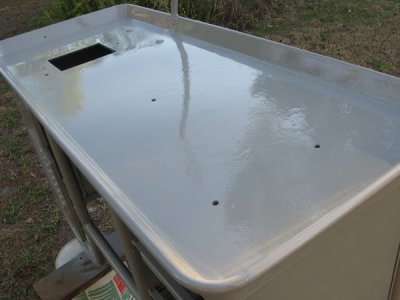
Thought I would post some progress on the restore.. To me, the biggest "pain" is getting the bench painted, so I am getting it over with, also I figured if I did this first, I would have something to build on.

I plan on using POR-15 rust paint topped with their 2 part Hardnose Paint.. I painted a couple of Harley frames this way and the stuff is rock hard.. Haven't decided on light gray or dark gray yet.. any thoughts?


IMG_1328.jpg

IMG_1334.jpg

IMG_1338.jpg

IMG_1337.jpg

IMG_1339.jpg

IMG_1342.jpg

The bare metal will be etched before painting.

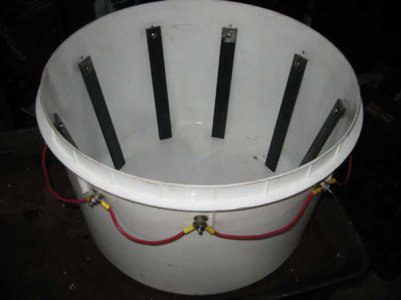
That's about all I got done. I did make an Electrolysis setup to clean the smaller parts:

IMG_1331.jpg
 
chengdave2003 link=topic=601.msg4023#msg4023 date=1297049655 said:
Your electrolysis setup is very innovative! I've not seen it done that way....

I thought it was unique, then I saw one just like it on the web :D
 
Last edited by a moderator:
Here is a update on the lathe.

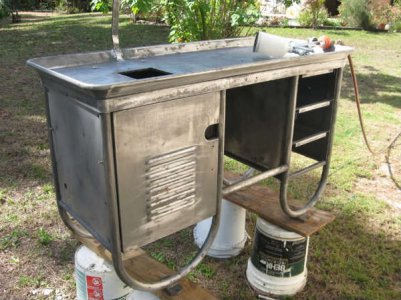
I just got finished painting most of the bench.. The paint I used is deadly.. It is rock hard when it dries though. I coated the treated bare metal with POR-15 and then top coated that with the 2 part hard nose paint. It will be scratch and chip proof when it dries.. Here it is:

IMG_1365.jpg

IMG_1369.jpg

IMG_1373.jpg

IMG_1371.jpg

Till next time.. :D
 
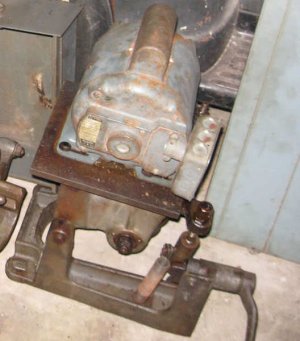
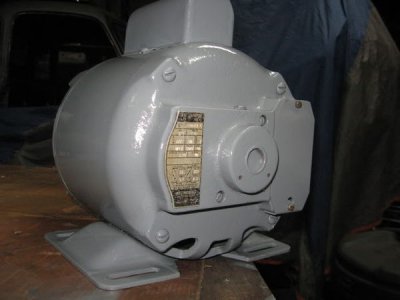
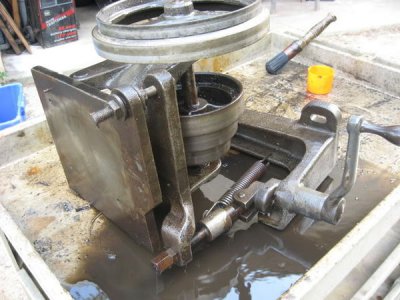
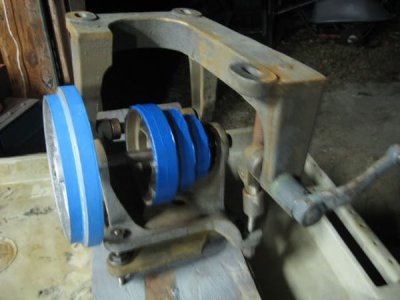
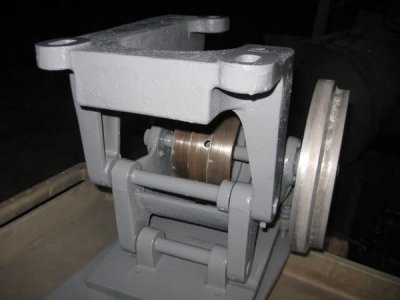
Moving on to the motor and underdrive

underdrive.jpg

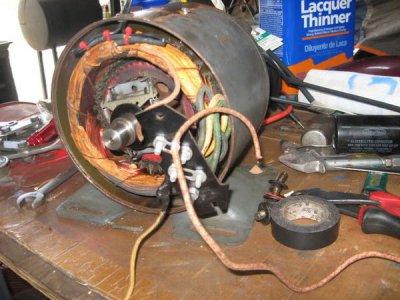
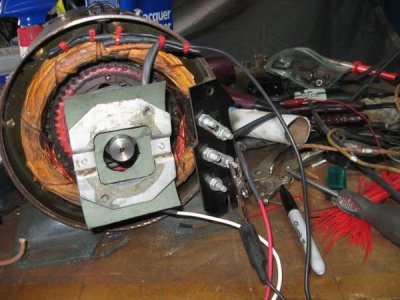
The cloth insulation was cracked in some place, so I repaired much of it as I could.
I also made a new insulation plate for the centrifigal switch because the original
was cracked
IMG_1380.jpg

IMG_1381.jpg

The motor ran fine in both directions after a test run.
IMG_1382.jpg


The underdrive spins very quiet and smoothly, so I decide not to disassemble it.
Is this a mistake? The bearings are sealed.

IMG_1400.jpg

IMG_1402.jpg

I still need to clean up the pulleys.
IMG_1404.jpg

until next time :)
 
Chuck,

From what little I know, that underdrive is a b&^%# to get apart. If it moves nicely, you were right to leave it. Everything is looking good!

Nelson
 
Back
Top