A Project Quest

It is important that the wheel arbor is accurate and true in all respects, so to machine the nut ......
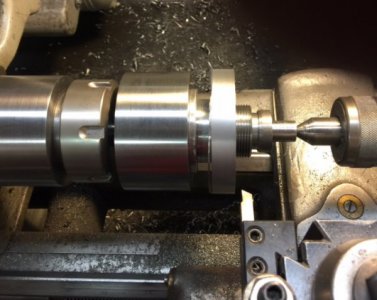
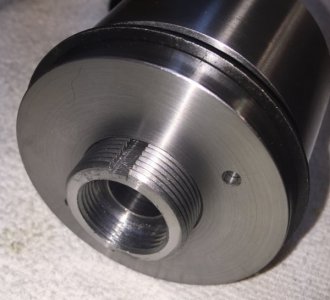
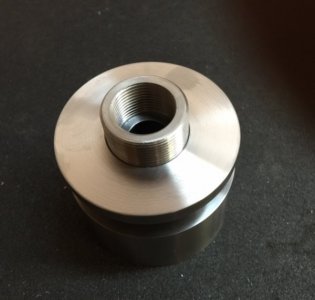
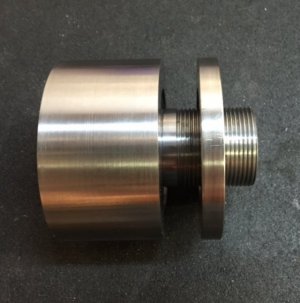
arbor7.jpg The nut is installed on the arbor and tightened against a spacer. The wheel arbor is mounted on the machining arbor and machined.
arbor3.jpg
arbor4.jpg
arbor5.jpg
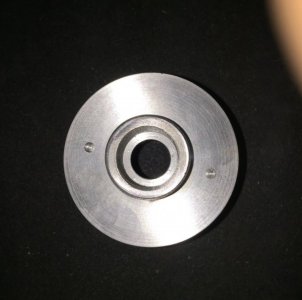
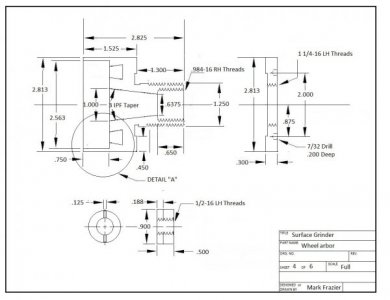
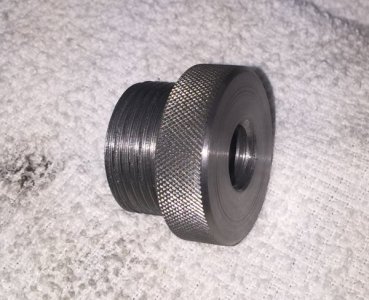
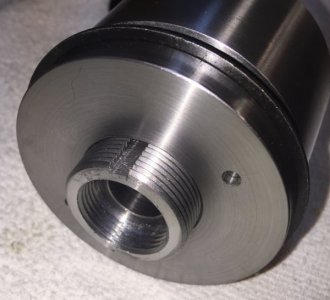
arbor6.jpg The nut runs true with the arbor after machining. I will drill two holes for the spanner wrench.I will be altering the arbor print as I have made some changes . Actually making the part let me see some things that needed changed but looked OK on paper. One big change was the nut was thinned down from .500" thick to .300" thick to reduce the weight and mass.

I will be trying to cut the balance weight groove on a practice piece of steel first, as I would hate to screw up a part I have over twenty hours in making.
 
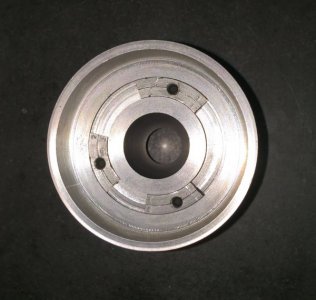
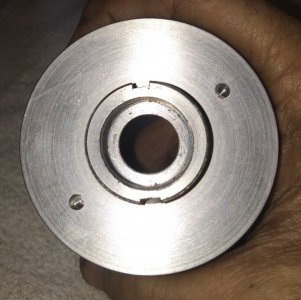
I have the proto-type grinding wheel arbor finished. It came out excellent as far as I can tell.
image.jpeg
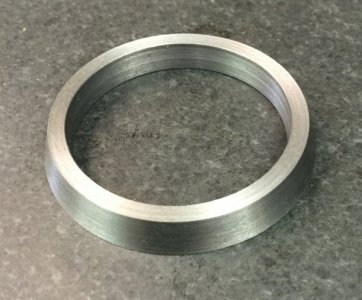
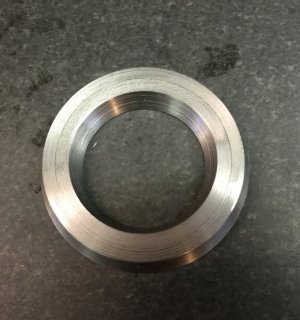
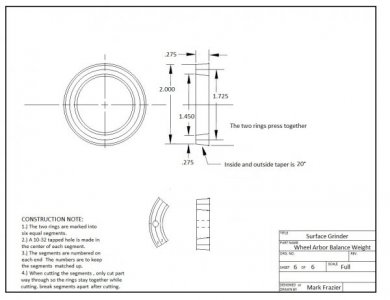
I started by turning the balance weights. I machined a ring with a 20 degree angle on the outside.
image.jpeg This is the finished outside ring. Next , I turned another ring with a 20 degree angle on the inside.
image.jpeg
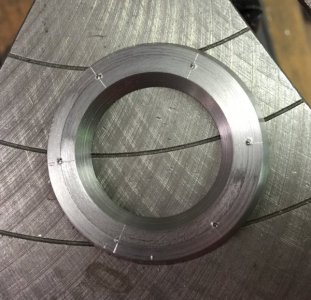
The two rings press together.


image.jpeg The two rings are pressed together, divided into six parts , and center punched on the seam between the two rings.
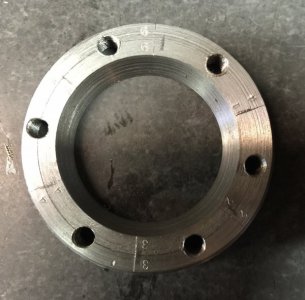
image.jpeg The holes are drilled and tapped at 10-32. The ring is marked half way between each hole for cutting. Each segment is number stamped because the segments are matched and cannot be mixed up.
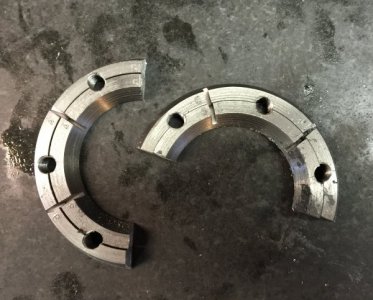
image.jpeg The ring is cut ALMOST through . ( if cut through, the rings will fall apart ). The last cut is all the way through. Now the segments can be easily broken apart.

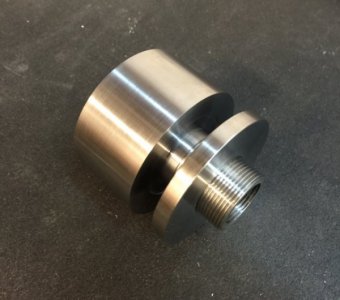
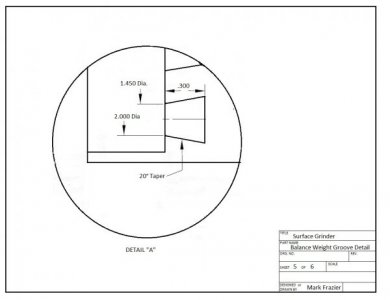
The arbor was mounted in the 4 jaw chuck , indicated to less than .001 T.I.R. A groove was cut .275" wide and .300" deep. Then each side of the groove was cut at a 20 degree angle.
image.jpeg The weights are is installed in the dove tailed groove. There are three weights. Most of the newer arbors come with three weights but I read several places that it is much easier to balance the wheel using only two weights. You can see one weight is longer than the other two. This was done in case a little heavier weight is needed.

image.jpeg I drilled two holes in the nut for a spanner wrench.

I spent about thirty hours making one arbor. I had to grind several special tools to machine this arbor. I could probably cut that time by at least 1/3 now that I know how to do it.

One last thing....... I MADE TWO OF THESE ARBORS! .... I will be sending one to you Bill Gruby.
 
Last edited by a moderator:
I'm confused on the first drawing. It looks like you have a nut shown at the bottom with a 1/2-16 LH for securing the hub to the spindle. It's a little shorter than the cavity in the end of the hub, but it looks like it has spanner holes on the circumference. Seems like you can't tighten this in place as shown? What am I missing?
 
Looks like slots on the face to me. Like for a large screw driver like tool
 
You aren't missing anything. The nut screws on the end of the spindle to hold the arbor on. It has spanner slots in the end to tighten or remove with a special spanner wrench. Yes it is .150" shorter than the hub. It could be made longer if one wanted. It should be close to flush.
My original plan was to make the spanner holes and slots to match the standard wrench for surface grinders, but after getting a quote of $42 for a wrench, I stopped following that thought because for that price, I will make my own wrench.
 
Ah! missed that they were slots. Still learning how to read. :)
 
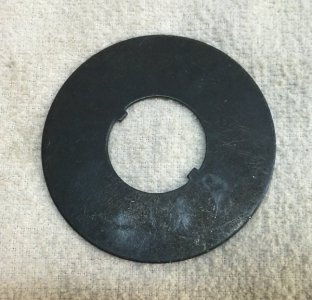
I ordered the needed washer from Sopko for the arbor . I ordered a half dozen because they have a $15 minimum order and I need them anyway. Need one for this arbor and some for my T&C grinder. They were only $2.75 each. I can't make them for that.
image.jpeg

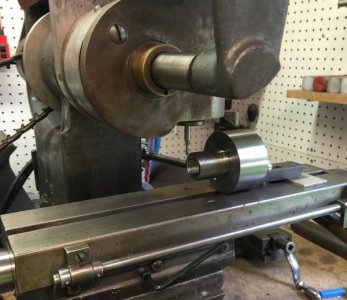
I set the arbor on the mill and cut the keyways for the washer with a 1/8" end mill.
image.jpeg

image.jpeg
image.jpeg

I also made the puller for removing the arbor.
image.jpeg
It will use a 1/2-13 grade 8 bolt for the stud.

I guess the arbors are finished. Time to get started on some other part.
 
  • Like
Reactions: ome
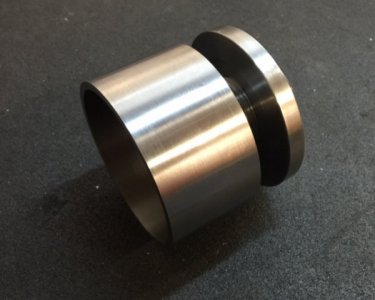
I discovered a MAJOR problem on the wheel adapters. I have a LOT of hours in these and was not sure they can be saved. Another thread on here opened my eyes to this problem ( thank you Savarin). When I cut the taper inside, I couldn't get the tool in the correct position without making some special tooling, so I raised the tool I had above center to make the taper. I totally forgot that this would cut a weird taper and actually sort of oval shaped ( I think the term was " parabola". Now, I got two beautiful parts with about 30 hours apiece in making. I have to save them.

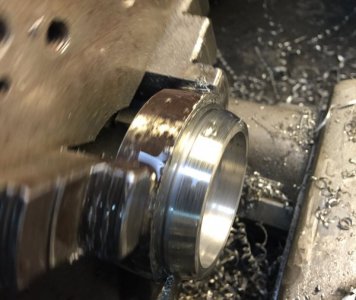
I chucked up the special arbor I made to turn these and recut the angle WITH THE TOOL ON CENTER (boy, were these angles strange and off). I next put the wheel adapter in my four jaw chuck and gout it dialed in to .00005. This took my finest Federal indicator ( which reads tenths but is marked in 1/4 tenths and is 3" diameter ) and about an hour just to get it chucked up. I set up and cut the taper again but CORRECTLY this time.

I removed the part and set it up on the turning arbor to check it. If it is not perfectly true, I will have to recut every surface slightly to get everything back true with the taper. I ran the spindle a couple minutes spinning the adapter. I can't visually detect any run out. I put the Federal super indicator on it and it is still as close to perfect as I can get.
:dancing banana:

One more to go.

THE PARTS ARE DONE AND GOOD!
image.jpeg
Now the only issue is the taper was supposed to be 1.0000" on the large end. It is now 1.025" on the large end. This will let it set back farther on the spindle by close to .100". I think the spindle will be ok with that but I have to check the dimensions to be sure. Since the spindle is not made yet I may add .050" to the length but only if needed. This way , we could still use a purchased adapter if we ever want to ( but at the price of them, I will make them again if I want another one.)
Another disaster averted :grin:
 
I'm sorry about the delay on this project, but hopefully it can get under way again soon. Billy G has all the info and he said everything was going to get shipped to me to continue until he gets back. So I am waiting also at the moment.
 
Back
Top