The Giant Binocular

I have 4 grades of silver solder - ultra easy, easy, medium and hard. They have different melting points so multiple soldering operations can be carried out.
So far I've only used the hard. I will try two torches next as that may do the deal. Failing that then its the forge burner but that will be well over kill:laughing:
But it will be REALLY fast :rolleyes:. On another note if you are thinking of getting an oxy-Mapp kit I would strongly advise against it. I have had two different brands and the oxy reg. failed on both in a very short time . In optimum conditions they will silver braze 1/2" copper tube but not much more. The disposable oxy bottles are about $60 while D size are $70 to refill and will last AT LEAST a dozen times longer. A second hand oxy-lpg set up and an oxy bottle could possibly end up less money than the toy set. As an added bonus you could inject a little oxy into the forge burner venturi for a little more heat:eek 2:.
John.
 
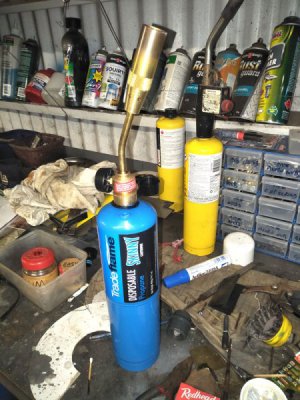
found this on special, job done, plenty of heat but I dont think the bottle will last long.
Pics when theyve been pickled and cleaned.
I think I will knock up an adapter so I can use it from a 9kg bottle.
288992
The yellow one behind it was what I tried to use but no where near hot enough.
I've heard the oxy map sets are pretty bad from quite a few reviewers now so glat I didnt go down that route.
 
Charles, agree stay away from map gas it's just an expensive way to waste money, it's only for very small hobby stuff, nothing like you're doing. You can gets ome pretty decent burners that run off BBQ gas bottles. some run gas and air but others run gas and oxy, the oxy gives a lot more heat. Or if you're serious get an oxy acetylene set. Talk to your local BOC shop, those boys know their stuff. Glad to hear the rain has stopped.
 
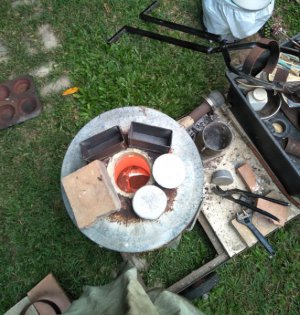
The weather dried out enough to start casting again but with no muller I couldnt use green sand so elected to try some welded moulds.
Heres the melt with the new moulds for the bearing caps heating up on top.
290502
No pics of the pour as I didnt have any more hands available.
They turned out very well EXCEPT----- I followed the interwebs of miss information and degassed with washing soda. Bad move, the worst case of porosity I've had. I now have more info regarding the causes so we will see what the next pours do.
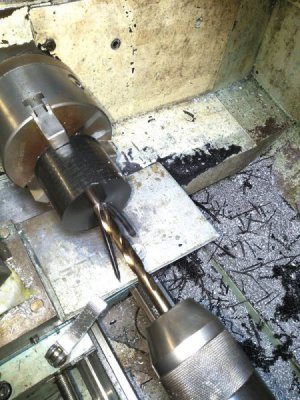
I obtained some acetal for the altitude bearings.
290494
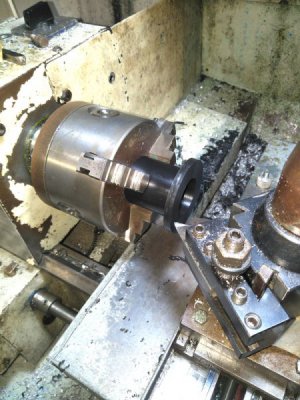
I left it long enough to keep sufficient in the chuck to work it.
First bored to size then turned to O/D and length
290495
Then flipped it to thin down the flange that was left.
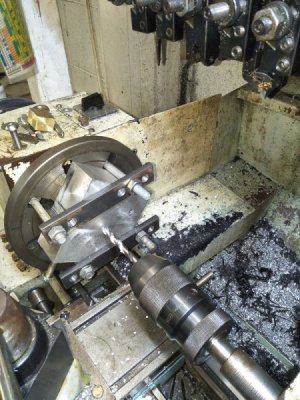
Next I bolted the bearing blocks together and fixed them to the face plate for boring.
I clamped them together with a 3mm length of ally between them so the finished hole would leave a 3mm gap between the halves.
290496

The black marks are high accuracy depth gauge lines.
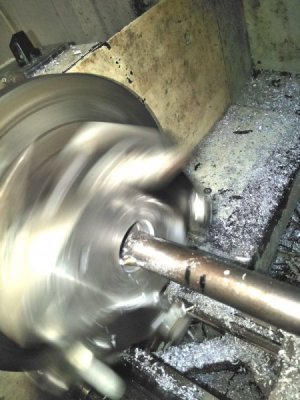
290497

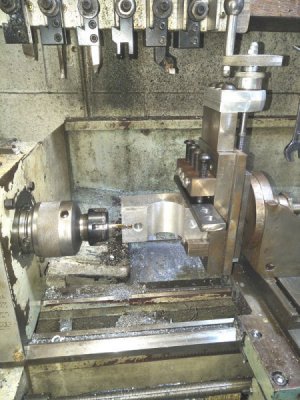
Once bored they were mounted in the vertical slide for the remaining machining.
Here I'm using a 6 mm end/slot milling bit for the release slots.
290498

and then all the corners were rounded over with a carbite rounding bit.
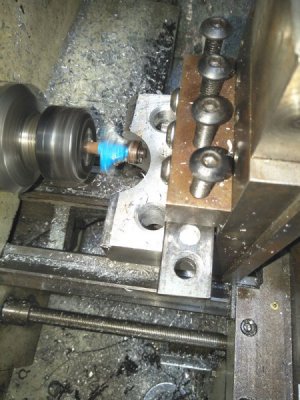
290499
this is how they will sit on the top plate.
Some thoughts-----
Do I slit the acetal so they will clamp tighter for friction? A quick test showed not for light loads but maybe for the total unit.
If more pressure is required I may have to make larger knobs for better grip.
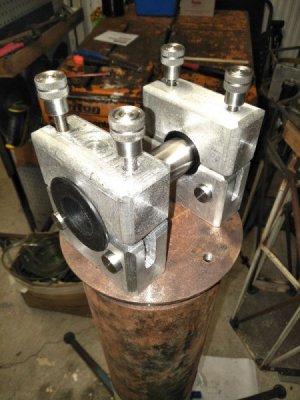
290500

The purpose of the slots in the bearing blocks is to allow easy fitting without having to totally unscrew and possibly loose parts in the dark. Or so I hope.
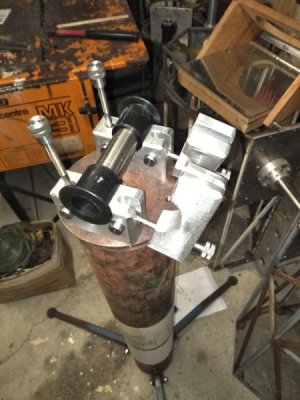
290501

Now I can find the absolute minimum height I can cut the pier down to and still have full clearance.
 
Looking very nice. I like the slotted parts. That will be a very good idea for use in the dark.
You do amazing work for that little 9 x 20! Quite a milling machine!
Yes-washing soda is a bad idea. Porosity is always a challenge with aluminum. Hydrogen is always available to the metal. Degassing can be done with pool chlorine which you may already know. I have found that keeping the furnace atmosphere oxidizing once the metal melts is helpful. Making sure you have a little too much air scavenges the available H2. I suppose an electric furnace would also help. I have one but I still tend to use propane.
Edit
Just watched most of the video. Hard to listen to a guy with no shirt in a sauna but... I'm not sure everything he says is entirely correct. I think H2 is the major problem causing porosity. He emphasizes microscopically trapped air.
Robert
 
Last edited:
I watched a couple of his other videos particularly on gating and runners.
They make a lot of sense logically thinking so my next casts will try them out.
I have used pool chlorine but didnt find any difference.
I think back to my early pours where I had the burner going flat out and no de gassing, most of those were excellent with no visible signs of porosity.
The more I read and applied the worse they become.
 
Attempting to make the disk brake rotors for the altitude mechanism.
I have some 2mm stainless of unknown composition and the largest rotor I can make is 235mm dia. The largest bicycle disk rotor I can buy (buy? Thats heart attack material right there) is 203mm dia
I'm hoping the leverage at that size will allow an adjustable smooth friction resistance with an extra twist to the control to lock in place.
The difficult part is its too large a dia to fit on my lathe so I will have to go the old route before I owned a lathe, ie. the drill press.
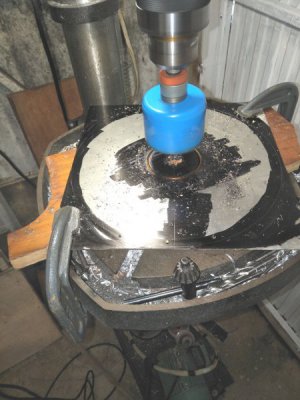
First I used a hole saw to remove the centre, I had one just a tad larger than what was required so used that rather than purchase a new one. (yeah, I'm tight)
alt-brake-1.jpg
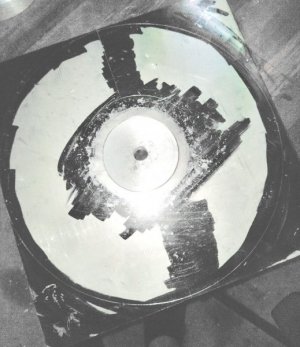
then a mandrel from a cast billet I had to hold the disk.
alt-brake-2.jpg
then the angle grinder to remove as much of the waste as possible.
alt-brake-3.jpg
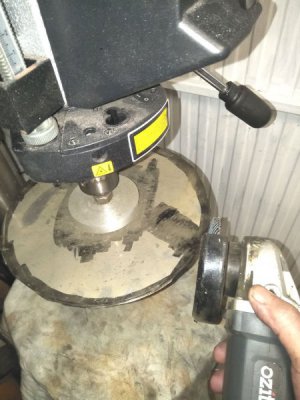
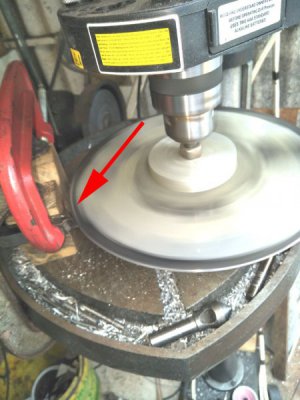
Then mounted onto the drill press I got it pretty round with the flap disk
alt-brake-4.jpg
then used a hss tool bit clamped to the wooden block knudged with gentle taps of a hammer as a feed mechanism to get it fully round.
It can just be seen where the red arrow is.
Slow but it worked.
alt-brake-5.jpg
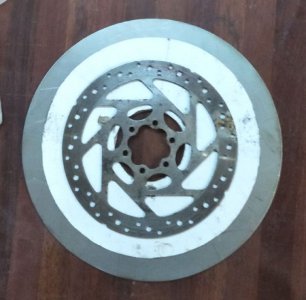
The top disk is a standard bicycle disk, the card is the largest dia disk I could purchase and the bottom disk is the new stainless one.
Now I have to cut it in half and pray it doesnt distort.
 
Back before I had any machine tools, I often used my drill press as a "poor man's lathe." Your post brought back some fond memories!
 
Back
Top