Southbend 9 x 48 - How worn is too worn?

I just realized its probably very easy to calculate, if you have the stock linkage, since the pulley sizes are relatively close in each pair. It won't be perfect, but it bet it's close enough.

Tighten the coupling nut, and leave some room to slack it a bit (probably there is an official ratio here), lock it as if to engage the pulleys, and measure the distance between spindle centers. Multiply by 2.

Calculate the circumference of each pulley, in a matching pair, divide each by 2.

You should now have 2 values based on half pulley circumference, and one based on spindle centers.

Add the half-circumference from both pulleys, to the result of the spindle center measurement, and I'll put money on it being within an acceptable margin.
 
I just realized its probably very easy to calculate, if you have the stock linkage, since the pulley sizes are relatively close in each pair. It won't be perfect, but it bet it's close enough...
Thanks Chad, of course you are right. I am hoping there is a mounting diagram for the V-belt SB9, similar to the one I posted for the flat belt version. Rather than hijack your thread, I'll start one on this topic when I'm closer to actually doing the job.

BTW, after much thinking(!), I have decided to use a ready made flat pack timber bench to mount my SB9, rather than a 2 box metal cabinet type from one of the imported lathes. It's a few more $$s but has a full shelf below the bench top. Better for tool storage ideas and I can mount my small bench drill on the end. Which is good, because such a fine American machine would not look right on a blue sheet metal box made in China. IMHO...

Back to your restoration, keep the pics coming.

Regards, RossG.
radial1951
______________
 
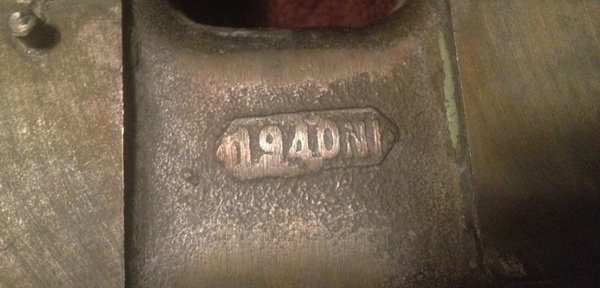
Look what I found under the paint.

ED5EBF0E-6D04-404C-ADF4-A12F1E21D6BE-304-00000001FCD6A180.jpg

Do you think this is a casting date, mould creation date, or could it possibly be the Mfg. date of the entire lathe?

Rather than hijack your thread,

Regards, RossG.
radial1951
______________

I have no thread to hijack! Let's not forget you guys are teaching me. If you join the conversation, especially with questions about an almost identical lathe, it's one less click I have to get that answer too! I'll watch yours for the answer, if I find the layout, I'll let you know.
 
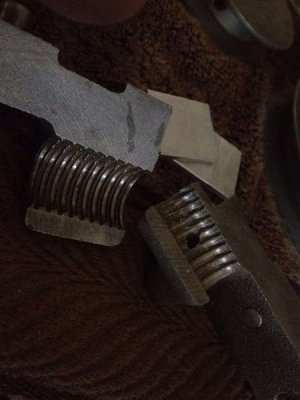
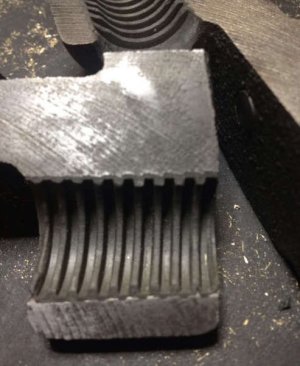
Well, lots of cleaning finally done. Still haven't touched the bed, I'm going to wait until I've decided on a re-grind first. I had 2 issues that had to be dealt with. A spindle n the gearbox, and the half nuts. Not much in the way of decent priced replacements on eBay right now, and the half nuts are pretty much shot.

f27a9ea01fc6bfe2a9efd6aa66c686de.jpg

So with nothing to lose, I'm going to Mickey mouse them and see if it works. Here's the result. The feel good, we'll see if they do the job later.

c8763a0d572cd9dffe20e7ab5d90b627.jpg

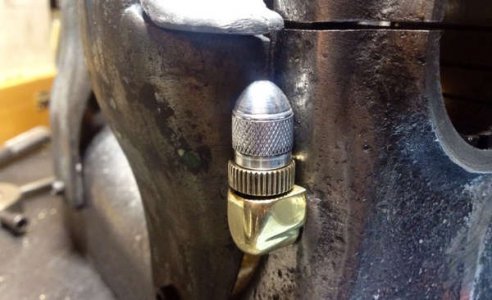
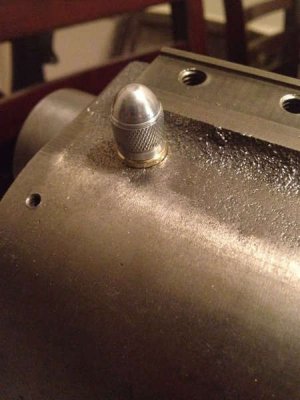
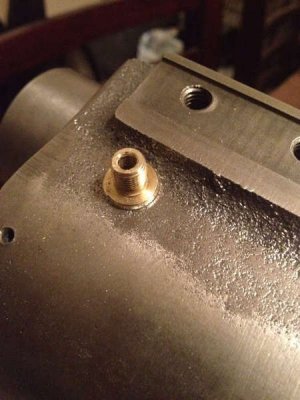
Not sure if I like these yet, but here's part one of "gits rid of the hinges"

e691b524f837d3cb42f522d8658ea735.jpg
5416417d7b28c340b28148c469db9d47.jpg

Funny that the threaded cups wound up having the exact same pitch and size as a Schrader valve stem. It made threaded brass tube fairly easy to come by. Made these by cutting off the end of a barbed hose coupler, and turning the first barb down.

911402da2e005f3779e27977493cf560.jpg

Not sold on the caps yet, but it's what I had. I'd like to find something a little more organic looking, to match the rest of the lathe. Anyway, off to read bedtime stories. Tomorrow I finish my new scraper, and polish off the rest the carriage!
 
I dig those cup covers. Kinda medieval looking. :) I don't know if you saw this but Mike from Jayhawk Machinetool offers halfnut repairs on Ebay and I've heard good things about his work.
 
I dig those cup covers. Kinda medieval looking. :) I don't know if you saw this but Mike from Jayhawk Machinetool offers halfnut repairs on Ebay and I've heard good things about his work.


I can also help you "for free", accept you will need to buy the repair material on how to repair 1/2 nuts and feed nuts. I saw a thread where a guy melted nylon material around a feed screw someplace. Maybe on You Tube, really cool.
 
I dig those cup covers. Kinda medieval looking. :) I don't know if you saw this but Mike from Jayhawk Machinetool offers halfnut repairs on Ebay and I've heard good things about his work.

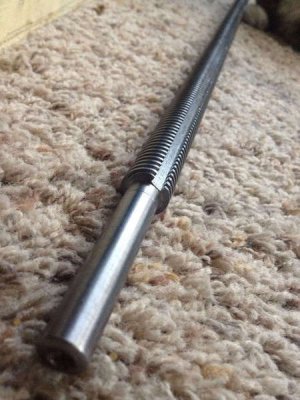
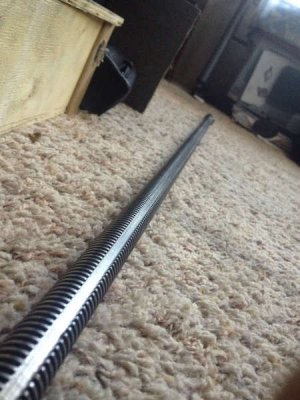
Thanks Splat, I did see that, less than half of what the NOS one is going for, and they look really nice too. That's why I say nothing to lose, my repair can be removed, and another one done in its place. What I did was use an epoxy metal repair putty, ive used before. Never in this type of repair, but i had a drill press spindle pulley with badly worn splines, that was causing a lot of chatter. Smooth as silk now. I duplicated the mounting post holes from the apron onto a piece of 3/8 steel plate, and made shims to set the gap between the two halves, and mounted the halves to the plate. I mounted the lead screw in vblocks, and laid the steel plate flat beneath the lead screw and shimmed it up to the screw. I positioned the key-way vertically so the putty didn't take the key way impression, aligned it so the screw threads sat agains the UN-worn side in the halves, and coated the screw with WD40. Then mixed up the putty, pressed it in the halves, and clamped them down. This will at least get it running long enough that I can turn new inserts from a synthetic mould and do a better repair. I'm shocked to see how good the screw stood up to the abuse though!

0209b4c089d17750f5e9f918e645f555.jpg
93cac004f9bd09b6a482b91a7f7aa773.jpg
1a0c95fa5bc972b97c5fa8d4de7b5cb0.jpg


I can also help you "for free", accept you will need to buy the repair material on how to repair 1/2 nuts and feed nuts. I saw a thread where a guy melted nylon material around a feed screw someplace. Maybe on You Tube, really cool.

I have little faith that this is going to stand up, only because I don't see everyone doing it, and it's ridiculously easy. I will certainly get in touch with you before moving forward Richard. When you say "repair material", do you mean an instructional, or the actual medium that will serve as the filler?
 
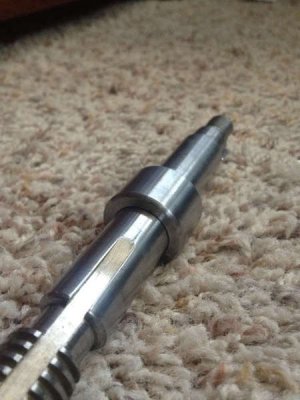
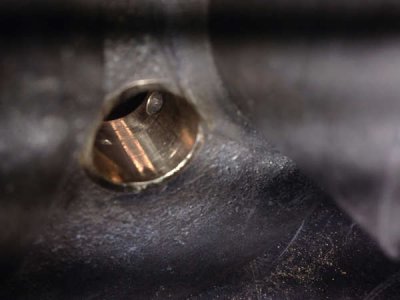
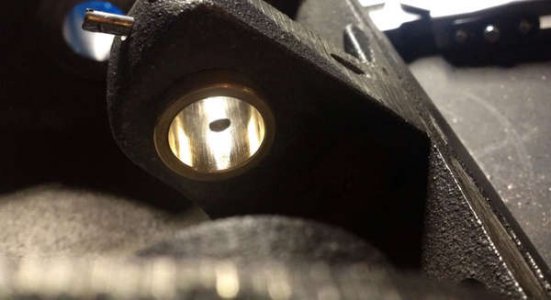
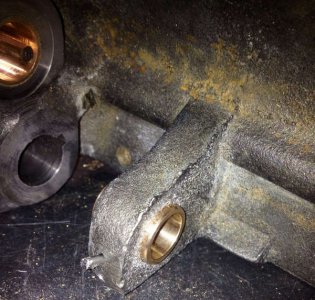
OK, so I lied, I didn't work on the scraper, and cross-slide today. I saw a cross slide casting with t-slots that might change the game. I did however have two brass bearings in the gearbox that were shot. Let me just say how much I never want to try to fabricate 2 bronze bearings without a functioning lathe... EVER again. They are not perfect, but I think (hope) they'll be just fine.

8b1d1dcfe25a3da5fcf36cf7c6e62f95.jpg
0a52f7ae42acd4d7e63a70b7c43607a6.jpg
f776ceb250b7829653ce0e517a84dc4b.jpg
 
I am so glad I didn't have to do that, not that I wouldn't, just glad I didn't have to. Good work!
 
I can also help you "for free", accept you will need to buy the repair material on how to repair 1/2 nuts and feed nuts. I saw a thread where a guy melted nylon material around a feed screw someplace. Maybe on You Tube, really cool.

Ok, I remember reading about that! I'd forgotten about that. It might not be the same one though but here's the one I'm remembering.
 
Back
Top