Southbend 9 x 48 - How worn is too worn?

On your headstock and on the bed their should be a round hole for a dowel pin to locate it, if not then the ways will locate it side to side, but left to right would have to be adjusted for proper gear alignment. The paint looks nice, very different.
 
On your headstock and on the bed their should be a round hole for a dowel pin to locate it, if not then the ways will locate it side to side, but left to right would have to be adjusted for proper gear alignment. The paint looks nice, very different.

No hole on the bed at all, no matter though, I'd have still had to take the head off anyway. Thanks on the color, it's gonna stand out for sure. Though I do love that particular color, I don't think I could handle an entire lathe covered in it. That would be something else!


Chad
 
Cool color, Chad. Is that an auto paint?
 
Cool color, Chad. Is that an auto paint?

It's actually my favorite rattle can line! It's Rust-oleum Universal. Some of the coolest looking 1-step paints, and they are hard as hell once cured. I've painted lift gates that after a year of pallet jack traffic still look good, and even a minivan for less than $100.00. They have a wide and fine spray pattern compared to most They also have a trigger top instead of a button, and spray upside down!

That color is a combination of copper for the base, and sienna mist for a light top-coat. That's where the deep orange color came from between the first and second group of photos.


Chad
 
Speaking of rebuilds, did you follow Greg's Heavy 10 Project? Worth reading. It must be time for an update on it's progress too...

Regards, RossG.
radial1951
______________

That was quite a read' and you're right radial... Greg that is a beautiful machine! I hope mine will turn out to be as nice (minus the 16in of bed we won't talk about).
 
That was quite a read' and you're right radial... Greg that is a beautiful machine! I hope mine will turn out to be as nice (minus the 16in of bed we won't talk about).
Thanks for the compliments, Yea I'm pretty proud of her. I knew almost nothing about a south bend when I got her, but I learned as I went, got a lot of help from people here too. I'm sure yours will turn out great too, from the pics you have posted your off to a great start and it's looking good already. I'll be following your build and enjoying your progress right along with you.
 
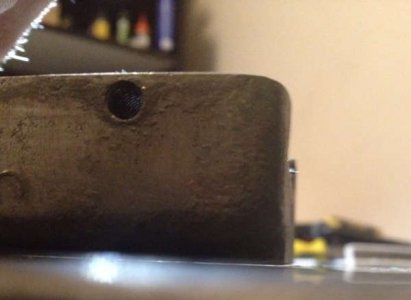
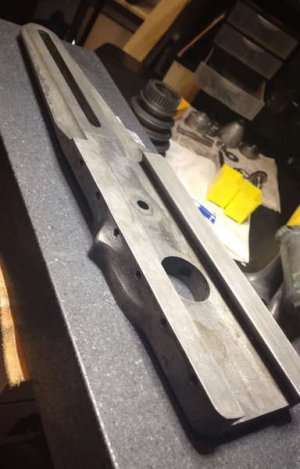
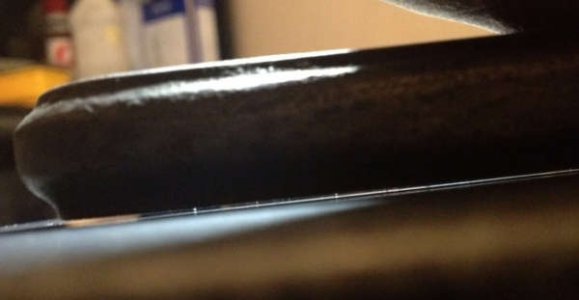
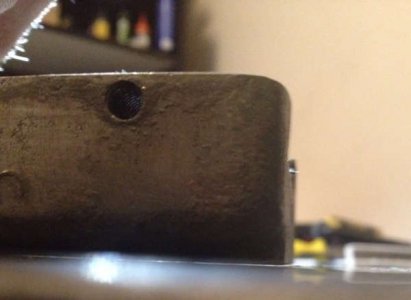
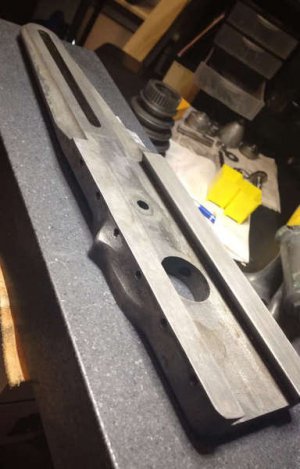
Its an inside night tonight, so I broke out the granite to check a few things out, looks like the bed ways aren't the only thing not straight.

10cf31b306887fc48dd318ab7d9cf243.jpg

I'm assuming this entire stretch needs to be true'd up... Oh I got a long way to go.
47a88aec8a12f434cef35217d1759a73.jpg
c30f15ac1a402dc0b652d0b22fae78f3.jpg


Chad

10cf31b306887fc48dd318ab7d9cf243.jpg

47a88aec8a12f434cef35217d1759a73.jpg

c30f15ac1a402dc0b652d0b22fae78f3.jpg
 
I'm inclined to think that due to the lack of evidence on the spindle, whatever caused the scratches was dealt with. I suppose I could blue it up and see how it prints before messing with a hone or sandpaper?...
Hi Chad, Your spindle looks very good. You could try blueing it, but a couple of thou clearance is an awful lot when using prussian blue. Even when brand new, theoretically the spindle would have only touched the bearing at the bottom in the centre, and have 0.0005"-0.001" clearance at the front and rear of the bearing bore ie 1-2 thou clearance on diameter.

Your original idea is fine. Clean and paint everything, assemble the spindle, dry and clean, and adjust the front bearing for 0.001" vertical clearance. If the horizontal play is about the same or maybe even 2-3 thou, you can throw a party! Bearings usually wear in the vertical dimension because the work piece wants to climb over the tool. That's why taking out shims will usually fix excessive play in a bearing by pulling the top half down.

OR, you could do all of that now, and then know where you go from here. It's your choice, but either way, if it's REALLY bad, another (better) headstock might be the best option. I think Greg did that with his Heavy 10.

Same with the cross slide. Having a nice granite plate will identify all the bad bits. But, sometimes, ignorance is bliss! I'd leave it well alone, unless you simply must recondition it. Checking that the tailstock is on centre with the spindle, vertically, is one thing I certainly would do. Very annoying when a small centre drill breaks because the tailstock barrel jumps up to be on the centreline... Don't forget, the last time your SB was used, it probably actually worked like a lathe! :)) Keep the pics coming.

Regards, RossG
radial1951
_____________
 
Clean and paint everything, assemble the spindle, dry and clean, and adjust the front bearing for 0.001" vertical clearance. If the horizontal play is about the same or maybe even 2-3 thou, you can throw a party!

OR, you could do all of that now, and then know where you go from here. It's your choice, but either way, if it's REALLY bad, another (better) headstock might be the best option. I think Greg did that with his Heavy 10.

Regards, RossG
radial1951
_____________
I like the "Don't restore and then replace method" LOL... I'm preparing for a wet fit this weekend before I get to the rest of the painting, I'll do it then.

Same with the cross slide. Having a nice granite plate will identify all the bad bits. But, sometimes, ignorance is bliss! I'd leave it well alone, unless you simply must recondition it. Checking that the tailstock is on centre with the spindle, vertically, is one thing I certainly would do. Very annoying when a small centre drill breaks because the tailstock barrel jumps up to be on the centreline... Don't forget, the last time your SB was used, it probably actually worked like a lathe! :)) Keep the pics coming.

Regards, RossG
radial1951
_____________
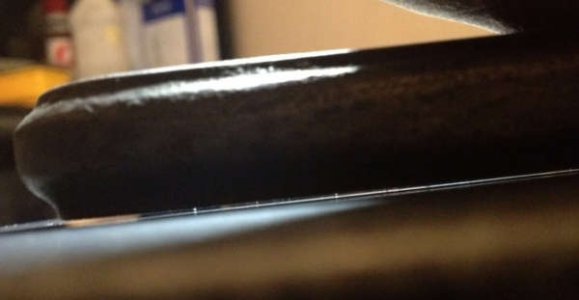
I feel a little like I did when I got my first car, and waxed it once week. I'm sure it will die off, but I actually enjoy scraping. I keep my granite in the lab inside, so it's work I can pickup and put down as work issues arise (I have a crazy job). Plus, it looks so damn cool. Most of it is still pretty straight, including the dovetails on that particular part, a quick survey lastnight showed I can bring the top surface back into parallel with the dovetails just by following the flat on top, and not have to mess with them.

As always, thanks for the tips gentlemen! I greatly appreciate your expertise!

Sidenote... rebuild kit arrives today!
 
Back
Top