- Joined
- Aug 29, 2019
- Messages
- 1,285
Here I am at it again sending myself to school on my little Southbend 7 inch shaper. Continuing with the toolbox dollies. But today I followed up the shaper work with some rough metrology. I'm not okay with just making a chip. I want to fully understand how the chip gets made and the end result after the chip is in the trash can.
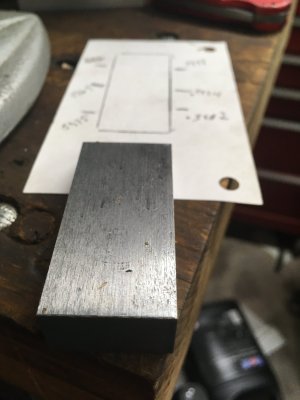
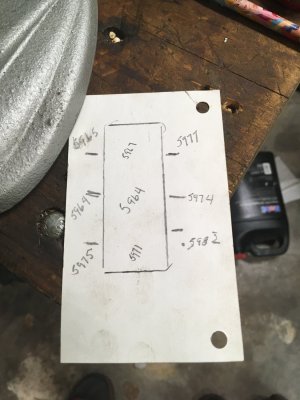
I did do an informal map of the one piece checking the thickness of the part in 6 places. I also did a flatness check on a surface plate with Prussian bluing. My camera phone does such a lousy job of communicating surface finish I didn't take pictures of the blue. However, I did verify the flatness with blue and surface plate by taking the 6 different measurements and both revealed the same results. As you can see the middle is thinner than either side and that is not what I expected to see. Just the opposite. I took the measurements using a mechanical digital Mitutoyo mic and measured to the nearest 10th. I also used a mic stand and repeated all 6 measurements several times just in case it was lazy error. If you love shaper work and precision as much as I do stay tuned for more of "As the Shaper Shapes" I'm going to try to follow the rabbit all the way down into the hole and see if I can make a difference or is it just plain Jane shaper noise. Here are a few pics of what I measured.
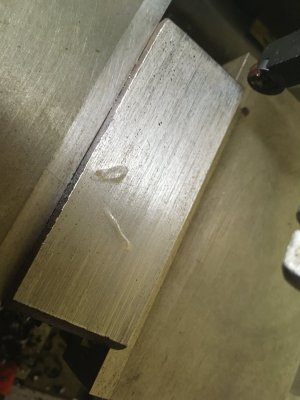
The first picture just shows what the shaper can reveal below the original surface. These are just surface bruises that were revealed after the mill scale was gone.


