Replacing G0709 spindle bearings

Replacing the spindle bearings on my lathe was more of a task than I expected. Biggest problem for me was finding genuine bearings in a p5 at a reasonable price. Local distributor could get them for both around 700.00. The bearings grizzly sells are not p5 bearings they are a standard j class that you can go buy at Napa for 30 dollars a piece.
Every video I’ve seen including the video above they are replacing with a standard bearing and claim to get good results. the above video he mentions about the actual bearing from grizzly not having the p5 rating on the races.
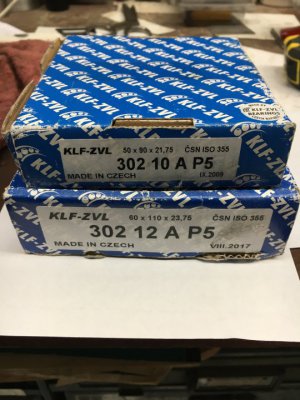
After a lot of hassle I eventually found both bearings 30212 and 30210 in a p5 rating. They are KLF-ZVL made in the Czech Republic. I found a seller on eBay and for both they were 250. I purchased FAG brand from a seller and they couldn’t deliver on it and eventually refunded my money because they couldn’t get them.
I haven’t finished the spindle as of yet. Life has had me busy to get the time I need. Not something I want to rush. I will update my bearing post with my results.
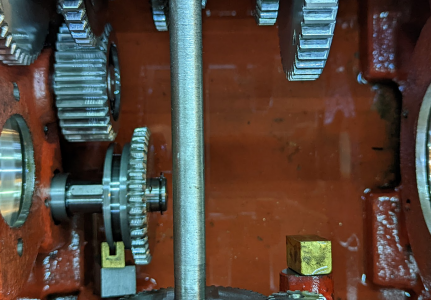
When I first purchased my lathe I put magnets on the inside of the headstock in three different places. I put quarter size ones on the bottom to catch sediment. Then little rectangle ones in the channels front and back of the holes that supply the headstock bearings. When I recently opened the headstock for the bearing replacement the magnets on the bottom had a film of real fine metal particle covering them. The little ones in the channels had a miner amount so they are definately doing their job. I’d recommend magnets. I did wonder about the effects of magnets on the casting with bearing and if it causes a problem. Idk I tried to keep away from the bearings.
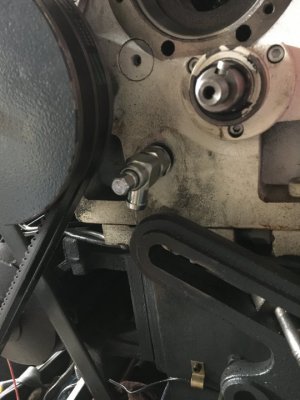
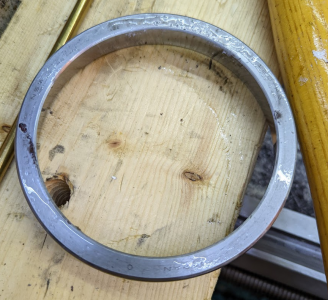
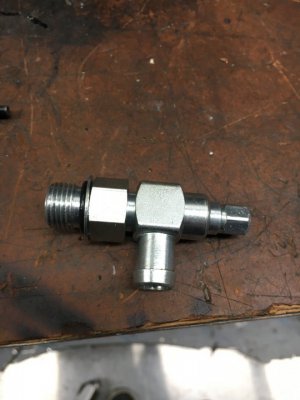
I also didn’t like how the drain plug was for draining the oil. I found a petcock drain style that’s used on small engines. I believe the thread is m16x1.5. I have it installed but haven’t needed to use yet time will tell. Here’s acouple pics of the bearings I did find and the drain valve. 4CE4FB67-EAFC-4ECE-B66C-26086FBD3A6C.jpeg54FEA6A6-A9BA-4164-B4B0-AF32E12CDBDB.jpegA90BB113-26AA-4136-8CFD-DDD7E0DD123D.jpeg
 
Sometimes it’s better to get something and start working than to wait for the better one that may never come.

That's exactly right!

If you aren’t doing this already, when you clean the headstock, it would be a good idea to use a rag to remove all the remaining oil to take out and dirt or debris that has collected.

Yes, I definitely did that. I hadn't done it enough before and I don't know whether the original owner did either, so hopefully I did a better job this time.

Thank you so much for the videos! They do give me a sense of what I'm getting myself into. ☺

I believe the thread is m16x1.5

I'll bet I just skipped a blade on the thread gage then. Thanks!
 
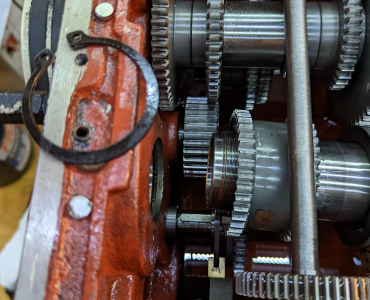
Today I started disassembling the headstock. Hopefully I'm taking enough pictures to supplement the drawing when I put it back together. I'm certainly committed at this point!

I bought the correct hook wrench for the preload nuts, as part of a set of 9, so I am hopefully set for life on hook wrenches...

The gaskets are painted to the lathe, so this has obviously not been done before. I bought gasket material at a local auto parts store along with 5 gallons of AW32 hydraulic fluid for putting this back together. I also bought a pump to pump out the oil with only about two hours of use on it since it's almost $70 worth of Mobile DTE.

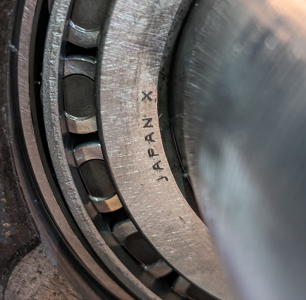
The rear bearing is definitely marked JAPAN and NSK and has an X to mark the eccentric.

1652749541581.png

1652749609785.png


Sadly, my snap ring pliers are not up to the job of removing the circlips, so I'm stuck until I get something better. This means that I can't see how the front bearing is marked yet.
 
That X is not for marking the high spot, it is likely a factory code since it looks like it was stamped in the ring before hardening. From that picture, those are standard precision bearings that you can get for about $50 each from a bearing distributor. Thanks for posting the picture, we now have confirmation Grizzly is installing standard precision bearings in their lathes from the factory.

If you are happy with the performance of the lathe with the standard bearings, then replacing them with the same new ones would be fine, but high precision bearings will give you better runout as well as higher rigidity since you will be able to run at a higher preload without damaging the bearings. You’ll have to decide if the cost is worth it, but it would be for me.
 
Ah, that relieves my concern about whether I should mark the spindle itself to align the eccentric. Honestly if I get to the point where I can make use of the extra precision, I'll probably want it everywhere, and in the meantime will have learned enough to take good care of a higher-quality unit. The price of the bearings I already received from Griz is similar to that; I'd eat up the difference in shipping if I tried to swap them out for local stock.

In a few days, after the new snap ring pliers arrive and enable continued disassembly, I expect to be able to post pictures of the other original bearing set.
 
Sorry, I misread your first post and thought each bearing cost $120, yeah, not worth sending them back to get the same thing from someone else at that price.

If it is stamped on the bearing, it was done before hardening, so cannot be an accurate indication of the high spot. Checking final runout for the high spot is done after final grinding and lapping and would be engraved or etched on. The bearing will also have the precision class after the part number, if there is no precision class stated, then it is assumed to be standard precision. In case you are replacing the ball bearings on the other shafts, the same is true for ball bearings with clearance, if there is not a clearance stated, then it is assumed to be normal clearance, all others will be marked on the bearing.

I'm looking forward to your rebuild!
 
Since all the other shafts seem to be running smooth, my plan is to replace only the spindle bearings. I've added magnet chip catchers on either side of each spindle bearing oil tube, as well as magnets in the main sump.

I suspect that if I were putting expensive high-precision bearings in, I'd pull the whole thing apart and replace all the bearings as long as I'm in there, but for these bearings I'll throw the dice and see what they turn up. ☺
 
The $40 set of cheap 16" snap ring pliers arrived and I got back to work. Of course I ended up removing a ring that I didn't actually need to remove, but others most definitely have to come off, and these worked. (If I ever need a really nice pair of outsized snap ring pliers, I won't feel like I wasted $40 getting started.)

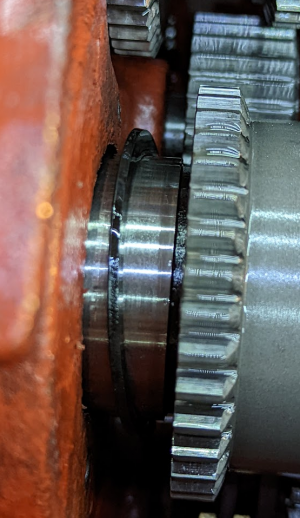
I heated up the rear bearing with a hot air gun, put a stack of wood on the ways just in case the nose went flying, and carefully used a rubber mallet to tap the spindle out through the bearing. There was a snap ring just inside the rear bearing that I had to keep moving every centimeter or so of progress I made, so that I could keep scootching over the gear it was retaining, using an aluminum bar to tap that gear along the spindle at each step.

1652922099906.png

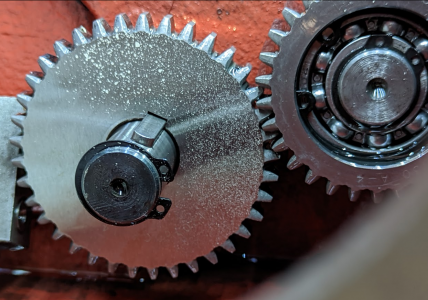
This gear meshes with the feed direction lever, and it stayed meshed as I moved the spindle a bit, then moved the snap ring, then moved the gear, repeatedly.

Once I got the outer end of the spindle through the casing out, I was able to remove the snap ring entirely.

1652922979834.png

Success! Yeah, there's some grit down there. I've got some cleaning to do.

1652923043460.png

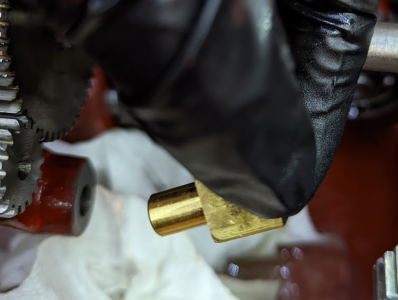
After getting the bearing ring off and moving the spindle out, I found with no surprise that the speed selector actuator brass bar fell out of its bushing hole.

1652922860203.png


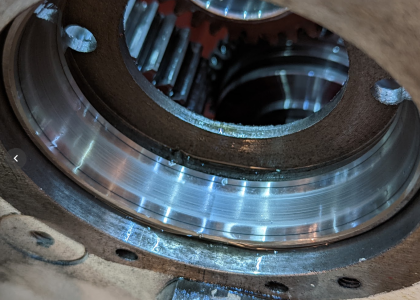
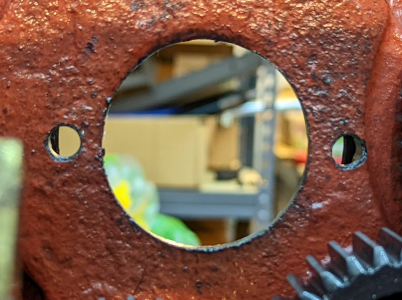
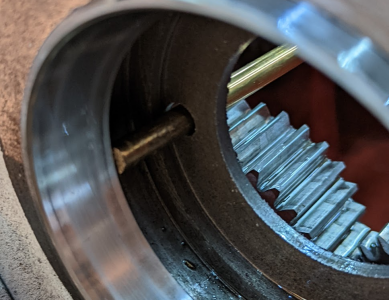
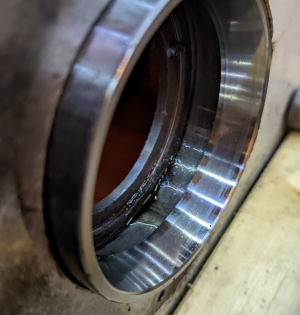
Yes, there's some wear on that outer race! Also, note the two holes at the sides, towards the inside of the case:

1652922407014.png

From inside, you can see the edge of the ring through those holes:

1652922365249.png


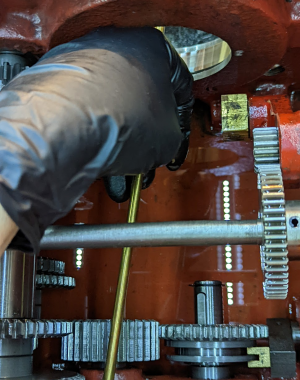
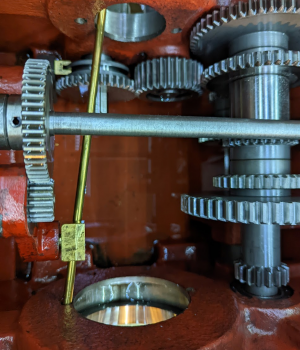
I put a 1' long ¼" brass rod through those holes against the edge of the race, and alternated between the holes on each side, tapping it slowly out with a normal hammer on the other end of the brass rod, being sure not to wedge the race sideways:

1652922474858.png
1652922548642.png

Then around to tap out the front race towards the ways:
1652922653933.png

It was similarly worn.

1652922689133.png

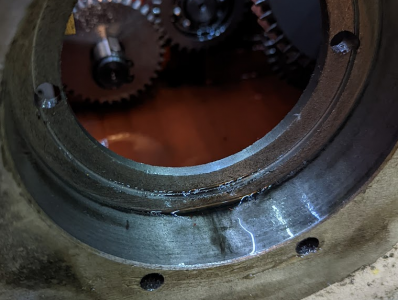
Also, see that junk at the bottom? Yeah, that was a substantial accumulation of hard grit.

1652922771839.png

Looks from the back of the front race that the grit had piled up against that face and was leaking into the bearing:

1652923167333.png

I think this is paint splash on the feed direction idler set. It's not doing any harm I guess...

1652923250063.png

I have not yet removed the nose spindle bearing from the spindle. I think I have some work to do tracing and cutting a new gasket. All that is work for another day.

1652923351236.png
 
Nice writeup. Those races look pretty bad, once you get the grit out, hopefully the new bearing last you a long time. Since you have the spindle out, you might want to spin each shaft by hand and see if you get any signs of that grit in those bearings as well. In the second to last picture, there appears to be some sort of debris on the right hand shaft that you will want to get out. I know you said you were going to leave them for now, but you might be able to flush the grit out if there is any in there before buttoning it back up again.
 
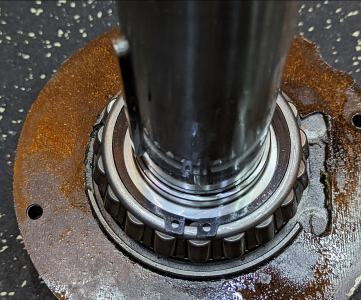
Just noticed something else, it looks like a couple of the rollers on the spindle bearing are cracked. It might be from the angle of the picture, but if they are cracked, then you caught this just in time. If those failed during use, you might have a lot more parts to replace.

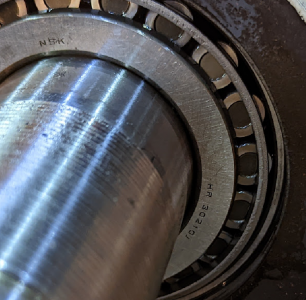
The outer ring you show for the 30212 bearing is a P5 tolerance class, or at least it is marked that way. Interesting that they put a standard tolerance class bearing on the outboard side, but a P5 on the head side. Do you have a picture of the part number on the 30210 outer ring?
 
Last edited:
Back
Top