- Joined
- Oct 21, 2021
- Messages
- 63
Interesting! Do you know the stock speed at the shaft? I really need to start digging into mine. I dont even know the speed of the motor... just assumed a 1750@hustlebird This is what tailstock said about speeds:
Interesting! Do you know the stock speed at the shaft? I really need to start digging into mine. I dont even know the speed of the motor... just assumed a 1750@hustlebird This is what tailstock said about speeds:
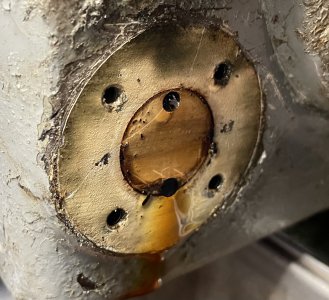
I will sometimes paint the target area inside the sight glass with either epoxy paint or 2-part urethane enamel both of which are oil resistant. What I prefer to do is to cut the background out of .025 white plastic shim stock. Then I punch out the two fill and vent holes.
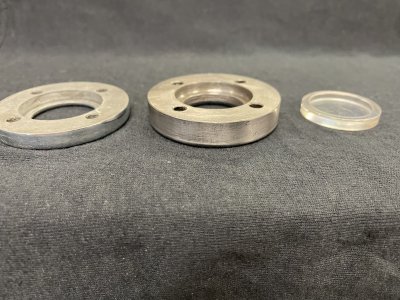
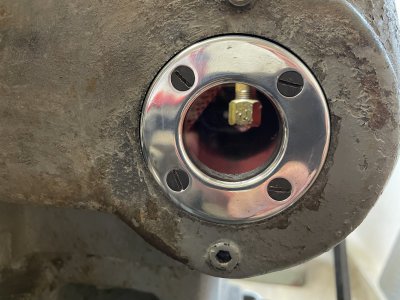
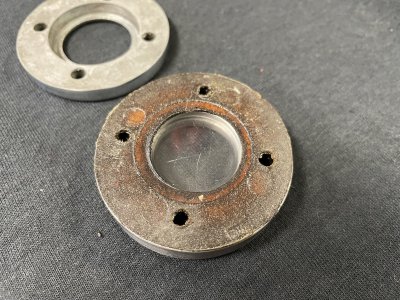
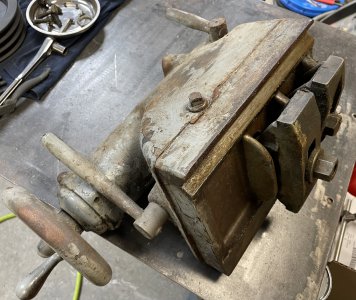
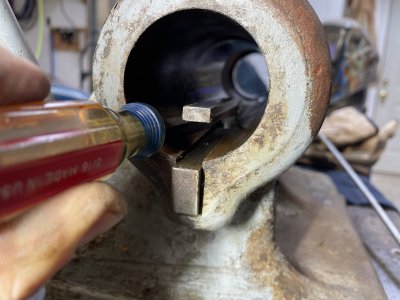
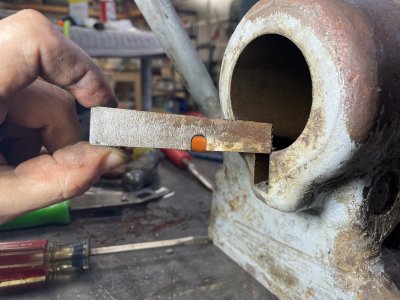
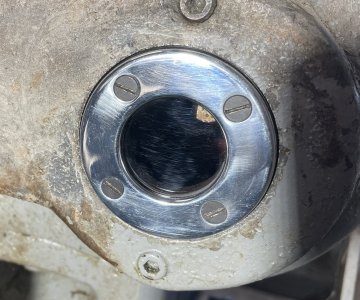
Looks nice!While I'm STILL waiting for my motors to get back from the shop, decided to start knocking out some oil system items. First on my list was the sight glasses as one was deteriorated and half gone so I removed, cleaned/polished two and fabricated two and cleaned and polished the bezels. Not a hard job but time consuming. Three are aluminum and tapped right off but the apron one is steel and deeply and tightly recessed and was stuck in so badly I had to chip out the otherwise good sightglass and use a blind bearing puller to slide hammer it out. I didn't think it was going to budge as It took at least a dozen serious whacks before it moved at all. Three of the four had a white background painted on underneath for contrast and my first thought was to paint some white epoxy on there but then I thought about using a thin piece of white plastic and matching the holes up.
View attachment 439030
View attachment 439032
No prob! Once I got the apron one off and cleaned it and the apron cover I.D. up it was a close clearance fit. If I had removed the apron cover first I think it would have caused me similar grief trying to get it off of the sightglass ring. Although, if you know you're going to pull the cover anyway it's worth a shot. The apron one is a thicker steel ring and because of the close fit doesn't give you any wiggle room to pry it free. On mine I replicated the lenses out of 3/16" lexan and used some felpro gasket paper. The two that were salvageable I used a 3M headlight restoration kit to clean and polish them. Let me know if you need more detailed picks, I haven't reinstalled them all yet.Looks nice!
On tailstocks restoration pictures I noticed that the one on the apron is different, looked like it needed the front cover removed to pull it, interesting to hear how you managed. Mine are covered in about 20 layers of paint, so could definitely use the same treatment. Love this inspiration, thanks for keeping us updated.
I would love any/all pictures you could take. Its just the 4 screws? I had thought they might've been screwed in, with that aluminum ring going over the whole thing. Did you use the gasket paper between both the glass and ring, and the lathe and assembly? How is the 'glass' retained? I imagine this would all be pretty obvious once I take them off....No prob! Once I got the apron one off and cleaned it and the apron cover I.D. up it was a close clearance fit. If I had removed the apron cover first I think it would have caused me similar grief trying to get it off of the sightglass ring. Although, if you know you're going to pull the cover anyway it's worth a shot. The apron one is a thicker steel ring and because of the close fit doesn't give you any wiggle room to pry it free. On mine I replicated the lenses out of 3/16" lexan and used some felpro gasket paper. The two that were salvageable I used a 3M headlight restoration kit to clean and polish them. Let me know if you need more detailed picks, I haven't reinstalled them all yet.
