POTD- PROJECT OF THE DAY: What Did You Make In Your Shop Today?

I just finished the screw retaining plate on this 154 year old Parker vise...

View attachment 510417

View attachment 510418

View attachment 510419

I need to find a more 'appropriate' bolt for it.

I looked around and found a piece of 1/4" rod "mystery metal"... I cut off a short piece and tapped it into the jaw to replace the jaw retaining pin. I then filed it to the correct angle and used a ball peen hammer to mushroom the top of the pin...

View attachment 510420

I think it turned out ok...

I'll need to make a handle for it later... I would like to know how long the original handle was... but I haven't found anyone who has even seen another vise like this... there aren't many No. 4 Parkers left, apparently.

-Bear
This post has pictures of a Parker #4
 
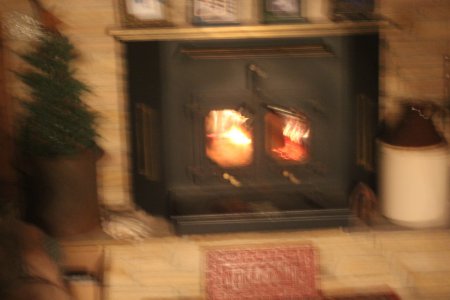
Lets see . Ran up to Hanover Pa and picked up a table for the daughter . Got the dumpster delivered . Got an aftermarket roof rack on the son's 4 runner . Moved crap in the garage getting ready to haul up to Cabin Fever . Moved a load of firewood up to the porch with the Bota . NOW , enjoying our first indoor fire for the year in the woodstove and will be watching the Steelers game tonight in the warmth . More progress .
 
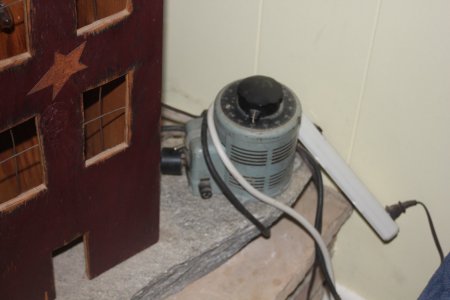
House is up to 71 from 66 . :encourage: These old variacs came from my Uncle courtesy of Crown Cork and Seal I'm sure . Still going fine after 30 some years of use . This one is running the fan on the woodstove . I wasn't paying Grainger what they wanted for the replacement parts when the motor and switches went bad 20 years ago . Cheap , but still works great . :grin:
 

Attachments

  • IMG_2129.JPG
    IMG_2129.JPG
    363.5 KB · Views: 37
  • IMG_2130.JPG
    IMG_2130.JPG
    239 KB · Views: 36
Crown Cork & Seal.....
Now there's a name I haven't heard for years!!
Hauled many many many tons of tinplate coils to them in Faribault, MN and Omaha, NE back in the day.
 
Rounding the corner and starting to put things back together on the Clausing!
Had to straighten a bent hinge plus tighten the hinge pin holes a bit, pretty happy with how it came out.

IMG_8785.jpeg

IMG_8783.jpeg
Next up is installing the motor in the other stand.
Got the bracket in. Need to massage the wiring from 110V to 220V on the motor then bolt in place.
IMG_8794.jpeg

What it looked like when it came out.
IMG_6516.jpeg
 
Got a little work done on the tube notcher. Milled one edge and put in 29 1/2”-13 tapped holes to mount the cutter head for adjustment and to mount the vise on either side. I set my vise on the 1/2” plate while I was milling the edge to deaden the vibration.

IMG_3388.jpeg

IMG_3387.jpeg
 
While working on my outboard motor today my fancy garden hose motor flusher attachment (earmuffs) broke.
IMG_1980.jpeg
Not really liking any of these and having gone through my share, I decided to get a scrap piece of delrin and make a more substantial unit. Besides, I had my new garden hose thread tap just screaming at me.
IMG_1983.jpeg
Using the dividing head I drilled and tapped for the two output brass barbs 40 degrees off centerline. This setting cleared both sides of the jaw on my 3 jaw chuck.
Probably won’t fail again but if it does it will likely be serviceable.
IMG_1981.jpeg
Wishing everyone on Hobby-Machinist a safe and filling Thanksgiving.
 
Back
Top