POTD- PROJECT OF THE DAY: What Did You Make In Your Shop Today?

Always amazes me how long I can put up with something before I break down and fix it, and how satisfying it is when I finally do. Mike
Hoo Boy do I resemble that remark!
Often it is not enough of an issue to actually start a side project but annoying enough to warrant "I need to fix that later". Focus returns to the main project(s) and the annoyance slides to the bottom of the list.

Sometimes I wish there were two of me, but then, one of me would be missing out on half of the fun....
 
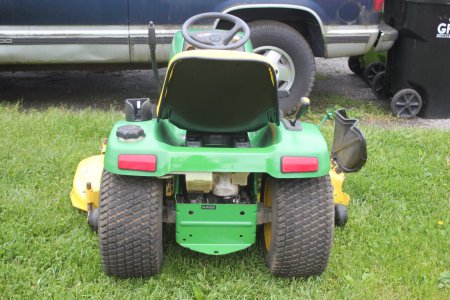
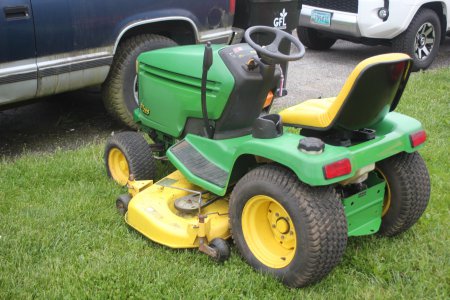
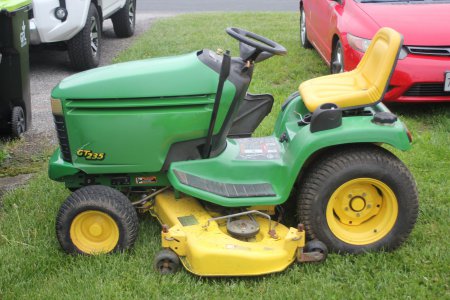
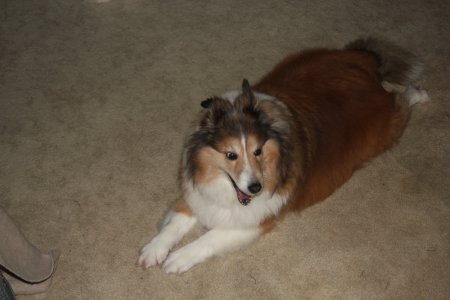
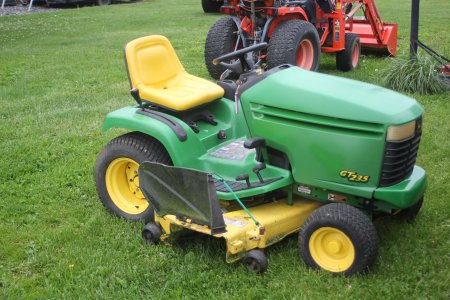
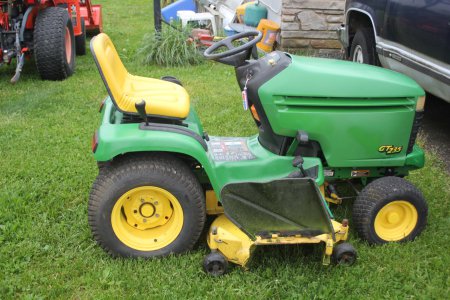
The belts arrived yesterday so I finished up the JD project . $414 total . :encourage: My workers didn't do anything other than watch .
 

Attachments

  • IMG_1308.JPG
    IMG_1308.JPG
    630.1 KB · Views: 30
  • IMG_1309.JPG
    IMG_1309.JPG
    578 KB · Views: 27
  • IMG_1310.JPG
    IMG_1310.JPG
    544.4 KB · Views: 21
  • IMG_1311.JPG
    IMG_1311.JPG
    522.6 KB · Views: 21
  • IMG_1312.JPG
    IMG_1312.JPG
    504.2 KB · Views: 23
  • IMG_1313.JPG
    IMG_1313.JPG
    381.6 KB · Views: 22
  • IMG_1314.JPG
    IMG_1314.JPG
    228.8 KB · Views: 18
  • IMG_1315.JPG
    IMG_1315.JPG
    316 KB · Views: 26
Anything is better than painting Clausing parts sometimes, but I still had to do some painting.
Working on the DRO for the RF-30 clone.
Made a 4"x4" pad which had to have paint and got the head bolted to the wall.
IMG_8031.jpeg

Going to try the "Id of Ed" (you-tube) approach with printed supports for the Y and X
Still have a couple more to print, back most part is for the Z. Need to find the thread with the details on that again.
IMG_8032.jpeg
Progress was made so that's a plus.
 
Last edited:
Finished up the dro install on the Acra mill this morning. Was going to use some extruded aluminum for the scale guards, but ended up going with 1" steel angle iron figuring it would hold up better to constant chip exposure. Lots of hand held drilling and taping, but overall things went well. Didn't cut down any of three scales, and just let them run long. Was able to make the supplied mounting brackets for the read heads work with some minor modifications. Hooked up the cables, plugged in the display And all three axis's came up and worked through their full travels. Wasn't able to play with it much as we had to drive to Grand Junction for my second cataract surgery. When I get back home will be mounting the Y axis power feed, and 120V boxes for the three power feeds and the dro, along with the vfd. Mike

IMG_20240508_110339772.jpgIMG_20240508_110347517.jpgIMG_20240508_110400002.jpgIMG_20240508_110409401.jpg
 
Nice clean install Mike!
You may want to check those scales against a dial indicator. I have the same setup and was not satisfied with the accuracy for my lathe cross slide. It may be fine for your purposes on a mill but it is good to know the potential error.
 
Sometimes it’s the little things. Turned a piece of UHMW into an adapter for my vacuum sealer to use the jar sealer from an old Food Saver.
8bd7274511aa3a0012185566013a46b1.jpg

95a4a9945ee6663df142c885755a0d06.jpg
 
Will definitely check them for accuracy. I pulled the rubber wipers off the read heads and set them up on the scales with a .025 feeler gauge, and checked them for consistency along the length of the scales. Still need to figure out the best cable routing and get them, and all the power cords bundled up and out off harms way. I was going to mount the X scale up front, but after checking out the back side I ended up loosing only 1/4" of travel which prevented things from getting too cluttered up front. Mike

You may want to check those scales against a dial indicator. I have the same setup and was not satisfied with the accuracy for my lathe cross slide. It may be fine for your purposes on a mill but it is good to know the potential error.
 
Last edited:
Back
Top