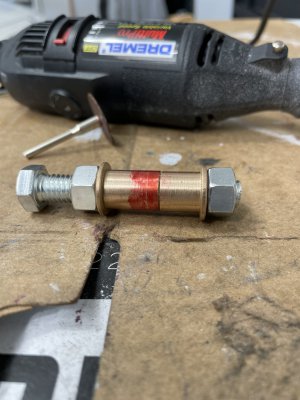
POTD was making a bolt for our Massey Ferguson 35 tractor. Actually, a bolt for the bush hog I use to clear trails. And as most of my projects go, one thing leads to another. . .
I bought the tractor from my father-in-law in 2008 and had been dealing with a “hot foot” on the RH side for the past 15 years. I’ve actually melted the sole off shoes before. My father-in-law’s “fix” was to wear a pair of thick-soled boots. My “fix” was a 2 x 4 screwed to the top of the running board. Yeah, not my best work. I picked up a JB Weld muffler patch kit, pulled the floor board and found the top of the muffler had quite a few “worm holes” in it.
So this is why my foot gets hot when running the MF35 for a while! The muffler was still very solid.

I didn’t show it, but wire brushed and sanded the muffler relatively clean, applied a layer of aluminum tape, layer of epoxy muffler patch, and a wrap of aluminum tape. The instruction said the epoxy was heat activated; the material needs to see exhaust heat for at least 20 minutes to set up. So, might as well do some brush hogging.
After an hour of clearing trails (without a hot foot I’m happy to report!), backed the tractor into the barn and raised the brush hog up to slip some 4 x 6’s under it. The LH side wouldn’t go up far enough; I noticed a bolt was missing from the front bracket to the brush hog.
Well, 2 of the 3 attachments were there. . .

I’ve noticed on the MF 35 that most hardware is national fine instead of coarse (stronger thread?). The pins for the 3-point on my implements have a 7/8”-14 thread. I had some spare implement nuts, but no bolts. Time to chuck up some CRS.
Plan was to single-point thread both ends of a piece of 7/8” CRS. Run a nut on one end and weld in place to make a bolt. The shank end would get a couple of jam nuts and a cross hole for a cotter pin.
Single-pointed the bolt head end checking depth with a screw pitch mic. I recall the target being 0.8285”; the 0.8277” I hit was close enough. Also verified a nut would thread on. Noted the compound setting as my target for the opposite end. Flipped the stock, and threaded the opposite end.
I really like the mechanical digital micrometers. Yes, I can add 0.25, 0.5, or 0.75 to the thimble number, but it's nice to just see the number.

I didn't cut a relief at the end of either thread. Instead, the lathe was powered with the jog button, stopped when close to the end of the thread and turned the chuck by hand to finish the thread. I also cleaned up the thread with a flat file and a triangular file.

The cross-hole for a cotter pin was done on the Bridgeport. Should be good to go!
Probably overkill, but I put in a hole for a cotter pin in case the nut(s) back off (again).

All back together!

Thanks for looking.
Bruce


