New project, I'm in over my head.....

Thanks for the compliments guys, my confidence is growing with this project.

I'm using 6mm stainless rod for the prop shaft, both the motor and the prop are 6mm, I couldn't find a seal for 6mm so I got a 11mm seal and some 11mm stainless rod thinking I would make a spacer / bushing between the prop and outer bearing, this would give me a boss for the seal and put the thrust load on the bearing directly, I'm thinking of using Loctite 609 to hold the bushing on to the 6mm shaft. Will it need any kind of mechanical connection as well? Is there a better product for attaching and waterproofing the joint?

This will be my first time working with stainless so any pointers for drilling and boring the bushing true would be great. I don't have any metric drill bits or reamers, but I do have a tiny HSS boring tool that came in something I bought, it has worked well on steel and aluminum in the past and I'm hoping it can do the final bore in the stainless.

I tried to go over the 400 grit with 1000 grit and polish but the 1K didn't get all the 400 scratches out, I didn't think it would but I had it. I'll get some 600, 800 and 1200 to play with and see how polished I can get it...

I'm going to make a fiberglass cast of the tail section of the Kayak to mount the motor on so that will be coming up soon, I want to have this thing ready test even if it's just a prototype of the mount by the first weekend in August, we're taking 3 boats and the 2 Kayaks to a local wooden boat festival for the weekend.
 
cool project! For polishing aluminium, I use 320->400->800->1000->1200->1500->2000->2500 then use Mothers Mag wheel polish and some tissue. That'll get you to a mirror finish and the polish offers some degree of protection. Make sure to use wet'n'dry sand paper and keep the paper wet. Otherwise it'll load up and scratch the work.
 
cool project! For polishing aluminium, I use 320->400->800->1000->1200->1500->2000->2500 then use Mothers Mag wheel polish and some tissue. That'll get you to a mirror finish and the polish offers some degree of protection. Make sure to use wet'n'dry sand paper and keep the paper wet. Otherwise it'll load up and scratch the work.

Just keep the sanding crap off the ways of the lathe--I use a big piece of heavy cardboard cut to size when I do thi.
 
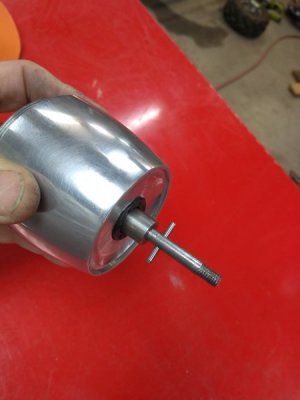
I put the prop shaft together this morning, drilled and bored the 11mm stainless, only took 3 tries to get it right... the rest was pretty strait forward, run a die over the end to thread it and drill a cross hole for the drive pin for the prop.

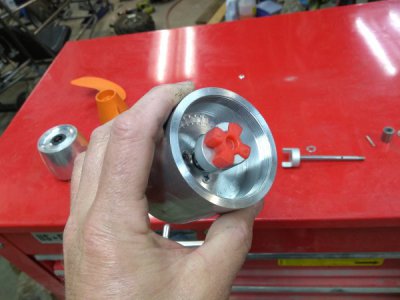
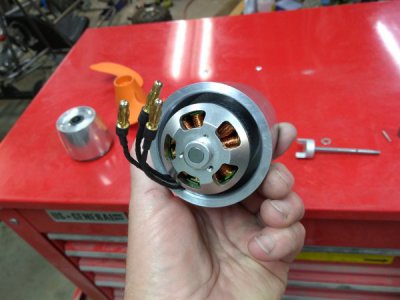
here is the motor mounted with the lovejoy coupler installed
IMG_20180711_091030418.jpg
IMG_20180711_091035787.jpg
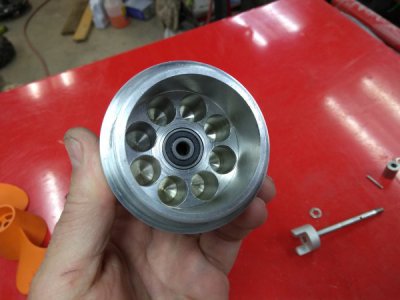
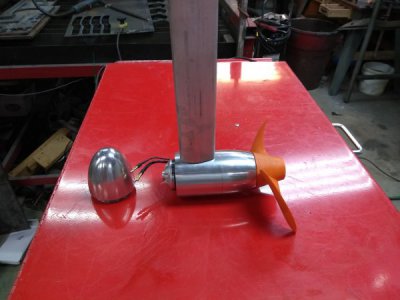
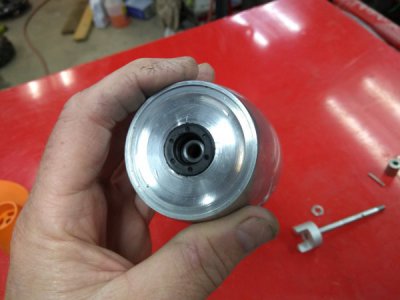
the tail section with the bearings and seal in place.
IMG_20180711_091046788.jpg
IMG_20180711_091050811.jpg
shaft in.
IMG_20180711_091150356.jpg
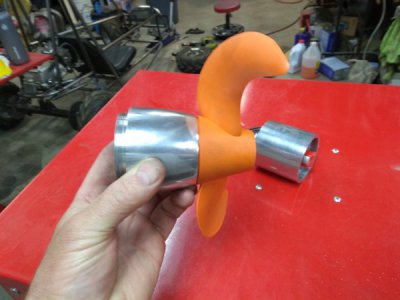
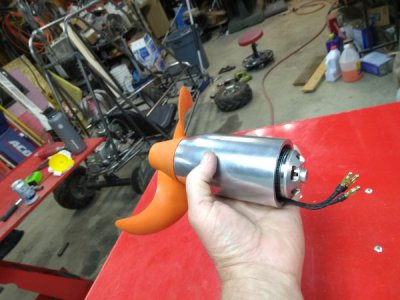
Prop installed.
IMG_20180711_091243811.jpg
Motor on, it goes together really easy.
IMG_20180711_091308830.jpg
The wires will come out through a hole into the shaft coming down to the motor from the boat then the nose cone can go back on.
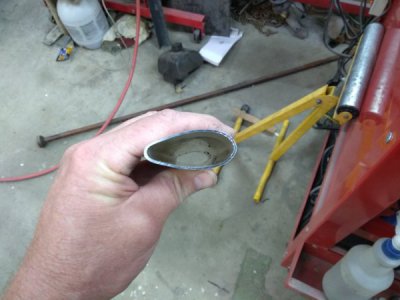
I got a foot of aero tube for the shaft,
IMG_20180711_091419918.jpg
IMG_20180711_091430289(1).jpg
I don't have a TIG welder so I'm going to build a jig to hold it all together and take it to someone to weld the shaft and scag on.

I'm also working on the mounting bracket for the back of the Kayak so that's coming up soon.

I'm off to get more sandpaper so I can finish the polishing and drill the holes for the wires and pin wrench.

Thanks for all the encouraging words.
 
For polishing aluminium use the grades of papers Matthemuppet stated, I use wet-n-dry papers and lubricate it well with WD40.
Followed with tripoli then rouge.
This will bring up a brilliant diamond like shine, then a coat of car wax polish as a bit of protection.
 
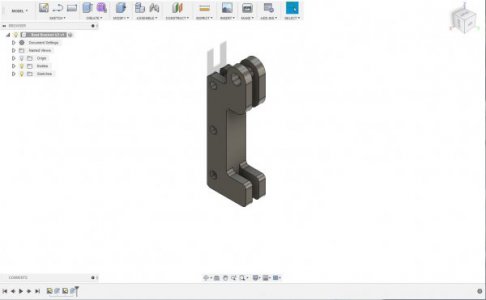
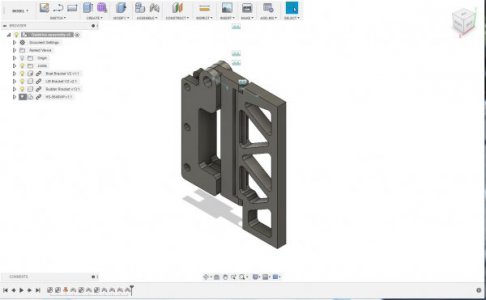
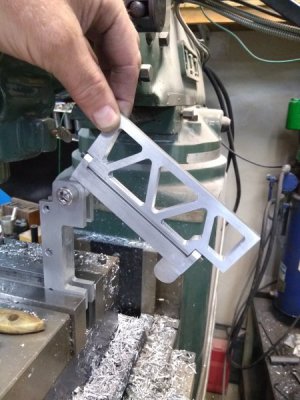
Here's what I came up with for the mounting bracketry to hang the motor on the back of the Kayak. First off the Kayak will get a fiberglass cast made of the back tip of the boat that will pin onto it via a hole that is already on the Kayak then this bracket setup will mount to that form fitted cast, In theory. The cast piece will have a 1/4" thick strip along the rear for the bracket to bolt to.

The first bracket that bolts to the Kayak
Boat Bracket.JPG
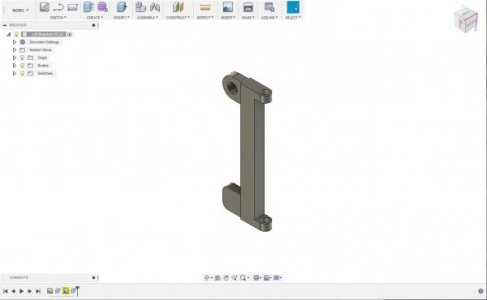
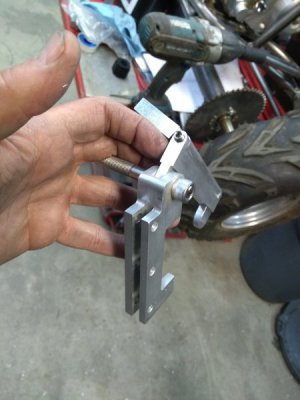
This is followed up with what I call the lift bracket because the motor needs to be able to tilt up for shallow water, beach landings or hitting debris in the water.
Lift Bracket.JPG
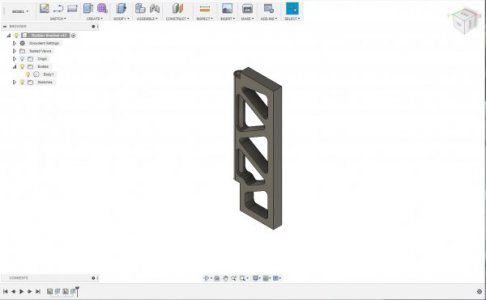
Then the rudder bracket that allows the rudder to pivot
Rudder Bracket.JPG
Then all assembled.
Rudder Bracket V2.JPG
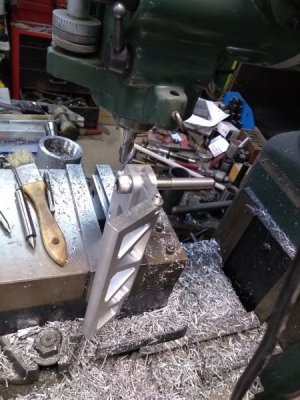
And after making some chips.
IMG_20180724_155100282.jpg
IMG_20180724_155107641.jpg
IMG_20180724_155146932.jpg

That's where I'm leaving off today, I need to finish sanding and polishing the motor housing and the aero tube and get it all welded together.

I need to find a good TIG welder in the local area that can make some pretty welds so I don't have to sand and polish out the welds, I know that's not me!
 
Back
Top