- Joined
- Apr 30, 2015
- Messages
- 12,237
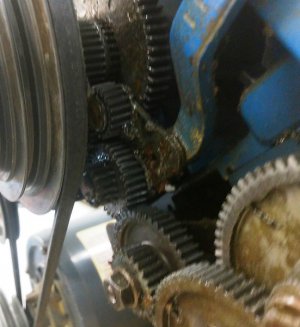
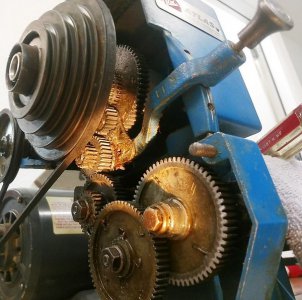
My Mk2 also has the "backlash adjustment" carriage handwheel assembly. I have found that it doesn't really give much adjustment in
that regard; on mine at least, the gearcase has to be oriented to the extreme "down" position to obtain proper pinion to rack adjustment. Rotating
the gearcase either to the left or the right simply moves the pinion away from the rack. Perhaps the factory had something else in mind, or just miscalculated and didn't give enough adjustment range, I don't know. But it only meshes well in the one position.
I also found that the Zamak front gearcase half (that holds the handwheel pinion shaft) wears rapidly; I bored mine out to 13/32" and installed
a piece of 13/32" OD, 3/8" ID brass hobby tubing. Nice and tight now.
The belt idler pulley bushing also wears fast- keep it well oiled until you get fed up and replace it with a Torrington needle bearing and hardened steel shaft. Frankly the idler could probably be eliminated altogether; it tends to impart periodic "tugs" to the headstock which is not ideal for good surface finish on your turned parts. Another bean-counter compromise. A spring-loaded tensioner would have been preferable.
The sliding coupling from the step pulley to the spindle is another high-wear area. Bean counters strike again. They should have put two 180 degree woodruff keys instead of just the one. Hard to improve on this item, it is what it is. I do like the ability to pull the collar and twirl the spindle by hand, very handy when indicating a part in the 4-jaw chuck. I also like the backgear lever- no tiny pin to pull out- makes changing chucks a breeze. A nice machine in some ways, but a bit weak in others. Biggest improvement I made was a variable speed motor.
Mark S.
Last edited:


