Today's lesson is: don't try to do too much in one session! (You'd think I'd have learned this lesson by now.)
I was delayed getting into the shop today due to so some money chores taking far longer than seemed reasonable.
So I was both feeling rushed
and in a foul mood at the same time when I started work on the slide today. The results were predictable. I only wish I'd read Robert's last note before getting started (though now that I think about it, I doubt it would have made a difference).
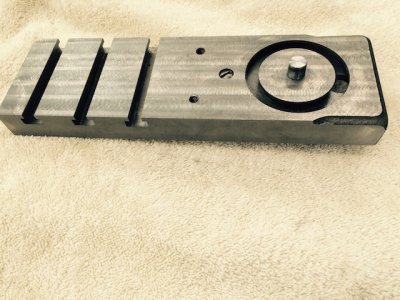
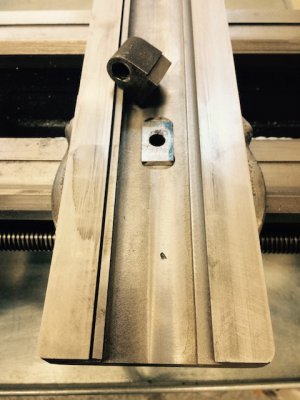
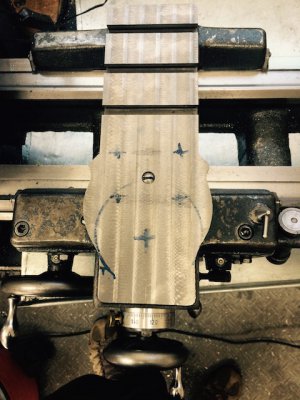
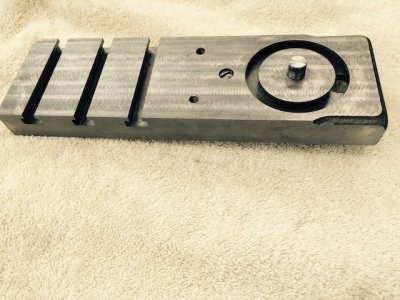
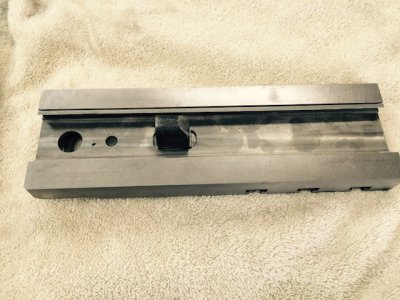
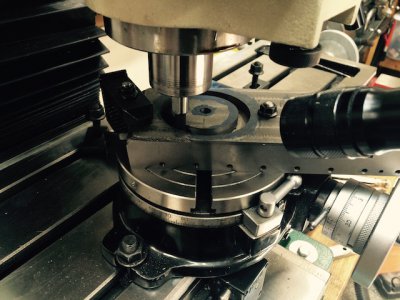
Before I quit yesterday, I bored and tapped 10-32 holes on the gib side for the gib screws and lock-screws. Andy's drawing called for nine evenly spaced holes, but since he didn't include either lock screws nor a pin, and since my slide is precisely 11" long, I thought I'd make my life easy on the DRO and tap ten holes spaced exactly 1" apart (at inches 1 through 10 from the right hand side:
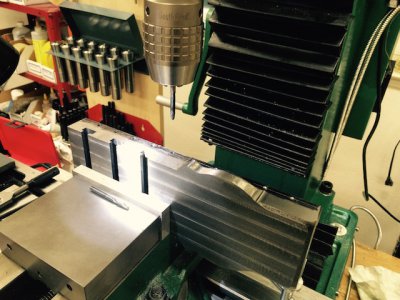
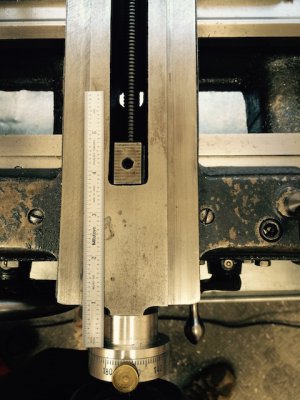
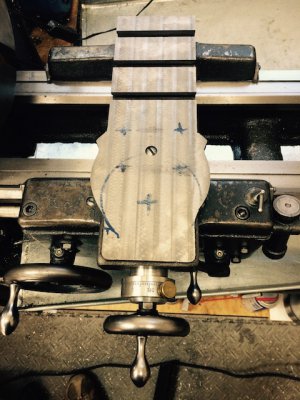
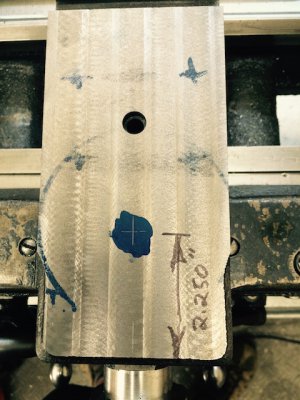
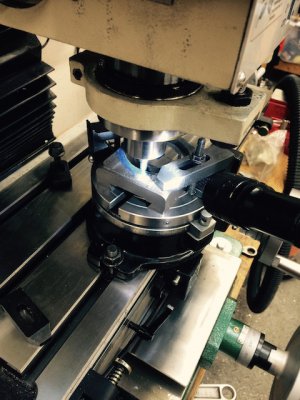
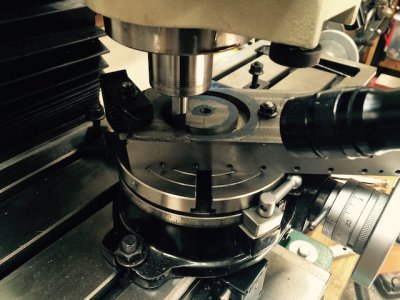
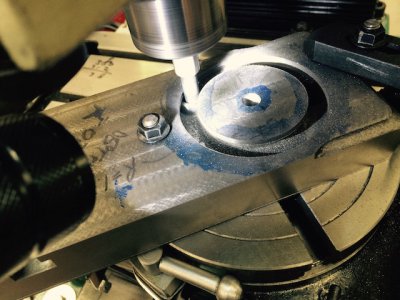
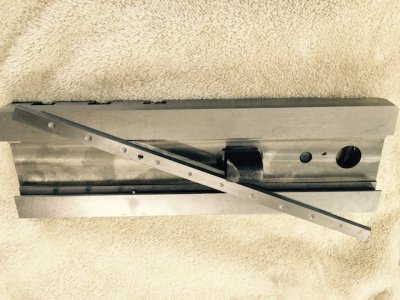
Then I used my adjustable parallels yet again to hold the gib in place as I drilled a hole for the pin, and marked the locations for the detents with a transfer punch. I'm using 1/8" dowel pin to pin the gib, so I first drilled a 7/64" hole all the way through the side of the slide and through the gib. The pin hole was exactly 7.500" from the left end as seen in the photograph below. I then used a transfer punch to mark the locations of the previously tapped 10-32 holes into the gib.
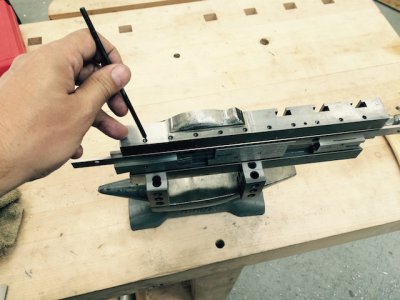
Next I removed the gib and enlarged the marked locations with a prick punch. I later enlarged these detents on the drill press with a random large drill. Probably overkill to have both a pin
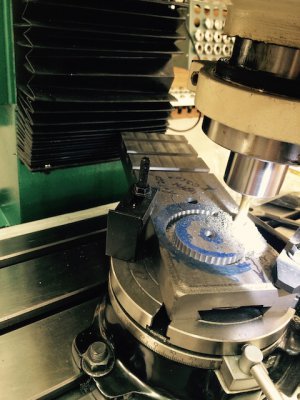
and depressions for the gib screws, but overkill is my middle name. After drilling the depressions, I lapped the gib with sandpaper on my surface plate to remove any surrounding areas of metal that were pushed up by the process.
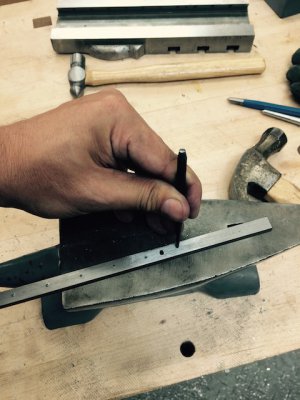
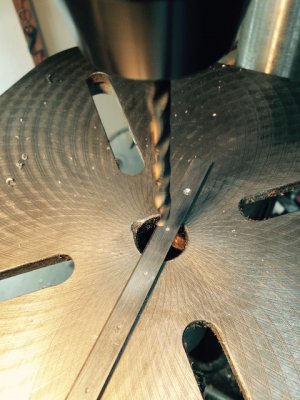
Next I broke out my "under/over" reamer set, and reamed the hole in the slide one thou undersized (0.124"). The hole in the gib needed to be oversized for a slip fit, but I couldn't use the slide itself again to hold the gib in place (using my trusty adjustable parallels) because I needed a press fit in the slide itself.
(Here, right here, is where I should have called it a day, cleaned the shop, had a beer and a good meal with the family, then had a good night's sleep. Sigh.)
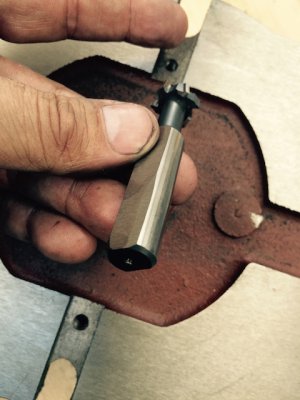
Here's the first questionable decision of the day (fortunately it ended without incident): Unsurprisingly I didn't feel up to milling a fixture just to ream one hole larger in the gib, so I decided to free-hand it. I chucked a 0.126" reamer in the mill, broke out a pair of heavy leather gloves, and manually held the gib roughly in proper 60 degree orientation (figuring a reamer is reasonably self guiding as long as I hold it close, and I only need +/- 0.005" or so anyway). I'm not sure which would be more likely to grab, a twist drill or a reamer, but using a reamer with a moderate speed on the mill and the leather gloves I managed to enlarge the hole without so much as a scratch, much less a trip to the E.R. Whew!
By now I was in full-on, damn-the-torpedoes-full-speed-ahead mode, so I decided it was time to press in the gib pin. I don't actually own a press, but hammers, punches, and vises I have in spades, so here we go!
My dowel pins were considerably shorter than the depth of the hole, but I figured after driving in the pin as far as it would go with a vise, I could use a pin-punch to drive it the rest of the way. Wrong! Hardened against hardened is always a bad idea. I had exactly zero success driving the pin any further with a punch, but I did manage to make a beautiful couple of dings on the side of the slide.
A short walk later (there may have been some cursing involved) I realized that I should have just pressed the pin in from the other side (of course!).
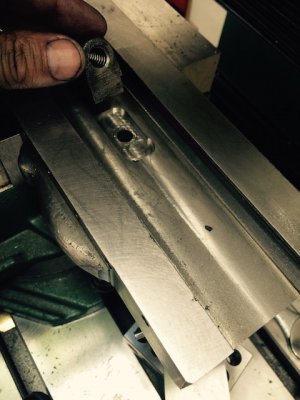
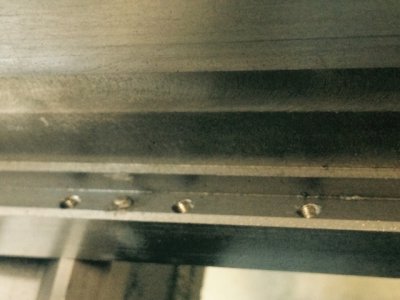
At this point I had a (short) pin pressed in such that it was just proud of the side of the slide (with a couple of gorgeous "newbie tattoos" surrounding it) and nothing extending into the dovetail. After a head scratch, I realized that pressing in another pin from the other side would push the first one out sufficiently to grab onto it and remove it, so I put my steel jaws back on my vise (I normally keep my homemade copper jaws on the vise), grabbed a nut, and had a go:
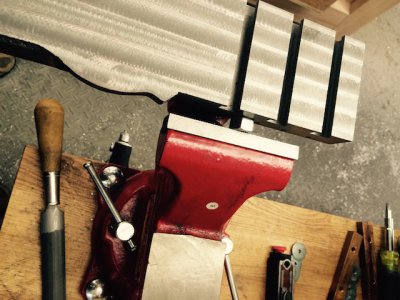
Worked just fine for the first sixteenth of an inch or so. After removing it from the vise to inspect progress, and then re-setting to push it the rest of the way in I had some trouble. The first sixteenth moved without severe pressure, but now it wasn't moving. I took it off again to inspect and the inner pin seemed to be going in straight. Nothing seemed amiss so, or course, I just assumed it needed more pressure (of course!).
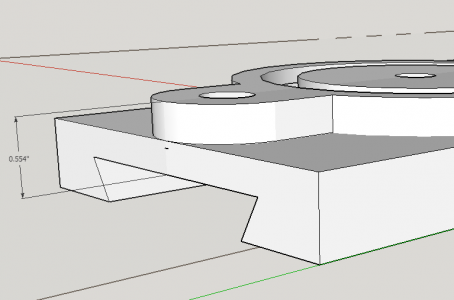
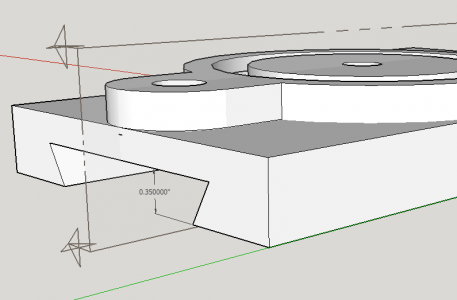
Remember that little extra depth I had in the dovetail slot? (Last photo in comment #8.) In re-inserting the part into the vise, I managed to put it in deep enough that the vise jaw was catching on that step. So by cranking harder all I was managing to do was bugger up the outside (and bottom) of the slide with a nut-shaped outline — this came back to haunt me later.
Eventually I realized what was going on, and lifted the part a littler higher in the jaws. Then it was smooth sailing: I got the inner pin pressed in as far as I could get it with the vise jaws, and the outer pin was pushed out enough that I could grab it with the vise and remove it by taking a dead blow hammer to the part itself.
I could only push in the inner vise pin so far from this direction, and it had mushroomed slightly from the pressing, so I broke out a dremel tool and diamond bit to have at it. After about ten minutes of "fettling" the gib seemed to fit quite well, with no discernible slop. Joy!
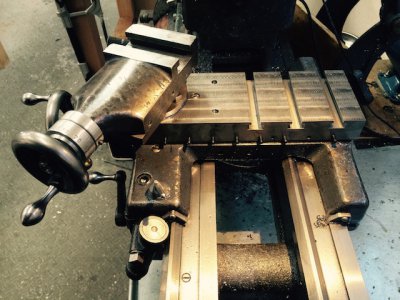
I took the slide with the gib in place over to the lathe and tried it on the saddle. It slide on nicely until it got to the pin, then it bound slightly. Not enough to prevent it from sliding, but clearly it was binding and something was amiss. I thought maybe the pin was just slightly misshapen and keeping the gib from settling into the dovetail properly, so I broke out the dremel again as well as my optivisor with the extra loupe in front to really see what I was doing (no pictures of this — I look too ridiculous).
Back to the lathe. No joy. Still binding.
Eventually I copped to the fact that the "nut impression" on the side of the slide had actually created a couple of burrs or raised areas on the bottom of the slide (the bearing surface). After giving the slide a quick once-over by lapping again with sandpaper, I was extremely relieved to find it now slid freely with no binding. The burrs were raising the slide just enough to cause it to bind in the dovetails — it wasn't a side-to-side fitting problem, it was an up-and-down problem.
At this point I had to break out an indicator and see how I was doing. I was absolutely astonished to discover that by pushing and pulling on opposite corners with the slide fully retracted (completely covering the saddle) I only saw about 0.0025" total indicator movement. All the tramming effort appears to have paid off, smooth sliding with only a couple thou of play (before I insert any gib screws) is far better than I'd hoped for.
Woo hoo! Success. Time to clean the shop and call it a day.
Nope. "I just need one more hole in the slide to attach the cross-feed nut — that can't take too long!"
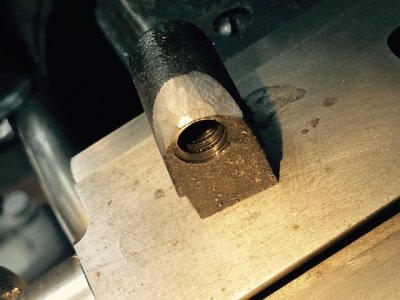
To cut to the punchline, I now have the nut in place, and the slide is working fantastically well with the cross-feed screw engaged and feeding smoothly, and with no discernible lateral play once I adjusted the gib screws.
Getting to that point will be another comment in this thread though. You know you've gone a step too far when you're not even willing to document the process in the same comment!
Onward!
--
Rex


