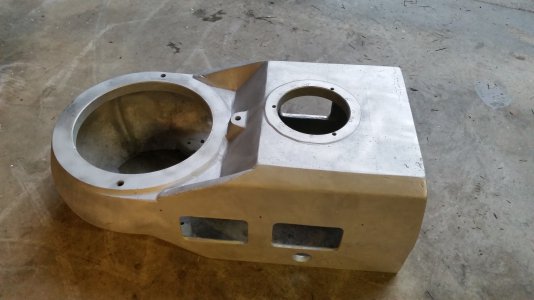
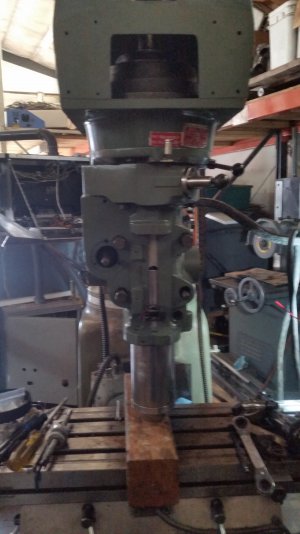
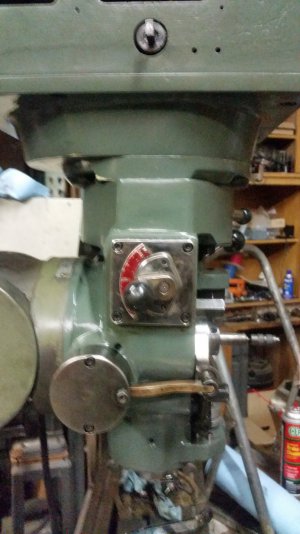
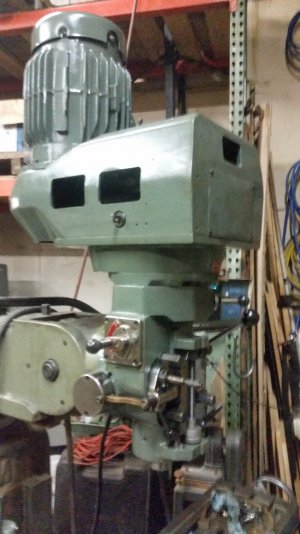
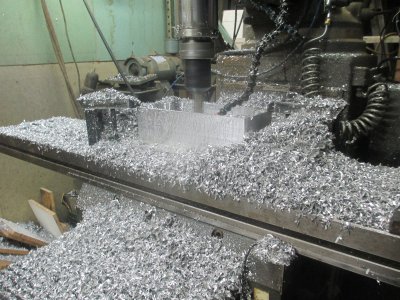
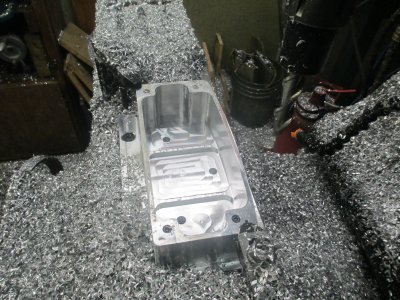
A few pictures of the new switch box on the head.
The Acer VS head has a built in switch panel like the picture below. The head that Alloy got at auction did not have that feature.
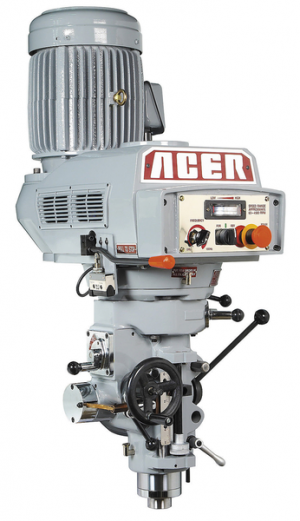
So why buy one when you can build it? Not having an aluminum foundry to cast one, the next best thing is to just carve it out of a solid 3x6x12 chunk of aluminum.
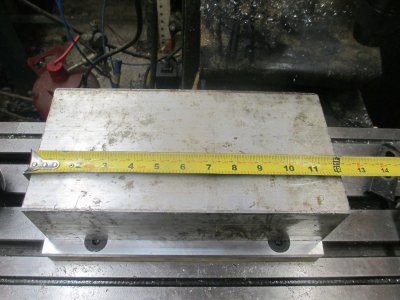
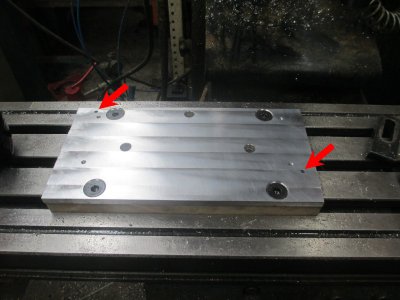
So first make sacrificial base plate to attach it to. 6x12x3/8 aluminum over a chunk of 3/4 MDF bolted to the T-slots with flat head cap screws. NOTE: the holes at the red arrows, these are dowel pin holes so to insure precise alignment when it's flipped over to do the work on the front side. The other 3 holes are to bolt down to the T-slots through the entire piece while profiling the outside. The 1/2 inch holes are drilled through where the switches and tach will go. The four 1/4-20 holes are for securing it once it's flipped over.
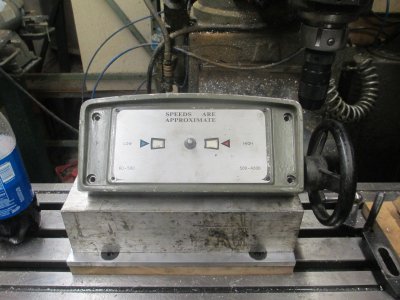
This pic just kinda gives some perspective. This is the original speed control from the Kent head.
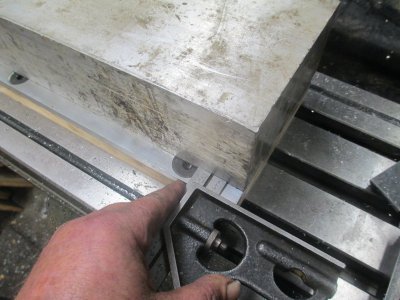
Aligning the block to the base plate. 5/8 from the edge, this is so the holes in the part can be aligned to the T-slots.
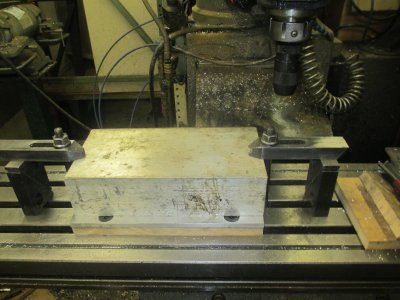
Clamped in place for drilling
OK, now it's drilled and secured with the bolts. First a face cut just to make sure it's flat. Again the mating dowel pin holes. The other two 1/2 inch holes are where the tool is going to plunge for the inside pockets. Just gives the tool a bit of relief.
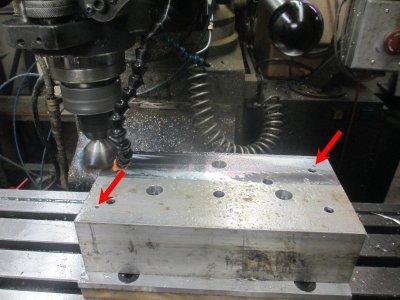
A couple of passes into the outside profile. The end mill is a 1 inch, two flute, with a 4 inch length of cut. Because of the long end mill, DOC was limited to 0.100 to prevent too much deflection and chatter. 900 RPM, @ 5 IPM feed. This gives a chip load of 0.005 per tooth. Coolant is WD-40 fogless spray mist.
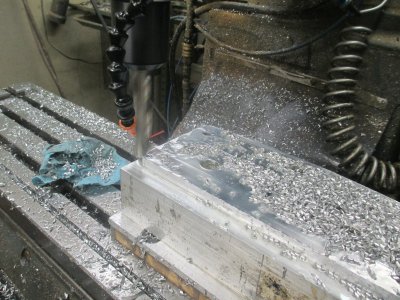
Pocketing the inside, a couple of passes in. Same conditions as above, but with the 1/2 inch bolts removed. Clamps added to make sure it stays put. This pocket will be 2.75 deep when finished. It's running as I write this. By the time it's done, we will have removed about 90% of the material in the original block.
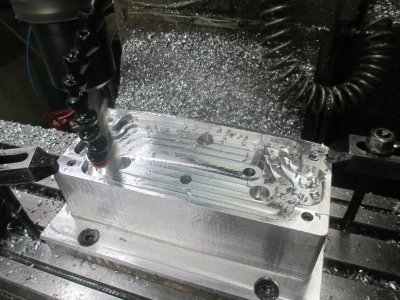
More later, Stay tuned!

.
.

 (I'm running for the door now...)