-
Welcome back Guest! Did you know you can mentor other members here at H-M? If not, please check out our Relaunch of Hobby Machinist Mentoring Program!
You are using an out of date browser. It may not display this or other websites correctly.
You should upgrade or use an alternative browser.
You should upgrade or use an alternative browser.
Heavy 10 project
- Thread starter woodtickgreg
- Start date
- Joined
- Jun 22, 2012
- Messages
- 1,552
When the garage is closed up it gets anywhere from 100 to 120 in there in the summer, Think how hot it gets in a closed up car.When I did Nelsons SB DP head I put a 100W light bulb (incandencent, not CFl) that got it nice and hot.
I would think a couple of them in the bell would help.
My garage is just the opposit.
Its a garage under, One side is in the ground, one side is a basement wall.
The basement has 3 sides in the ground. On a hot day, today was 92, I am at about 75 in the garage if I keep the doors closed. If I open them I get ambiant temperature.
Free Air conditioning.
Its a garage under, One side is in the ground, one side is a basement wall.
The basement has 3 sides in the ground. On a hot day, today was 92, I am at about 75 in the garage if I keep the doors closed. If I open them I get ambiant temperature.
Free Air conditioning.
- Joined
- Jun 22, 2012
- Messages
- 1,552
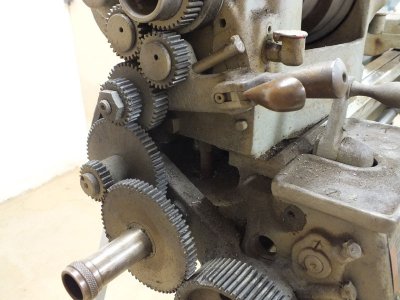
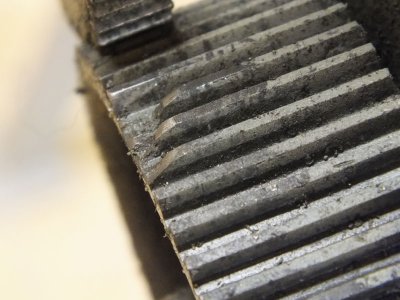
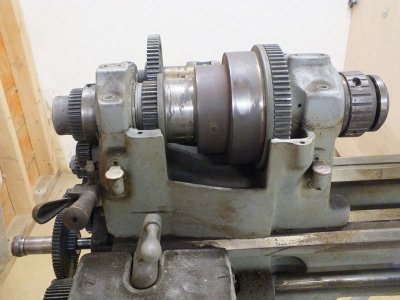
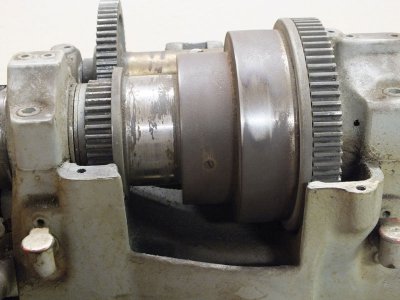
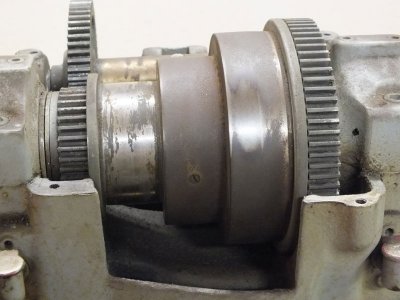 I finally got some time to work on the lathe again. Here are some pics before I started to tear it down, you can see the primer overspray that the previous owner sprayed all over everything. And a pick of the only damaged gear that I have found, leadscrew drive gear, and I already have the replacement from ebay! You can also see the rust on the spindle cone pully and one little spot that I hit with some 320 sand paper as a test. I think I will clean the pullys up before I tear it down so the headstock can hold it and allow me to rotate it.
Last edited:
- Joined
- Jun 22, 2012
- Messages
- 1,552
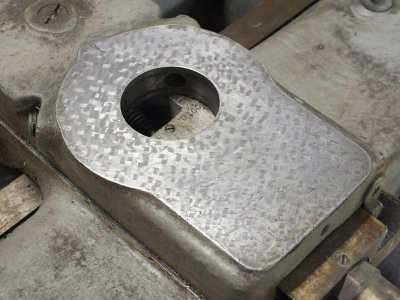
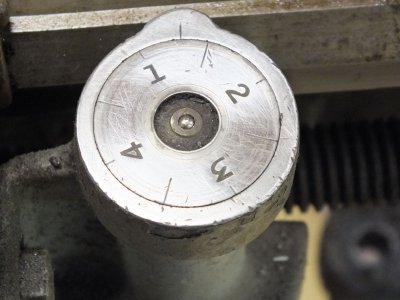
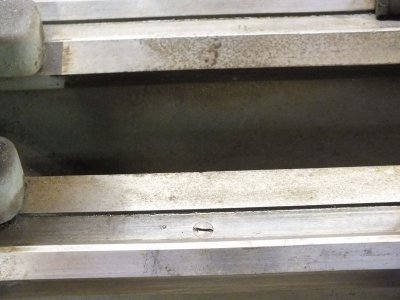
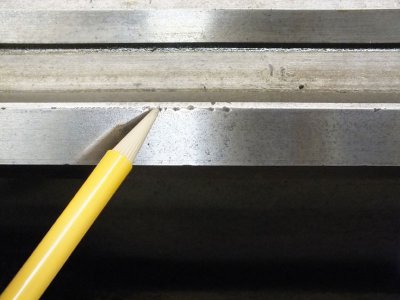 Here's a few more pics, the compound base still has the scrape marks, the threading dial was very rusty but it cleaned up pretty good. I do think I will need to find a new gear for the threading dial, it looks quite worn and does not always engage with the lead screw. Also a couple of pics of the ways right by the headstock, In the pic they look rusted and pitted but they are not that bad, it's mostly just a discoloration. A light sanding with some 600 grit and some oil and they clean right up. There are a few small nicks on the back way, judge the size of the nicks by the pencil point for referance.
Last edited:
- Joined
- Jun 22, 2012
- Messages
- 1,552
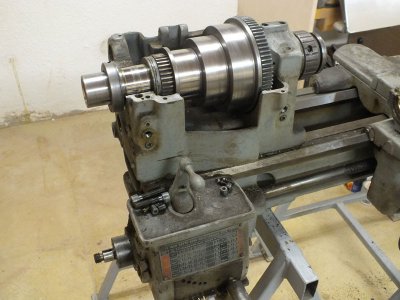
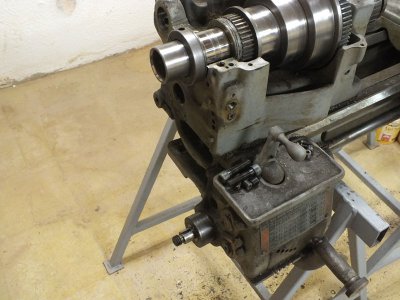 Everything came apart on the teardown without a hitch, taper pins popped right out, leadscrew gear came right off, back gear came out, all gear assemblies came off without any trouble at all. So I proceeded to clean up the spindle cone pully before I removed the spindle assy. I scrapped most of the rust off easy peasy with a razor blade and then sanded the pully surfaces with 220 and then 320 sand paper. I think the cleaned up very nice. I don't think I really need to sand any finer as the belt might slip? The belt will probably polish the surfaces with use any way. Here's a couple pics of the progress so far.
Last edited:
- Joined
- Jun 22, 2012
- Messages
- 1,552
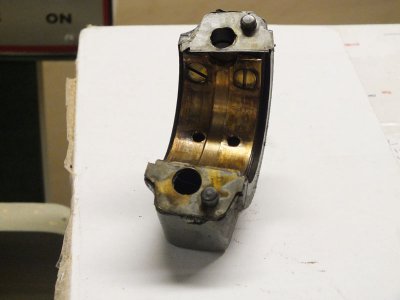
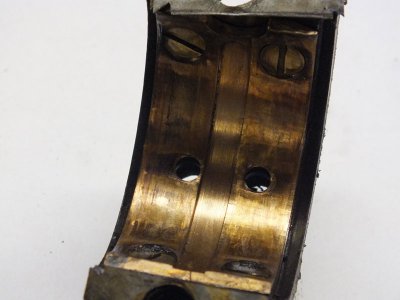
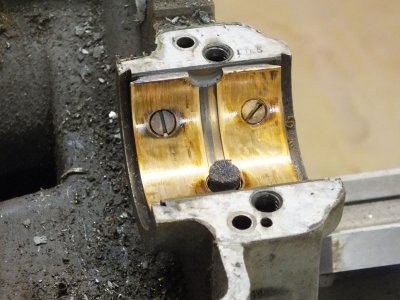
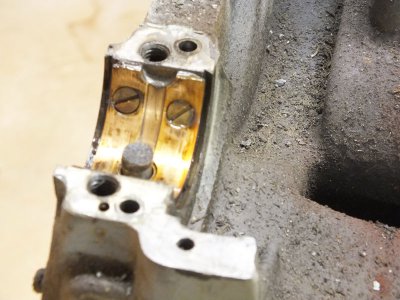 Everything has been going so good, almost to good? And then I found a surprise when I pulled the bearing caps for the spindle. I have never seen anything like this, the original sleeve bearings are gone and someone replaced them with the half bearings you see in the pics. 2 things come to mind, either it was a repair for bad bearings or possibly an upgrade, or both? I will say this, there was absolutely no play in the spindle and it turned smoothly. But drilling and tapping the cast headstock and bearing caps to secure the bearings with screws? I do not know what to think about this. My first thought is look for another headstock and replace it, but I am not so sure this repair is a bad thing, there are shims still being used and cappilary oil wicks are still in place, no grooves or signs of wear either on the bearings or on the shaft. They did call these old lathes engine lathes and the repair is very much like a crankshaft bearing replacement. The oil return holes are not obstructed. I would like to here the opinions of others on this. Run it as it is? or replace it? Here's some pics.
Last edited:
- Joined
- Jun 22, 2012
- Messages
- 1,552
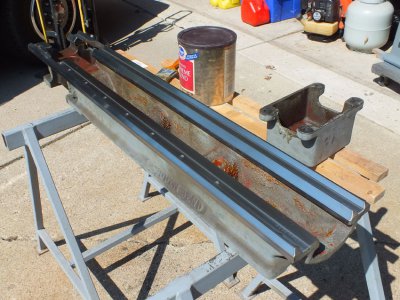
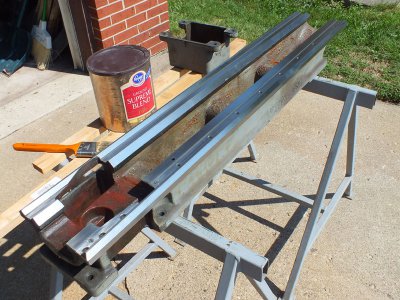
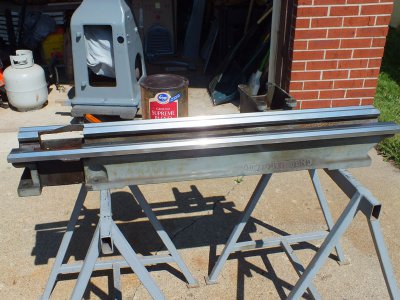
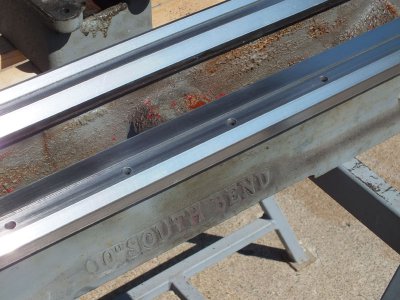
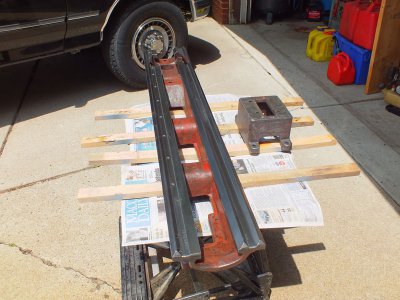
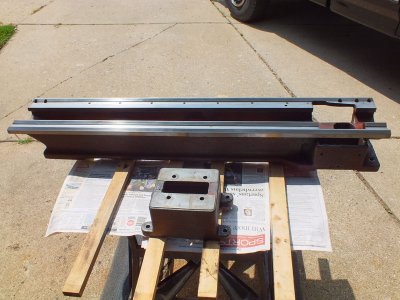
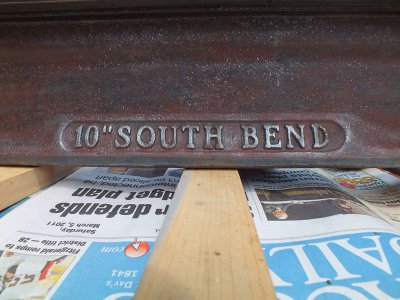
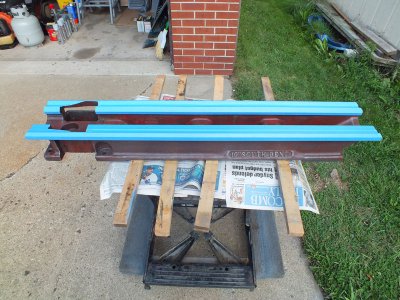
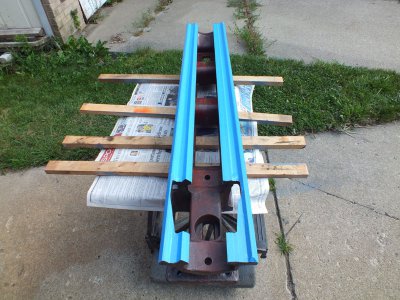 Well I found a replacement head stock complete with spindle, cone pullys, and bull gear, complete with bearings and caps and the bearing adjusters. I should get it sometime next week. In the mean time I have kept busy with stripping the bed of all it's mechanicals and did a quick clean up on the ways, they look really good. Here's some more pics of stripping the bed and prepping for paint. After chemicaly stripping I went over it with a die grinder with a wire wheel to remove the stubborn bits. It cleaned up really well, then I masked off the ways in preperation for painting.
Last edited:
- Joined
- Jun 22, 2012
- Messages
- 1,552
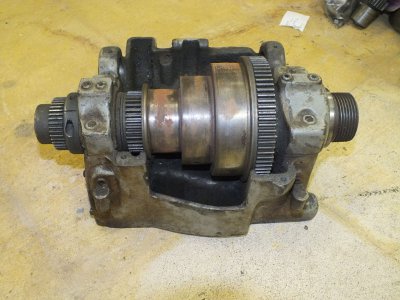
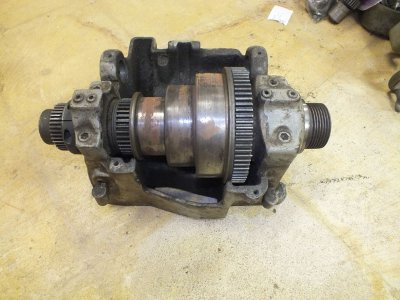 Last week I recieved the new used headstock assembly. The seller did a great job packaging it and even made a wooden crate for it to go inside the box and bolted it down to the crate. UPS just sucks, the box arrived with 2 corners blown out and the crate which was well constructed completely smashed, boards broken, and one bolt fell out of the bottom. The only thing that was holding the box together was the plastic bands that the seller put on it. I was a little nervous when opening it and feared the worst but all was well, the only damage to the part was one oil cup is smashed and not really usable, I have another to replace it. One good thing I noticed right away was that it is very oily, and that could be a good thing and show that it was oiled regularly. Last monday I injured my arm at work and I could not carry this 75# part down into my basement, so I asked my wife to dolly it down, she did but complained all the way down. My progress is going to stop for a couple of weeks as I have to have surgery on tuesday to repair my ruptured bicep. Good thing I took pic's of the work I did last week. Am I boring everyone with this rebuild or should I keep posting?
Last edited:
- Joined
- Jun 22, 2012
- Messages
- 1,552
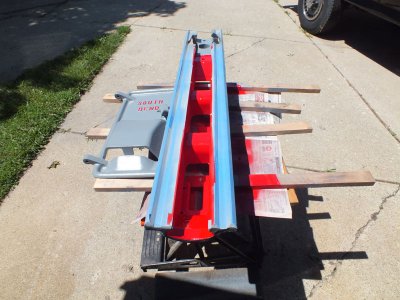


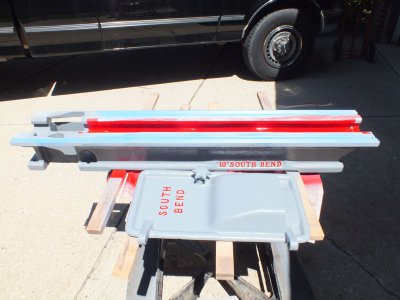
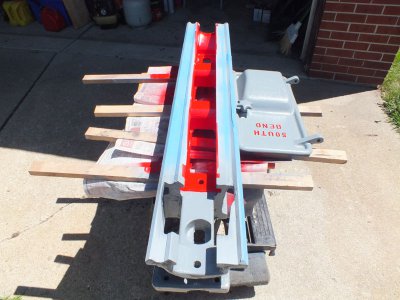
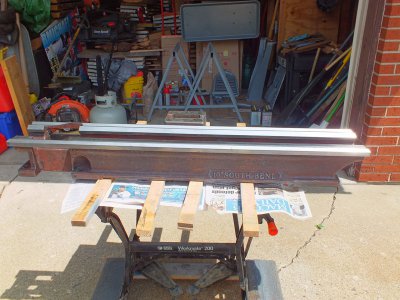
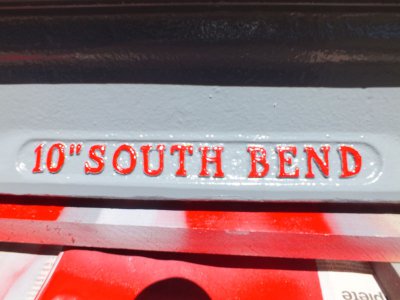 Last weekend I painted the bed also but I did not post the pic's as I wnted to wait for the paint to dry and remove the masking tape and paper. I also painted the lettering on the bed and the cast iron access door, I think it looks better with the letters painted. When I stripped the paint I found red paint in the original layer and on the letters so I repainted it the same.
Last edited:
