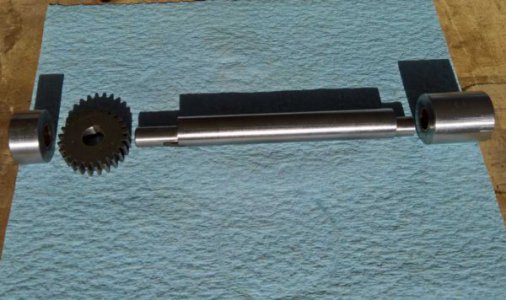
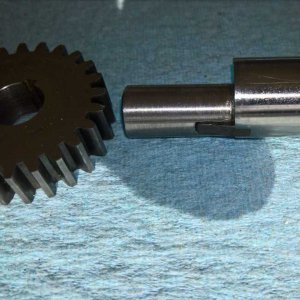
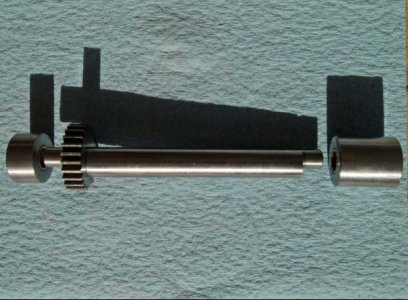
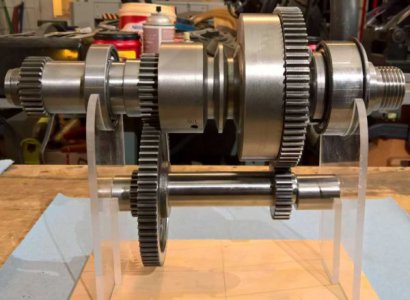
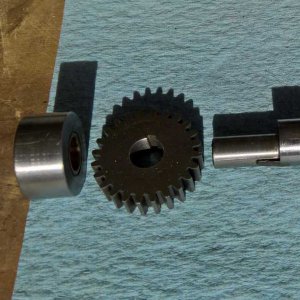
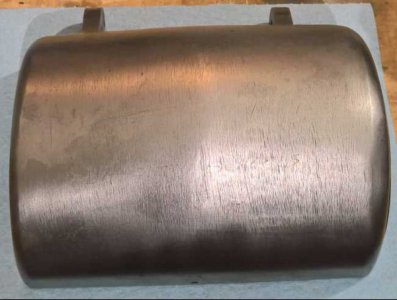
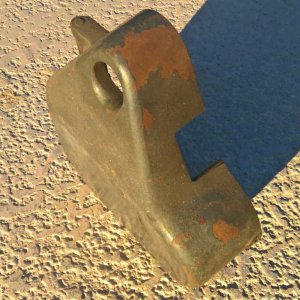
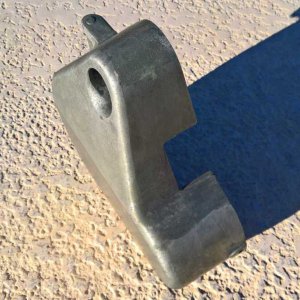
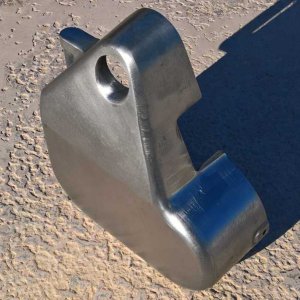
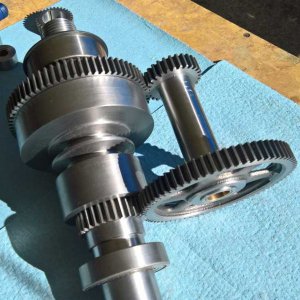
Time to assemble the back gears.. The following photos are for part identification and orientation.
Additional text only if an explanation is necessary. Parts are in their proper orientation, look closely.
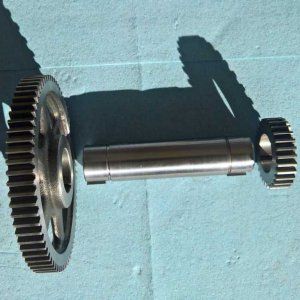
During some previous assembly of the small gear that was pressed on, it galled and scraped
the metal which was pinched between the gear and shoulder - always use an anti-Seize.
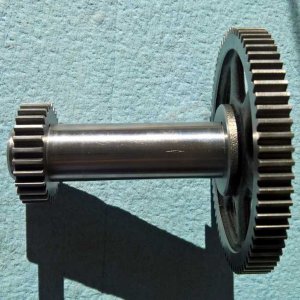
The small gear is pressed to the shoulder and will leave about 3/16" of the quill end exposed,
Notice the portion near the end of the quill that steps down, press small gear on this side.
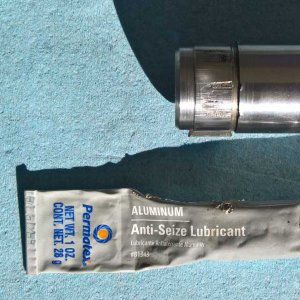
So your wondering or maybe not... The tube says aluminum - which is the main component,
color and heat range for this anti seize, it can be used on many alloy types.
Another popular anti seize is called Never Seez -
When parts need to be pressed past the end of a shaft I'll use a socket just larger then the
shaft - without a press you can use an all thread bar with nuts and washers to pull it on.
If you have never used a press watch lots of videos, Don't be in a rush, Don't use a hammer.
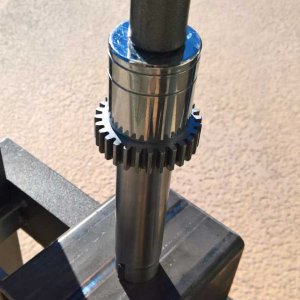
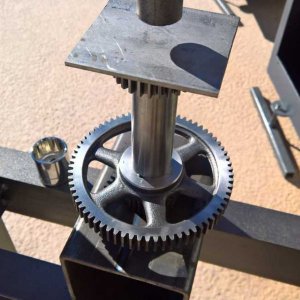
If the play between the Oillite bearing & shaft is greater than .004 press in new ones.
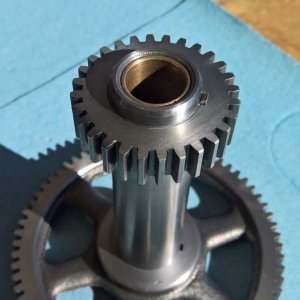
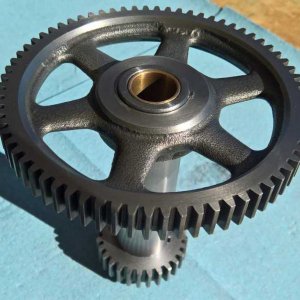
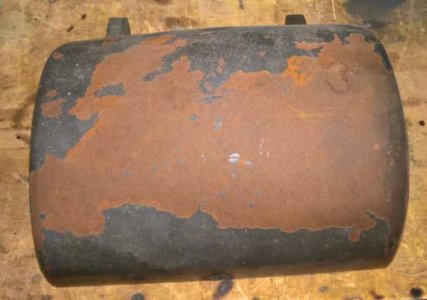
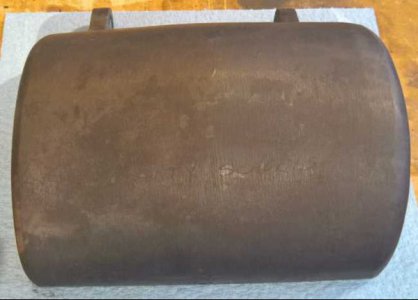
The before and after -
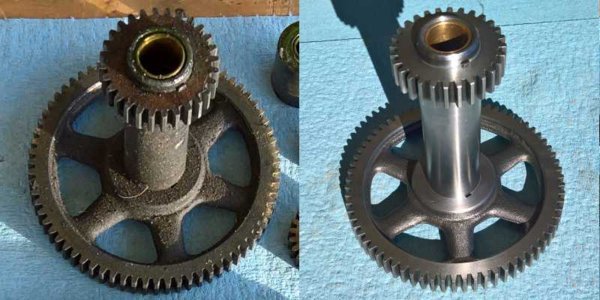
Easy Peasy.. Done.
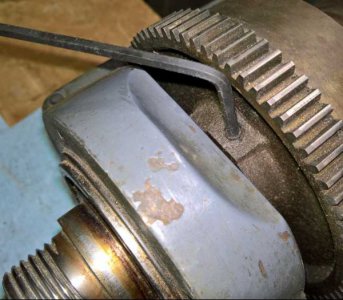
The bonus photos below

show how the alignment should be to the Bull Gear and Spindle
Pulley when installed in the Headstock.
The Large Back Gear should be flush to the outside of the spindle pulley gear.
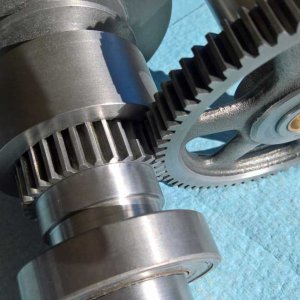
The small Back Gear should be flush with the back side of the Bull Gear, Note the Bull Gear
teeth protrude past the small Back Gear by about an 1/8".
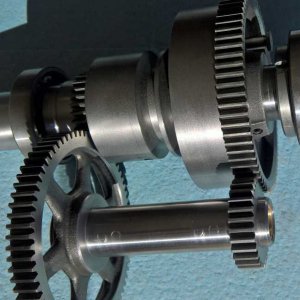
The spindle assembly will be a different set of photos, although simple there are a couple things to be careful of, Spacing.
Thats all for now, have fun Mike.
Disclaimer - This is how my lathe is assembled, yours could be different so you should defer to your parts break down located in your manual.
