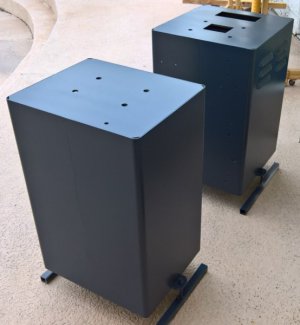
Got My First Lathe... Logan 1875 - With Restoration.

What a superb job you are doing Mr Mike. It's going to turn out so nice that you may not want to use it...LOL
Hello HRgx, Thanks so much for the kind words.
 
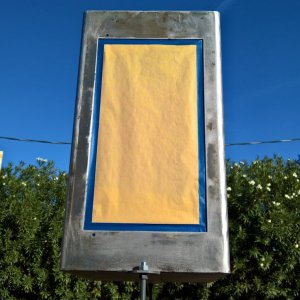
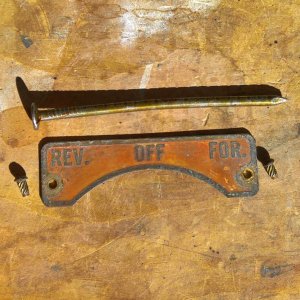
Well I got lucky. The pin holes went all the way through the cabinet making it possible to extract them using a blunted nail, Logan doesn't sell these tags any more... I have see some videos of these being restored.

CabinetLabelOff.jpg

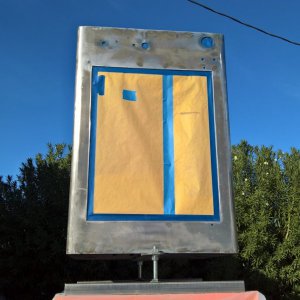
Both cabinets are prepped and ready for primer.. They were sanded smooth down to 220 grit, Smooth to the touch.

LrgCabinetPrepForPaint.jpgSmlCabinetPrepForPaint.jpg

The primer went on Excellent for an airless using a fine finish 312 Tip, So far I'm thrilled.. Ill let them dry over night and spray them Dark Gray in the morning.

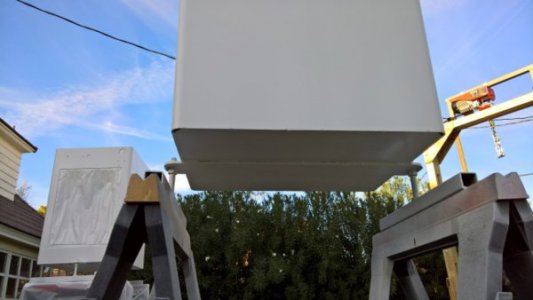
The tee supports really helped with ease of access, And the hoist a life saver making aligning the cabinets to the Saw Horses a breeze.

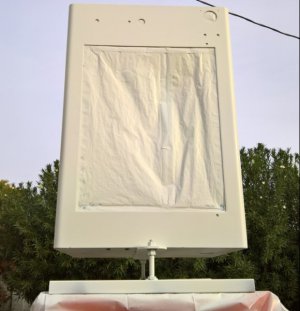
SmlCabinetPrimed.jpg

LrgCabinetPrimed.jpg
My only complaint is you end up wasting a little over a cup of paint during the clean out phase of the airless, On the plus side you can spray two light coats in under five minutes a cabinet..
 
Last edited:
Provided you paint is not a two pack type, you can drain the thinned primer back into an empty can, then wash the gun out, and put the thinners into the same can, and use that for thinning more primer or topcoat if you are washing topcoat out. Also disconnect the pressure and squeeze the trigger to allow the paint in the mixing chamber to drain back into the cup. Both paint and thinner are expensive, waste as little as possible, and use a cheap gunwash thinner to clean the equipment after all the best thinner and paint are removed. She's looking good!
 
I saw a fully restored Monarch 10EE on Pinterest. It's the red one. The fellow laid some pin striping on it. I do think he went a little overboard with the pin stripes. However, if you did some tasteful and not too busy pin striping, I think that it would look real nice. Just my opinion but whatever you decide, it's gonna be a show piece.
 
Provided you paint is not a two pack type, you can drain the thinned primer back into an empty can, then wash the gun out, and put the thinners into the same can, and use that for thinning more primer or topcoat if you are washing topcoat out. Also disconnect the pressure and squeeze the trigger to allow the paint in the mixing chamber to drain back into the cup. Both paint and thinner are expensive, waste as little as possible, and use a cheap gunwash thinner to clean the equipment after all the best thinner and paint are removed. She's looking good!

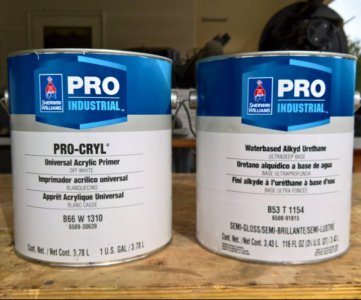
Hello hermetic, I used a professional water based product, And sprayed it with an airless machine so I wouldn't need to thin the primer or paint.
I didn't use the pressure pot sprayer with this painting system, The airless uses a short 25' foot hose that takes about 2 cups to fill by its self, when I clean it out I spray about half that back into the paint can befor the soapy water gets up to the spray gun.

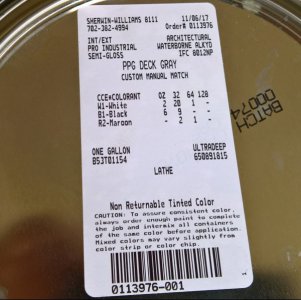
The paint and primer were about 50.00 a Gallon each so they are a bit pricey, lets hope the paint lives up to its cost. Thanks so much for trying to help out thou...

PaintAndPrimerLabel.jpg
PaintAndPrimer.jpg
 
I saw a fully restored Monarch 10EE on Pinterest. It's the red one. The fellow laid some pin stripping on it. I do think he went a little overboard with the pin strips. However, if you did some tasteful and not too busy pin stripping, I think that it would look real nice. Just my opinion but whatever you decide, it's gonna be a show piece.
Hi HRgx..

Funny you should mention the pin striping.. I was thinking of doing something along them lines but decided against it. I was also considering having an airbrush artist paint some Rack and Pinion Gears in some complicated manner on the lathe bed, at one point I was even thinking Star Wars Storm Trooper even.

In the end I decided I'm going for a factory fresh Machine Tool look with some highlights on the Lathe Bed, Carriage, Compound slide and Tailstock handles. If I was going with some striping a couple Dark Gray strips on the white bed supports would look neat, but it would ruin the clean look I'm shooting for.

Thanks for the input though, Mike.
 
The cabinets came out excellent.. The additional effort with prep work made all the difference in the outcome, Just the Interior painting is left.
It took between 3 and 4 hrs per cabinet Inside and out to Grind, Scrape & Sand off the old paint, Key scratches in the base metal and remove the rust to a smooth surface using a pneumatic orbital sander & about 40 sheets of sand paper.

The Chip Pan took less time maybe 1.5 hrs of original prepping and another hour to sand off the bad paint job - but finally did come out pretty good after the painting issues were solved. Allot of time was wasted, maybe 5 or 6 hrs with drive time working out the paint issues that I was having from the start of this project.. I had no luck with spraying the solvent based paints trying several methods and ended up using a water based system at double the cost. I just hope the paint is as tough as its price tag.

The Pre-Prep work of creating and remaking the gantry & hoist, and making the tee stands took about 6 hrs. about two hrs of spray equipment cleanup including failed attempts - lets say for everything a total of 22 hrs to get the Chip Pan and Pedestals painted.

lol because I used an airless sprayer the total time I spent painting was under 12 minutes. I used a stop watch to time myself on the final coat of Dark Gray on the large pedestal at 1 minute 24 seconds. I really wanted to learn to use a solvent paint but sometimes you have to go with what you know to get things moving.

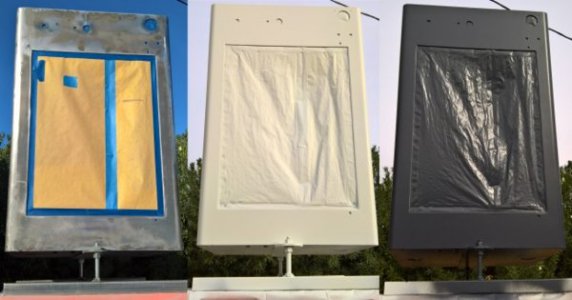
3Shot.jpg

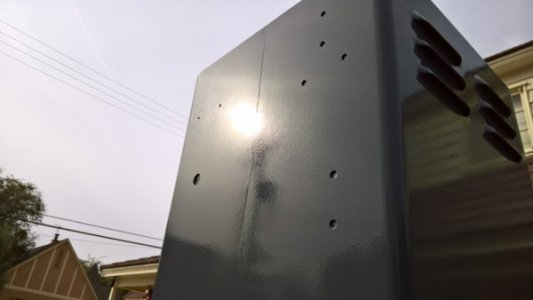
Wet paint Just sprayed, would have been nice all glossy. Paint prep is everything.
WetPaintGray.jpg

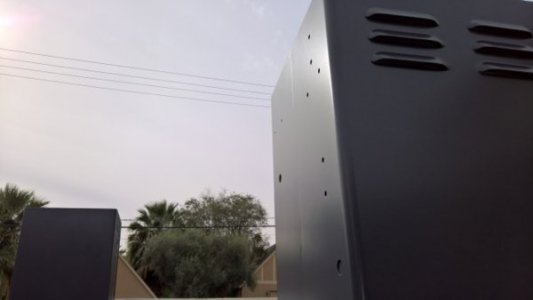
The flashed off paint shows the final semi gloss sheen, and factory fresh paint look.
DryPaintGray.jpg

Cabinets are dry to the touch, Thanks to the hoist I could lower them down and move them without a scratch.
Now I just need some courage not to touch them for at least week, then ill finish the interiors and reassemble whats ready.
BothPaintedGray.jpg

Thanks for looking.. Mike.
 
Last edited:
This is a net project you have undertaken! Lots of diversions along the way - electrolysis, painting, restoration, and in the end a machine you will know in and out!
 
This is a net project you have undertaken! Lots of diversions along the way - electrolysis, painting, restoration, and in the end a machine you will know in and out!

Hi Larry, yes lots of diversions.. I originally wasn't intending on this restore becoming a net thing, I was just going to restore it and post the before and after photos. I would always do the best I could regardless of postings, I would have done everything as I've done so far.. with the exception of the electrolysis which I'm glade I learned how to do, It will come in handy down the road with this project.

I asked before I started if I should just do the before and after photos, Or a full beginning to end write up, a few people said a full write up with lots of photos. so here I am. I thought maybe I would be helping others by showing how I am doing it but it been going both ways. who knows maybe it will help someone avoid my mistakes and or find some info useful.
 
Last edited:
Mike you are doing a great job, not only with the restoration of your lathe, but the documentation of it in this thread. Not everyone takes the large amounts of time to take pictures, load them to the site and then describe everything. We are all very grateful of your efforts and appreciative of your unselfishness to being willing to help us all learn and enjoy your fun. Thank you!
 
Back
Top