- Joined
- Jul 30, 2017
- Messages
- 635
Again I Failed.. but there may be a silver lining..!
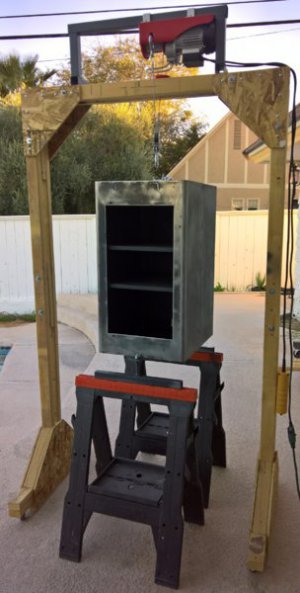
Ok so I got tired running around town looking for a pro spray gun, Well I run around town every day doing service work.. But I stopped at the 3 major paint shops this week. Not one caries Devilbiss or Binks spray guns.. so I went back to HF and after 2 more trips to HF was ready to prime, Trip 1. to get a conventional none HVLP pressure pot spray gun.... The pressure Pot, Fluid & Air lines and Regulator were all good... But lol the fluid needle in the gun was defective.. Trip 2. to get a replacement Fluid needle.
I hooked everything up to begin priming and tested a few spray spots on rocks - looked kinda ok..
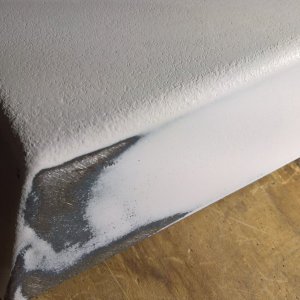
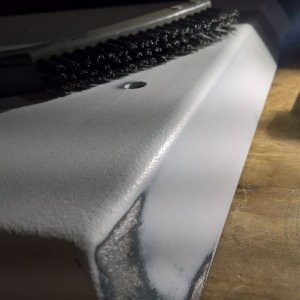
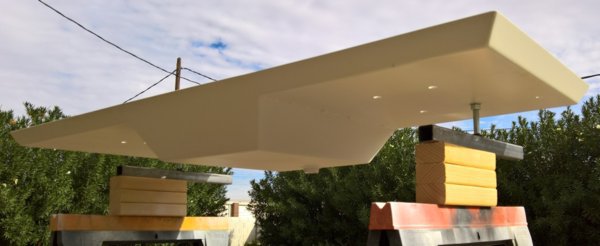
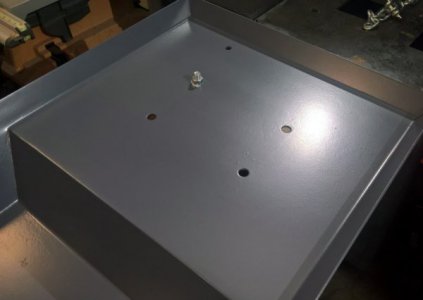
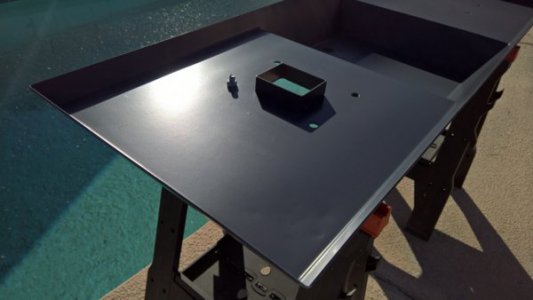
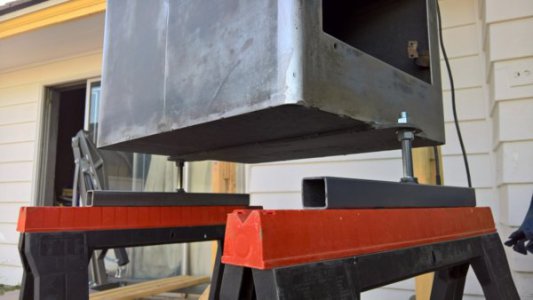
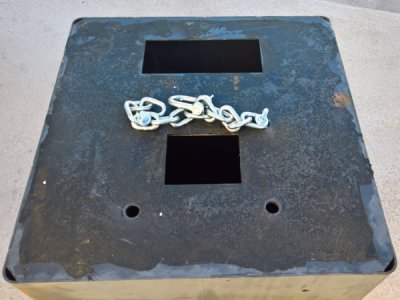
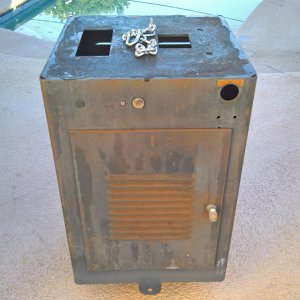
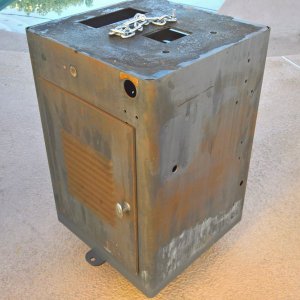
Immediately when I started spraying the chip tray I could tell this was going to be a disaster.. But hey.. I can always sand and start over I'm thinking..! So now's as good a time as any to figure out the gun and make adjustments till I get the primer to spray right.
I fallowed the primer directions to a tee.. 9 to 19 psi on the Fluid, and 50 to 60 Psi on the Air - The directions did state that an Conventional Devilbiss JAG pressure pot gun with a 777 cap and E or F = 1.8mm 1.4mm Needle Or equivalent, The HF meets all the requirements. Well all but one...
The one thing I couldn't determine would be the Devilbiss 777 spray cap.. Which may be the difference in my ability to spray the darn stuff properly. It was breezy out but not windy, and cool around 60 Deg. So I should have at some point got a decent spray pattern even with a cheap HF setup that was working without Issue.. I could not get a decent atomization and I could not find any fault with the HF setup at all.
After failing miserably I cleaned the spray equipment up all nice and clean.. and put everything away but I didn't release pressure off the tank because tomorrow we are going to give it another go..
The Silver Lining..
This primer is frigin amazing. within 20 minutes it was dry to the touch.. And in about and hour I couldn't scratch it off with my finger nails... And when I went to used a Medium Scotch Bright pad to rub down the rough high spots.. It did nothing to the primer, the pad had no residue on it.. the primer was hard as a rock.
I'm going to do a little testing on the primer tomorrow, See what damages it. lol even when cleaning out the not yet dry spray equipment, I used paint thinner.. It had amost no effect. I had to use acetone to clean everything up. But paint thinner is what they told me to use to clean up with.. Hmm..
In either case I'm going to do my best to figure out how to spray this stuff... The other option was an Airless with a .13 to .19 tip. which I have but, what a clean up nightmare that will be.
No luck yet.. To be continued...

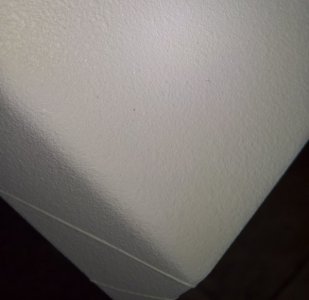
This is the best example of Orange Peel I've ever seen. Hides every imperfection.
Ok so I got tired running around town looking for a pro spray gun, Well I run around town every day doing service work.. But I stopped at the 3 major paint shops this week. Not one caries Devilbiss or Binks spray guns.. so I went back to HF and after 2 more trips to HF was ready to prime, Trip 1. to get a conventional none HVLP pressure pot spray gun.... The pressure Pot, Fluid & Air lines and Regulator were all good... But lol the fluid needle in the gun was defective.. Trip 2. to get a replacement Fluid needle.
I hooked everything up to begin priming and tested a few spray spots on rocks - looked kinda ok..
Immediately when I started spraying the chip tray I could tell this was going to be a disaster.. But hey.. I can always sand and start over I'm thinking..! So now's as good a time as any to figure out the gun and make adjustments till I get the primer to spray right.
I fallowed the primer directions to a tee.. 9 to 19 psi on the Fluid, and 50 to 60 Psi on the Air - The directions did state that an Conventional Devilbiss JAG pressure pot gun with a 777 cap and E or F = 1.8mm 1.4mm Needle Or equivalent, The HF meets all the requirements. Well all but one...
The one thing I couldn't determine would be the Devilbiss 777 spray cap.. Which may be the difference in my ability to spray the darn stuff properly. It was breezy out but not windy, and cool around 60 Deg. So I should have at some point got a decent spray pattern even with a cheap HF setup that was working without Issue.. I could not get a decent atomization and I could not find any fault with the HF setup at all.
After failing miserably I cleaned the spray equipment up all nice and clean.. and put everything away but I didn't release pressure off the tank because tomorrow we are going to give it another go..
The Silver Lining..
This primer is frigin amazing. within 20 minutes it was dry to the touch.. And in about and hour I couldn't scratch it off with my finger nails... And when I went to used a Medium Scotch Bright pad to rub down the rough high spots.. It did nothing to the primer, the pad had no residue on it.. the primer was hard as a rock.
I'm going to do a little testing on the primer tomorrow, See what damages it. lol even when cleaning out the not yet dry spray equipment, I used paint thinner.. It had amost no effect. I had to use acetone to clean everything up. But paint thinner is what they told me to use to clean up with.. Hmm..
In either case I'm going to do my best to figure out how to spray this stuff... The other option was an Airless with a .13 to .19 tip. which I have but, what a clean up nightmare that will be.
No luck yet.. To be continued...

This is the best example of Orange Peel I've ever seen. Hides every imperfection.

Last edited:

