[CNC] CNC from sketch to part the way I do it

In video 18 I do the drawings I need for the g-code to machine the front, back and bottom of the part.
In 19 I have located a problem with the "rockerbase" drawing I missed in the very beginning and do a correction. so all the drawings for the front are fixed to reflect the correction.
thanks for viewing.
steve


[video=youtube;DOXqOJBXCOg]


[video=youtube;D9pD4RdZeAI]
 
Last edited:
Steve, Thanks so much for all of these videos. To be honest, I was a little discouraged as to why I couldn't hear the videos and I gave up. I also got side tracked with other projects but began watching some of the more recent videos. The sound is great now and your video productions are really good now. I can only imagine how much time you've spent just getting things tweaked to your liking. I'll be watching and learning.

Marcel
 
First I want to say thank you for doing the videos. I can't imagine putting together one or two instructional videos and you're working on 19 or 20! Thank you!!!

I'm still stumbling through D2NC but because of your videos, I finally have a limited understanding of emachining and 3D modeling. I've struggled for a year or two with CAD based programs and never could quite wrap my mind around any of them. But watching you model a few things helped me finally see the light. I've been sitting here most of the afternoon (once the new grandbaby went home) practicing. Funny, my wife isn't nearly as happy about it as I am.
Anyway, thanks again for helping me break through the CAD fog. There's still a lot of work to do, but I'm much closer now.
 
I'm glad I could help someone, I'm no teacher and all the software conflicts to get the microphone, camera, and screen capture to all work together was a bugger.
yesterday I was in the shop getting some ideas on the fixture to hold the stock while machining.
I have decided to machine the bottom first then bolt the stock to the fixture, that way I wont have to remove it again until it is finished. It's looking like the machining order will be bottom, top, front then back. the fixture will be machined out of a solid piece instead of a plate and spacers but on the final machining of the back section it will machine off one of the leg supports. not a problem since it's not intended to be a production run just one part. I have decided to do a little cam work in d2nc then do a little machining so I can get out in the shop more. I have a fair internet connection in there now so i'll start filming from there.
it was a good excuse to clean up the shop anyway.
steve

D2NC.com has videos showing how to use all the features, the first ones are about how to use the drawing part of d2nc, I have never used it . the later ones go into importing a dxf and all the tools and options. there are a lot more options than I'm getting into in these videos including nesting, 4th axis, text with any font, movable tabs and a lot more. I'm not a part of d2nc I just cant believe what a great tool it is for about $80. my total investment in the cad/cam software's I use the most is $80. I have used and purchased a few others but I keep coming back to emachineshop and d2nc. now if I could just get my head around something easier to use for the cnc lathes.
steve
 
Last edited:
I haven't even touched on D2NC yet. I'm busy playing with Emachine, but I'll be moving to D2NC soon. Again, thanks for putting this into a format I can finally understand.
 
In this video I show the fixture plate I have made to hold the stock in all 4 positions.
the next video will be making the g-code to mill the bottom and the machine work on the bottom.
steve


[video=youtube;GBcMjqIXSZc]
 
Last edited:
in this video I do the g-code for the bottom of the part.
steve

[video=youtube;2BF62bxICVE]
 
Last edited:
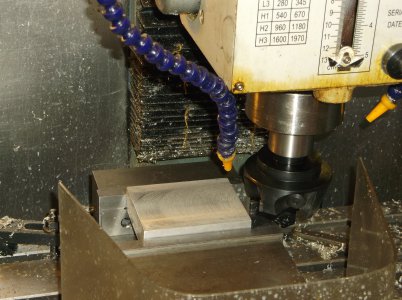
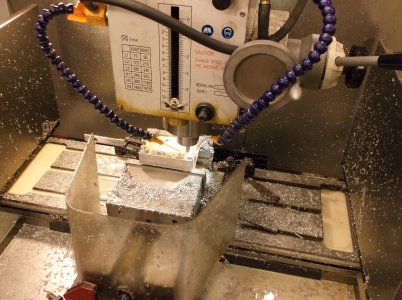
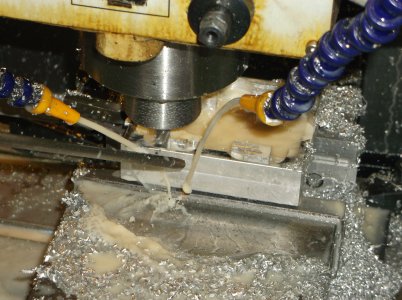
I'm machining the bottom of the part in this video, I set the inches per minute to 10 in d2nc then ran it up to twenty with mach3, that way if I'm running too fast I can hit reset and return to 10. if I entered 20 in d2nc and I'm driving too hard all I can do is try to hit stop and redo the code, hopefully before I destroy the cutter and part.
I had to start the video over because my shop heater was on the same breaker as my coolant pump and stopped. so I started the code and video from the beginning to get a good idea of the time required. the beginning is just cutting coolant.
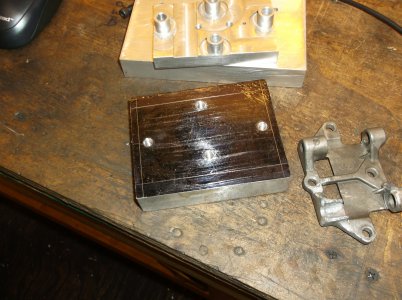
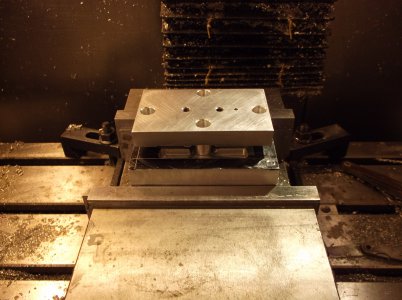
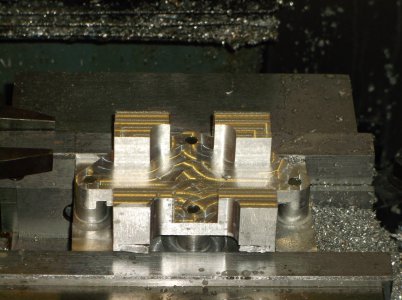
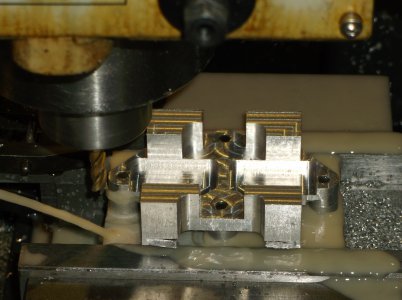
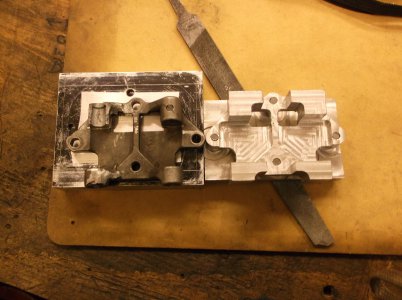
the photographs show how it will fit on the fixture for the rest of the machining.
thanks for viewing.
steve

note: when I was trammed the mill and vise I noticed my "shars" vise leans down .005 to the right. I'm going to have to flip it over and regrind the base true. notice the feeler gauges under the right side in the photos. sheeeesh.. you cant blame your tools if you let it stay that way, once shimmed the rest of the vice checked out very good. there must have been something under it when they machined the rest of the surfaces.

[video=youtube;q-FFScuvZco]

DSCF1029.JPG DSCF1030.JPG DSCF1033.JPG DSCF1034.JPG
 
Last edited:
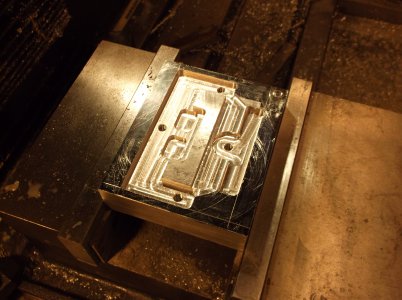
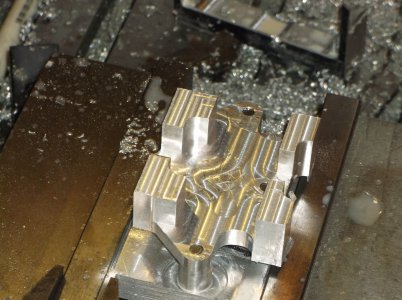
I did the code for the top of the part in the beginning of this project and I used them. somehow in the code the pockets got longer. I checked the original drawing and they are the correct size, when I copied it into a blank form it got longer? I have no clue when I did it. it didn't destroy the part but it is not the exact same now.
I still have the front and back to machine
thanks for viewing
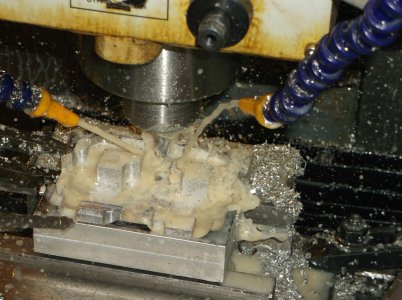
I didn't do a video on this one you could not see the part through the coolant.
steve

DSCF1036.JPG DSCF1037.JPG DSCF1038.JPG DSCF1039.JPG DSCF1040.JPG DSCF1044.JPG DSCF1048.JPG
 
Back
Top