2020 POTD Thread Archive

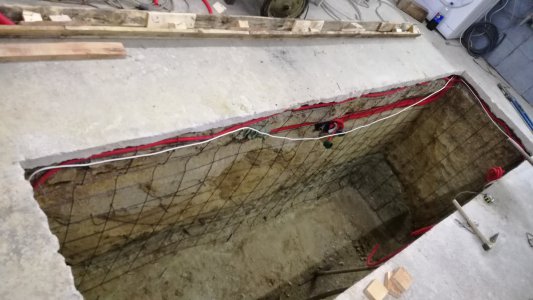
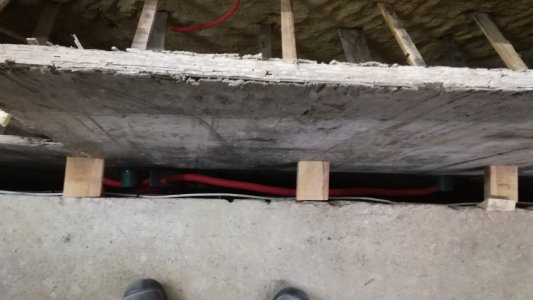
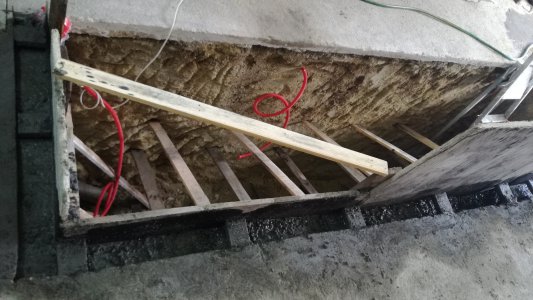
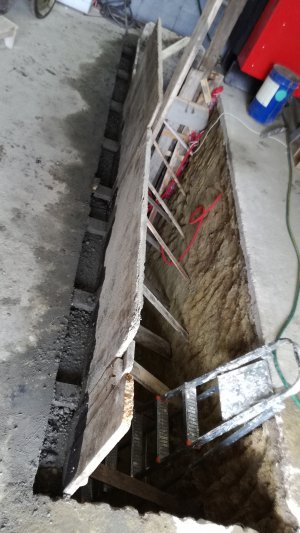
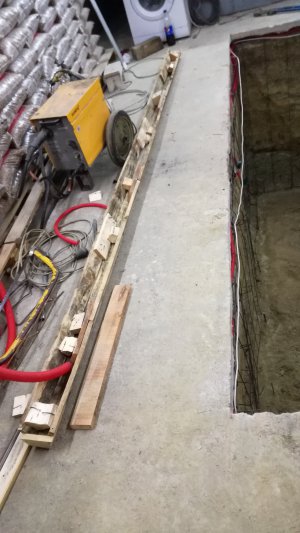
Today i spent entire afternoon working on the inspection pit, i run some more wires, hammer in couple of steel bars in the ground to hold the forms and then i spent a lot of my time making the form for the lights, i had very bad twisted wood but i managed to make something. It's going much slower than i thought but i'm not in a hurry.
IMG_20201022_200154.jpgIMG_20201022_200218.jpg
 
yes, there's not going to be much left of the original soon! So far I've replaced the lower air can due to an angry former owner (smashed the shrader valve in), the lower air can o-ring on the "new" air can, the air piston, top and bottom seals, top nut and top shaft.

Back in the day they were the absolute bomb, even compared to a Judy XC let alone a Quadra 21R (bletch), but now they're mostly just a pain in the azz. My c'dale is my former commuter bike and I only really use it now for popping down to the shops, which is why (along with the difficulty) I've put this off for so long.

The only tools I've had to make for working on them are a castle nut tool, a 1/2" shaft clamp and a delrin "bullet" tip for guiding the damper shaft through the seals. Not much really :)
 
Back in the day they were the absolute bomb, even compared to a Judy XC let alone a Quadra 21R (bletch), but now they're mostly just a pain in the azz.

When you put it in that context, yes! I had a Headshok Si (100mm w/ lockout) version on a bike I kept for a number of years, but I had air-side blowouts on the trail and on the street. The damper faded bad every year. I had it rebuilt by 3 different shops before I sold it. A few years ago, I switched to belleville pistons and motocross inspired stuff from Avalanche Engineering and never wanted for anything else. I found Rock Shox to be reliable and easy to rebuild and upgrade (RWC makes great aftermarket stuff for them). Now I only have a few bikes, but once upon a time I would have been all over it copying your bench!
 
I've had a 2 Fox Vanillas on my mountain bike since 2003 or 4, first an RLC and now just an R. Super reliable, but when you compare the oil volume in the headshox damper (shot glass) to the Fox (big coffee mug) it's easy to see why! As long as I don't have to fart around with this one any more (touch wood) I'll be a happy camper.
 
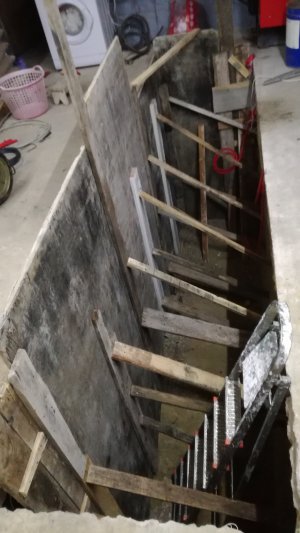
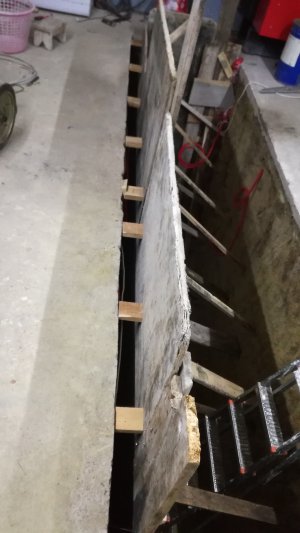
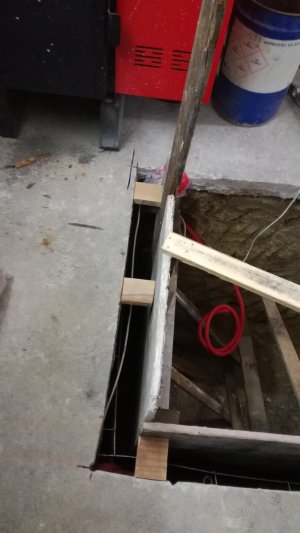
Today is a holiday in my country, that means day off work so i got an early start on getoring materials, i borrowed couple of concrete forms. Transporting them was an adventure on its own, my little trailer and my father's peugeot because it has a trailer hitch took me almost an hour for only few miles. Then the hard work began, i've done lots of concrete forming but it's been a some time. I had enough forms and wood just to form up two sides. So i left steel to connect the other sides and will have to make it in multiple days. One thing that changed, i installed the form for the lights that i made yesterday but overnight it has twisted and cracked in couple of places, and when i placed it in its hole it was sticking out too much and was so crooked it would look awful. So i only run conduit and electrical boxes and removed it. Its hard work for one person.
IMG_20201023_183828.jpgIMG_20201023_183839.jpgIMG_20201023_183851.jpgIMG_20201023_183902.jpg
 
I did a little threading today.

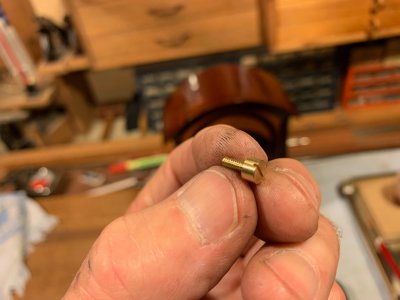
I’m working on an old mantle clock repair / restoration and without getting into that specifically let’s just say I was short a screw. Not my fault — it was missing when the clock came to me — but it’s important to the system that mounts the movement to the case. And of course an oddball size — not quite a #4-48 but bigger than a #3 so okay, let’s make one.

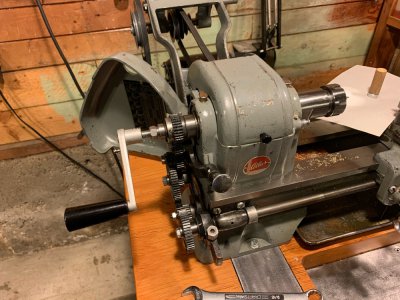
I’m using brass, the other five originals are steel but this will be okay. It’s not high stress. The turning was straightforward, major diameter of 0.100” for a length of just under a quarter inch. I have a hand crank for the 618 which really comes in handy at times like this.

1748AB73-E041-4C95-BE5A-76EDB15D9D5B.jpeg

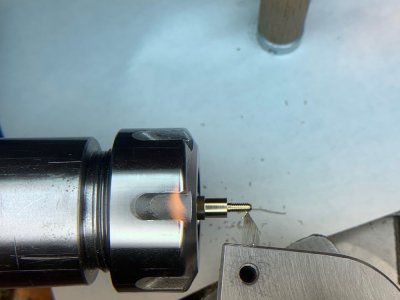
A magnifying lamp is equally handy. Here’s the thread coming in nicely as seen through the magnifier (my phone is zoomed in too so there’s a double magnification happening). I didn’t have a ready sample nut to try against — the original female threads are in the plates of the movement — so I had to chance that I was on my mark. Well, I was off by a about two thou so had to put the part back into the collet and pick up the thread again again to take a couple more passes. It worked.

56A4F931-C6BC-4190-B29C-2DEBC4B6019C.jpeg

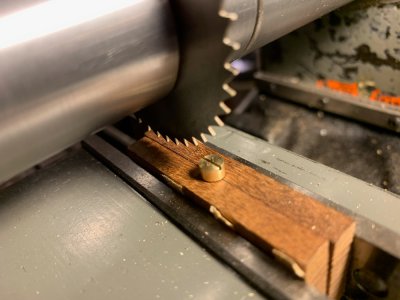
Here I’ve just cut the slot. Originals had a 0.020” slot but my closest cutter is 0.023” so I went with that. The little nub from parting off was really handy to get the cutter on centre without any measuring. For holding I just used a couple little blocks of wood with a slightly under size hole that I drilled right at the separation. When clamped in the milling vise the wood compressed nicely to put a firm grip on the screw but not deform the threads.

06982845-CE1F-423C-8B12-A0F6CDFC3623.jpeg

And there we go, one not quite #4-48 fillister head screw. Thanks for looking.

CC202261-4659-45F1-BA49-5A9A8863C18D.jpeg

-frank
 
So Frank. Is it 48tpi.

Also... nice looking 618. I really like my 618. With a full set of change gears...the sky’s the limit on the threading abilities of the 618. Not super ridgid. But with a Morse Taper collet set like you have... I find the 618 a joy to thread brass.
 
I believe so, yes. The other originals didn’t fit any of my metric checker sizes and the 48 felt the closest, it was just too large a diameter to thread in nicely. I did double check by measuring as closely as I could 9 threads for 0.18” and that works out to I think 49 threads per inch plus or minus a little, so I went with the 48. And it does thread in very nicely, I must say. Very smooth.

-frank

btw, that’s not a Morse taper collet. It’s an ER25 that threads on to the 1-10 spindle thread. I bought it from Joel of MyMachineShop but he no longer offers them. Too bad, it’s great because it also works on my MF miller and Craftsman 6” too and doesn’t obstruct the spindle bore. Nice product.
 
Last edited:
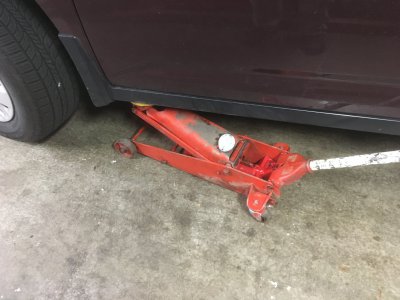
Re-assembled My Floor Jack

Back in late August I posted that my floor jack needed a rebuild after 45+ years of service. It came back a few weeks ago but I only
got around to putting it back together today. Ran all the parts through the solvent tank, lubed everything that moves and I'm good to
go. I can recommend the folks that did the rebuild (Metro Hydraulic Jack Repair in Newark, NJ). They were helpful, down to earth
folks and even though they had to do some additional rework on the reservoir, they still charged me what they quoted which was $175.00.


IMG_1119.jpeg
 
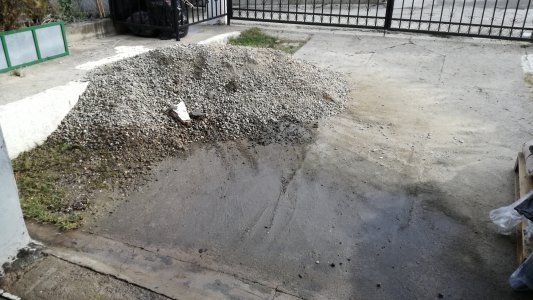
Today i had to roll back my sleeve and get to working. Started with pouring some used engine oil down the concrete form for easy release. Then i borrowed a cement mixer got my father to help and mixed and poured the concrete. It took a lot more than i thought, the sand halved, we mixed it to be above 3500 psi. Better stronger then weaker. My arms feel 10" longer now.
IMG_20201024_134559.jpgIMG_20201024_134615.jpgIMG_20201024_134623.jpg
 
Back
Top