2019 POTD Thread Archive

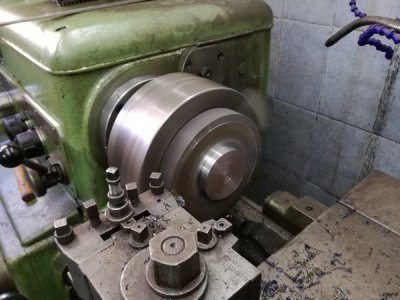
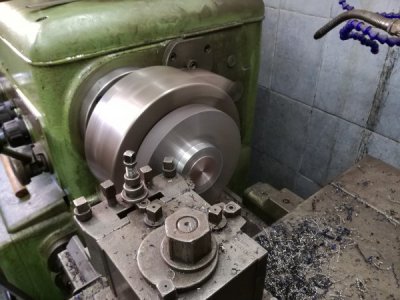
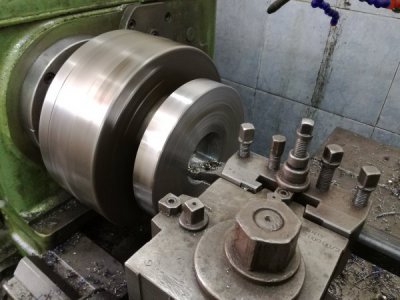
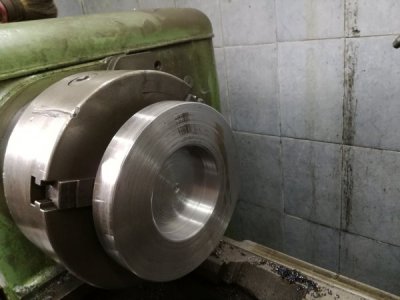
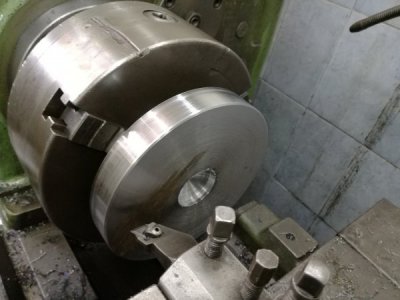
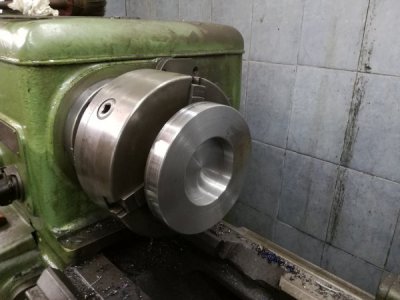
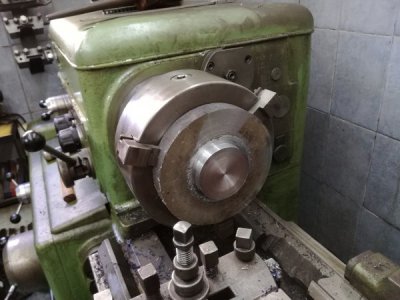
Today i'm back to machining those wheel spacers for the Little Niva. I switched back to the outside jaws on my lathe and started machining, taking bigger cuts the lathe likes it more, less vibrations from the interrupted cut but the inserts seem to go dull up quicker i finished the remainder two spacers from the front gave them that indeson in the middle i also got the finished one and did the same to it, after few hours of the lathe huling like a jet engine i call it a day. I'll have to switch the jaws once more and finish them from the back also i'll have to turn the outside OD on the finish spacer down to mach the others.
IMG_20190727_132317.jpgIMG_20190726_122114.jpgIMG_20190727_133351_1.jpg
 
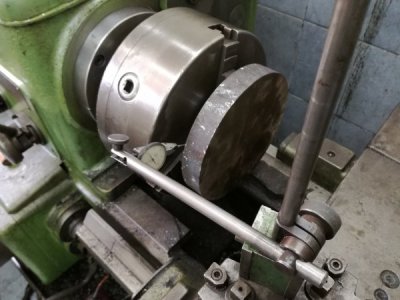
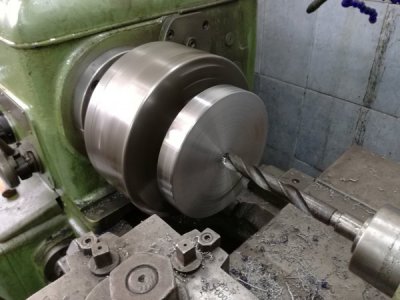
Today i got the day off work, so early morning i started machining the backside of two remaining wheel spacers, my neighbors sure like being woken up from straight cut gears on my lathe. I haven't shown how i indicate the spacers then i machine the back side, centre drill then drilling it bigger and bigger then boring it to size. Last thing i did is to cut down the finished spacer OD to match the others. The saw cuts wore even worse then the front so i left few spots because i needed to keep them to thickness.
IMG_20190729_103706.jpgIMG_20190729_105924_1.jpgIMG_20190729_113017.jpgIMG_20190729_115926.jpgIMG_20190729_123950_2.jpgIMG_20190729_132447.jpg
 
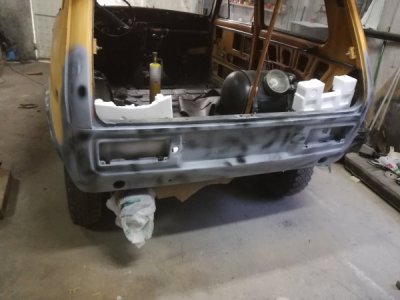
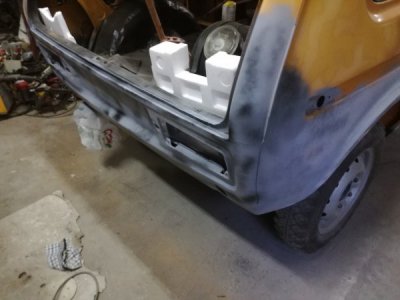
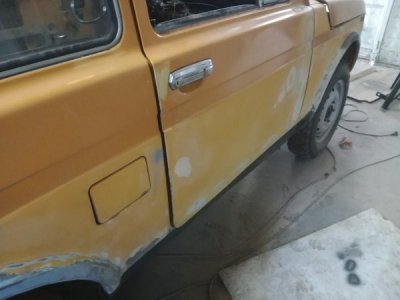
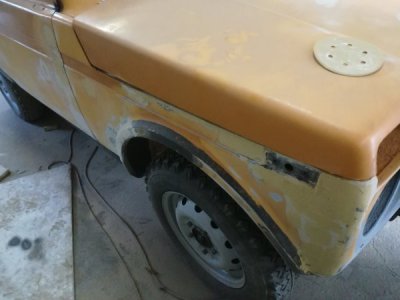
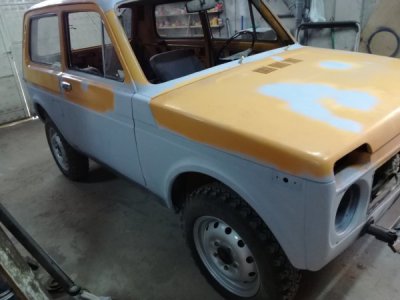
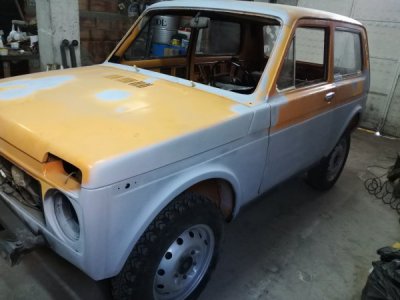
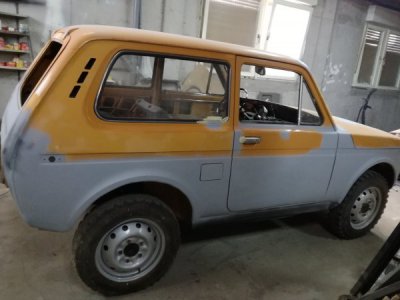
Today was a long day doing bodywork on the little niva. Started with sanding the the entire back panel applying body filler and sanding it back i had to repeat this couple of times but managed to get it ready for primer, then i apply 3 coats of high build primer and sprayed some guide coat then i started on the passenger side, i sent 12 stick on sand papers for my power sander just in sanding off the the undercoating from the bottom of the door and rocker panels i did apply and send back more body filler on couple of places just because i found some more damage: dents, scrapes good thing the niva has so thick steel it send like wood no flex or fear of indenting the panels.
IMG_20190730_190310_1.jpgIMG_20190730_190322.jpgIMG_20190730_190330_1.jpgIMG_20190730_190340_1.jpg
 
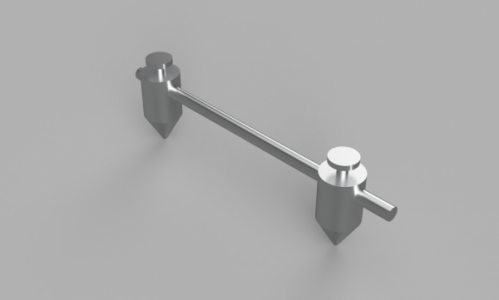
I am thinking about making something to measure between holes. I know they make attachments for calipers, but I am thinking more along this line:

Center_Measurer_2019-Aug-02_02-09-05PM-000_CustomizedView1406717594.png

Obviously there would be knurled screws to lock the centers to the rod. To use it, you would measure the outside distance between the centers and then subtract the diameter of one center. You could also place one center in a punch mark and use the other to scribe a location without actually measuring. I may solder a carbide tip into one. I am thinking 1/4" rod and 3/4" centers. Any thoughts on this?
Robert


Edited drawing as I get better on Fusion!
 
Last edited:
I am thinking about making something to measure between holes. I know they make attachments for calipers, but I am thinking more along this line:

View attachment 299536

Obviously there would be knurled screws to lock the centers to the rod. To use it, you would measure the outside distance between the centers and then subtract the diameter of one center. You could also place one center in a punch mark and use the other to scribe a location without actually measuring. I may solder a carbide tip into one. I am thinking 1/4" rod and 3/4" centers. Any thoughts on this?
Robert
Should work great. Reminds me of trammel points I have someplace. Mine have a flat on the rod so the points can stay flat to each other.

Bruce
 
The trammel points I have seen have had long thin centers that would not work in larger holes. I have needed a tool like this several times in the last year!
Robert
 
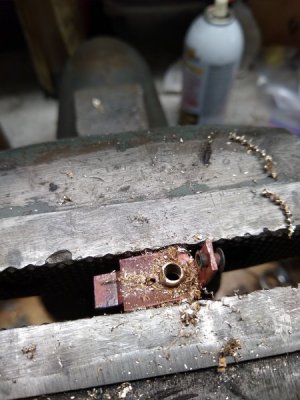
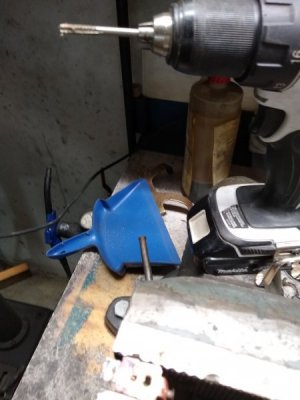
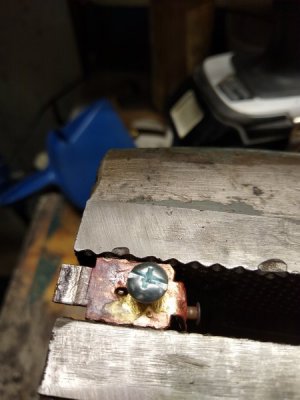
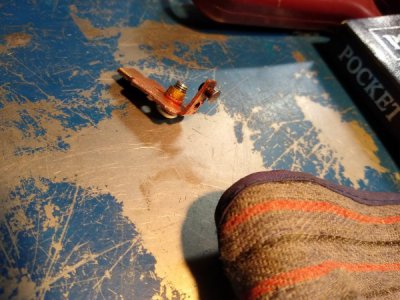
Had a little free time today, so did some rehab on one of the contacts on the magnetic starter I've been working on. Someone had put a 10-24 screw in the 10-32 threaded contact, and did a pretty good job of stripping it out. Got out my O/A torch with the smallest tip and brazed the hole shut, drilled it out, and tapped it to it's original 10-32 size. Used a drill to run the tap, which worked pretty well keeping it straight and true. Been awhile since I've brazed anything that small, but it came out ok. Mike

IMG_20190801_180009464.jpgIMG_20190801_180720661.jpgIMG_20190801_180818971.jpgIMG_20190801_181818149.jpg
 
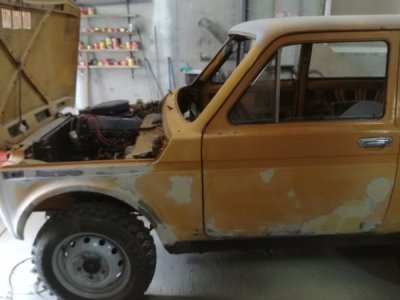
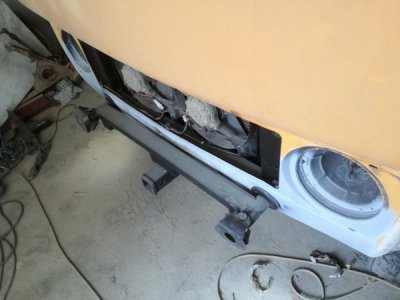
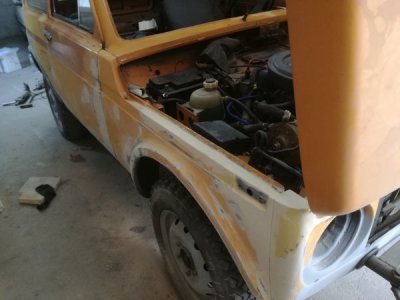
Last few days i've been hard at work doing bodywork on the Little Niva, i've been using every minute i could. I've put in many many hours in just "mud work" body filler, and finally come to the stage where i call it done. I drove it outside and sprayed on couple of coats of high build primer. Also painted the front and rear hitch receivers, i'll have to leave it to dry and shrink its going to be a hot weekend i'll leave it in the sun to bake.
IMG_20190801_140544.jpgIMG_20190801_140551.jpgIMG_20190801_140601.jpgIMG_20190801_165818.jpgIMG_20190801_165828.jpgIMG_20190801_165837.jpg
 
Worked on a parting tool project for video. Trying out a new idea I seen on YouTube with a twist. However I couldn’t get the HSS blade to work, despite several different grinds on the blade or speed settings on the lathe. I have never had a problem with the GTN 3 inserts and holders. So I redid the holder to accept the inserts blade holder, put an adjuster on it and it worked like it should. Here is the finished holder
c840ad49d1fe9184b6c9ee7d3a61fceb.jpg


Sent from my iPad using Tapatalk
 
So what color are we thinking? Almost time to go 4-wheeling. Cheers, Mike
 
Back
Top