2019 POTD Thread Archive

Yesterday I took advantage of my day off and spent it in the garage and basement cleaning up , organizing , tossing out stuff . What a job I have on my hands . After I get the dogs checked out at the vet today for limes disease , it's back to the garage . I gained some much needed space though . I believe I have gotten rid of one of the extra mowers on hand , an Exmark Lazer 60" zero turn , so only a Cub 126 is left to go . I'm trying to get back out of this tractor hobby but they keep showing up , but I AM trying . ( the trash pickup guy is not gonna be happy this morning ):grin:

I learned of these lawn tractors on YouTube and saw one at Tuckahoe earlier this month. Have you seen these?
 

Attachments

  • 20190713_103229.jpg
    20190713_103229.jpg
    60.5 KB · Views: 24
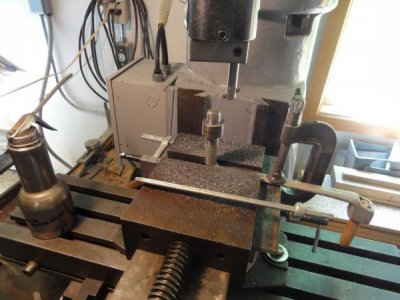
I didn't see why I couldn't do this with a boring head.
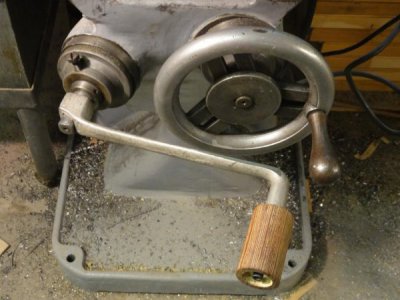
The aluminum handle for the vertical travel on my Millrite snapped in two. I bought on Ebay this simple steel crank handle with a 5/8" square broaching, but I just didn't like the feel of the hand end. Why not turn the hand end to a true spindle and mount a spinning hand piece on it?

Too big to swing on my lathe, so I mounted it in the mill and set up the head to turn an o.d., something I've never done before. I got mixed up a bit grinding the tool backwards, but it worked fine. Turned the handle to 0.748" so this 0.750" bushing was a slip fit.

crank handle a.jpg

I had a scrap of this fiber filled melamine composite. Bored and reamed it to 0.750" and turned it on a mandrel. I still need to turn a nice hand fitting bulge in it. Then I'll have the blacksmith in the family pound a bend into the crank so it will clear the adjacent hand wheel.

crank handle b.jpg
 
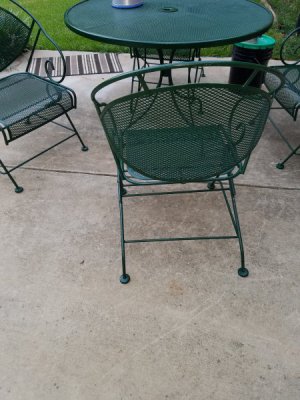
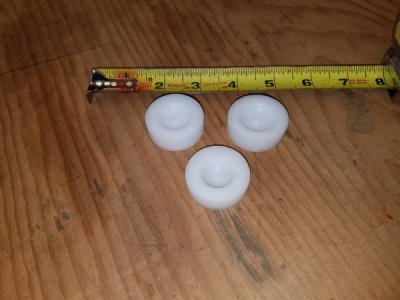
My wife bought a nice patio set from an estate sail. The floor protectors were worn out and some missing. I had bought a box of delrin drops a while back just to have. I put a chunk in the lathe an got a practice piece and two usable floor protectors. 18 more to go.
20190726_202522.jpg20190726_202353.jpg
 
made a couple of lathe drive dogs as I'll need to do some turning between centers soon. Small one goes down to ~3/8" and up to around 2", large one goes down to ~3/4" and up to around 3", both made from random scrap and cold blued.
attachment.php


literally made from a rusty nail :)
attachment.php
 
My wife bought a nice patio set from an estate sail. The floor protectors were worn out and some missing. I had bought a box of delrin drops a while back just to have. I put a chunk in the lathe an got a practice piece and two usable floor protectors. 18 more to go.
View attachment 299192View attachment 299193

Great deal. That will keep the madam happy


Sent from my iPhone using Tapatalk
 
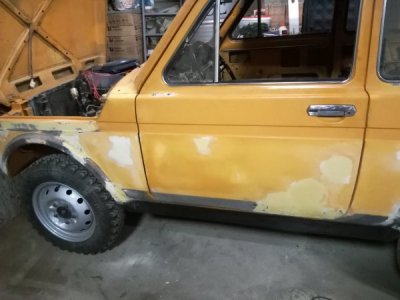
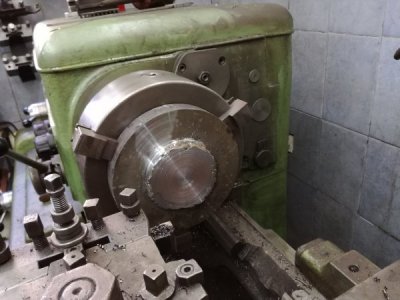
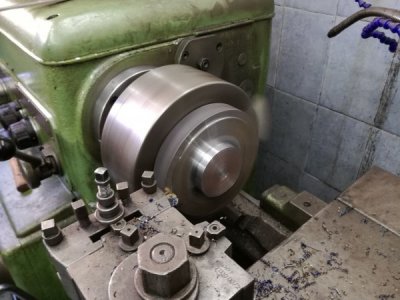
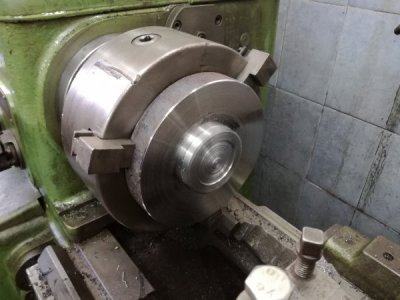
Yesterday was a complete car mayhem in my garages, all the cars got some work, i bought and installed a new battery in the little kei car also clean the cobwebs from the interior. My brothers Ford got an oil change, gearbox oil change power steering hose and all new filters. Then my car got some attention, few new light bulbs and a check up and last but surely not list my father's 405 got an engine wash and few odds and ends. Today i started with cleaning the garages from yesterday's mayhem then i did little sending an applying some body filler on the drivers door. Just as the temperatures reach nearly 40 degrees i went to my machine shop, it is cooler in the morning and began machining on the wheel spacers for the little Niva. Cutting the weld eat thru the carbide inserts, you can see when it leaves that right finish the insert is done. I did the middle little differently, you'll see why latter i'll have to do it to all the others. Last few days are pretty productive but pretty hard on me, the temperature sure is not helping.
IMG_20190725_202659_1.jpgIMG_20190726_120626_1.jpgIMG_20190726_122107.jpgIMG_20190727_121435.jpg
 
My wife bought a nice patio set from an estate sail. The floor protectors were worn out and some missing. I had bought a box of delrin drops a while back just to have. I put a chunk in the lathe an got a practice piece and two usable floor protectors. 18 more to go.
View attachment 299192View attachment 299193

Damn! I have that same set and half the black plastic feet are missing. Guess I have a new project!
 
Today i started my day in my machine shop, i change the chuck jaws and grabbed the spacer from the hub part, slow down my lathe and faced the middle, and center drill the back side and used a live centre to support the spacer. Speed up the lathe and cut the out side then i decided to face the back side, then i drill the back side, i used couple of sizes drill bits. Then i used a boring bar to bring the back to the hub size. This spacer is done on the lathe, next a bit of drilling and will be done.
IMG_20190727_141449.jpgIMG_20190727_145143_1.jpgIMG_20190727_145427.jpgIMG_20190727_151743.jpgIMG_20190727_155159_1.jpg
 
Yesterday, I finally had a chance to "finish" my fly tying vise. This project was more of a test for things I've learned, because I wanted to prove that I'd learned some basic principles (plus, I wanted a vise, and went the cheap route of building a vise for $200 in materials instead of buying a vise for $30). Everything (except the ball and the spring) is either stainless steel or brass. Here's what I planned on doing with this project :
  • Turning (including interrupted cuts)
  • Facing
  • Knurling
  • Threading (I chose a 3/4-20, which isn't a common thread)
  • Boring (because I'm a boring kind of a guy)
  • Internal Threading
  • Off-center boring (for the cam to allow the vise to have a lockable rotation)
  • Indexing (I used my mini-mill for this, but the right metrics and it can be done all on a lathe)
  • Ball turning (because I had just made a ball turner)
Everything was done on the lathe except for the rotation indexing, the spring pocket, the screws to tighten the off-center cam, and milling the base plate's 45-degree chamfer (those all used the Harbor Freight mini mill). I did more of a write-up on my blog, but the basic gist of this follows. I believe this kind of project could be done entirely on a lathe from start to finish save the drilling and tapping of the small holes.

The jaws were made from 1/4x1/2" stainless flat bar (so that I had a matched pair).

IMG_7643.jpg


IMG_7654.jpg


My trial of the holding power of the jaws involved a utility knife :

IMG_7655.jpg


Off-center boring (Was a very nice trick to use the dead center to get the mark lined up exactly where I wanted the offset hole) :

IMG_7671.jpg


IMG_7674.jpg


After the pockets and screws were done on the cam :

IMG_7681.jpg


Ready for the stand-off ball joint :

IMG_7682.jpg


20190428_115639.jpg


Everything but the base assembled :

20190428_114653.jpg


And all together now :

IMG_7836.jpg


I was trying to put a dissected brass fish on the base, but I actually liked the looks of the base in it's raw form (it's heavy enough that I didn't need the extra weight for stability). Finally get to cross that one off of the list.
 
I made a new drawbar for the mill. The drawbar that came with it is fine for the collets but I have a face mill and it has threads starting 1/4" deeper than the collets and it doesn't draw up like a collet so I needed some more length. First time making a standard thread single point. It wasn't pretty but it fits. And just to make it interesting I threaded the other end 1/2-13 and used a coupler as the nut on the end. It fits and allows a little adjustment so I can use it for collets as well.
 
Back
Top