2019 POTD Thread Archive

RJ i'm surprised of how small the gears are i've broken and fixed many gearboxes plenty of stripped gears broken gearbox cases snapped shafts, and when doing any repairs is best to fully take it apart and clean everything there will be metal parts in places you never imagine also you have bronze pieces on the broken gear which means ether a worn synhros if it has any, or worn shift fork. Thanks for sharing.
 
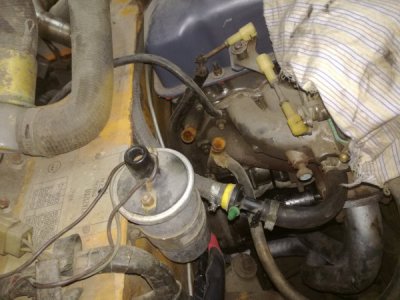
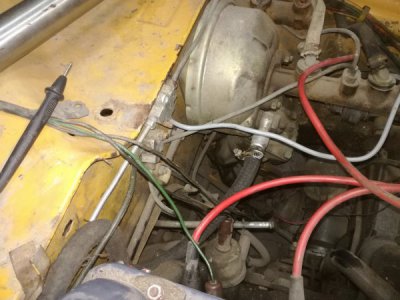
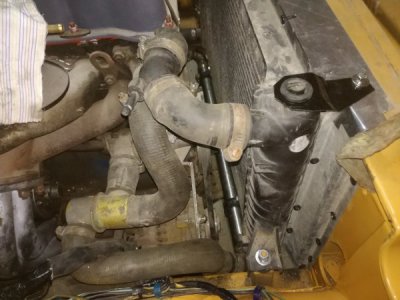
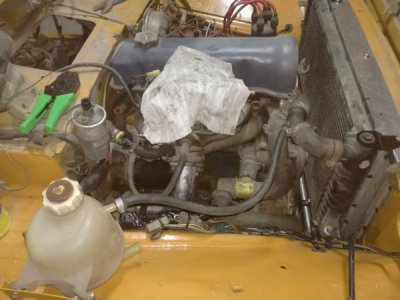
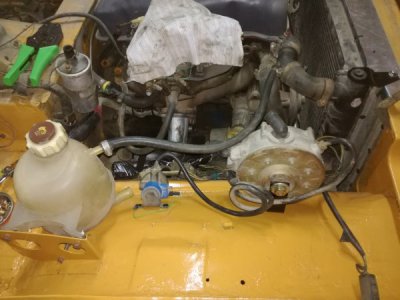
Today i continued working on the Little Niva, and today Was hose central, i started with replacing the vacuum hose to the brake booster, the one i installed is about 30 years younger i also install a VW one way valve, i don't trust the one in the booster so this will provide me a peice of mine. Then i started on the main cooling pipes, i'm using a stainless pipe to deliver the cold water from the radiator but fiting it and finding hoses and clamps was a bit hard the design on the Niva is from the Fiat 124 from the 60's so it uses an external thermostat, so there is a lot of hoses on the top hose i used a Seat elbow with a 3rd port to went any trapped air in the expansion bottle then i mounted the expansion bottle as high as i could and run the vent hose, then i mounted the LPG gas valve and filter then i made a bracket and hanged the evaporator, i run a rubber coated copper pipe between them and stopped. This took me about 6 hours and my hands are tired also working bent over the fender doesn't do my back any good, hope you like seeing the project.
IMG_20190630_190400.jpgIMG_20190630_190406.jpgIMG_20190630_203759.jpgIMG_20190630_204959.jpgIMG_20190630_212703.jpg
 
Good GRIEF!!!! An ordeal, indeed. Sounds like a brand new corollary of Murphy's law - the part that fails is the most inaccessible one in the entire assembly.
I looked at my thermometer this morning and the maximum temperature yesterday hit 102.5 in the shade. 86% relative humidity. That explains the floor and my sweating!
 
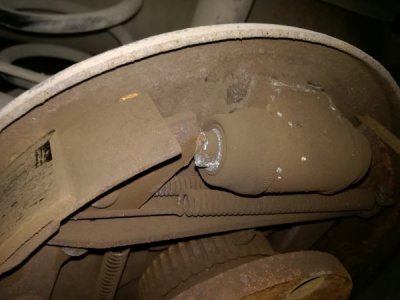
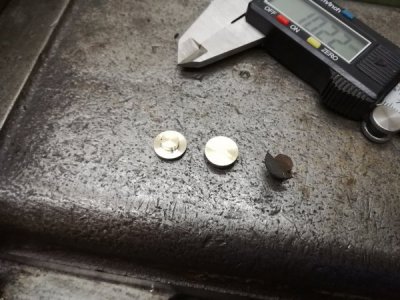
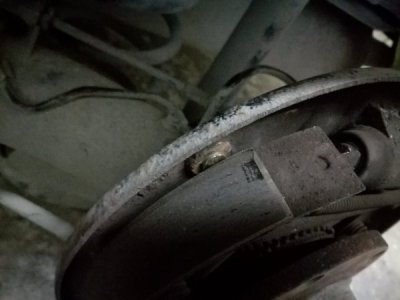
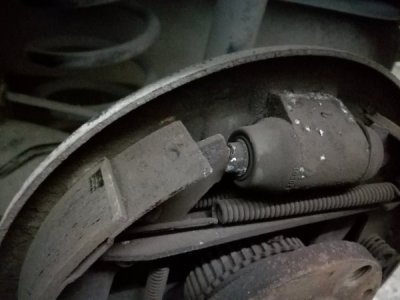
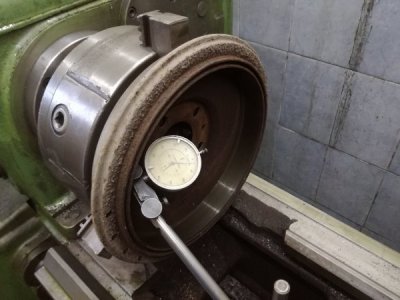
Last few days the temperatures have been getting around 40 degrees but today it was particularly worm over 40 C and no wind that means not working outside but my brothers troubleshoot car has failed its brake test and most of the mechanics are on vacation so he took it to the dealership where they told him he needs brake shoes front and rear and they can servis him in 2 weeks, this was very strange to me because i turned his front rotors about a month ago and he put in new pads. So, brothers care i took it on and this is what i found. The fronts ware new i did bleed the system just to replace the fluid on each corner but the real problem was in the back drum brakes, VW used plastic pieces for the shoes to ride against and they have worn away and had made a groove in the back plate and the shoe was no longer on the hydraulic piston, this was making the entire assembly jam up, i called around and no one was selling those plastic clips so i got some bronze out and turn couple of them on my lathe, i assembled them and got them working, i also checked the drums they are near the upper limit so i decided to reuse them till the shoes get used next time everything gets replaced, is a huge time saver when you have the knowledge and equipment to make small parts like that.
IMG_20190701_175516.jpgIMG_20190701_184508.jpgIMG_20190701_185109.jpgIMG_20190701_185204.jpgIMG_20190701_193033.jpg
 
Today, I finished putting our tractor back together. The low range gear lost about a third of its teeth and in order to replace it, the tractor had to be split in two. To do so required draining the fuel, the hydraulic fluid, and the transmission fluid and removing the hydraulic reservoir and rear controls and the fuel tank. Also, the linkages for the transmission, the brakes and parking brakes, the PTO, the 4WD were disconnected. When that was complete, front end was set on blocks and the transmission was unbolted from the shuttle shift assembly. The rear end was then wheeled away from the front.

View attachment 297685

Once the transmission was fully exposed it was apparent that the rear end would have to be completely disassembled. This meant pulling the brake assemblies, the differential assembly, the hydraulic unit, and the left and right half axles.

Figuring out how to do this was a bit of a challenge as there is no shop manual. I had to rely on the parts diagram and my general knowledge of things mechanical. Needless to say, there were a few missteps along the way.

View attachment 297686View attachment 297687


View attachment 297689
The hydraulic unit removed. I had to buy a 2t. shop hoist from HF to do the job.

View attachment 297690
With the hudraulic unit removed, the rear half of the transmission was exposed. Everything except for the gold PTO shaft and the gearset at at the left hd to be removed.

View attachment 297691
The front half of the transmission. The damgad gearis below the gear cluster shownand everything had to be removed from this section as well.

With the new gears in place, reassembly began. I thought that it would be comparatively easy but was oh so wrong. There is a specific order that the reassembly must be done. Altering the order meant significantly harder assembly or having to unassemble. With two steps forward, one step back, the tractor was finally whole again after 60+hours of work and 17 days elapsed.

To make things more complicated, the humidity the last several days has been excessively oppressive. Although I was working in the relatively cool barn, the floor was below the dew point so moisture was condensing on the floor. I periodically spread a layer of Oil Dry and swept the floor but that was only good for an hour or two. Myself, I changed clothes three times a day and managed to drop ten lbs. in the ordeal.

A brief test of all the functions was successful and the tractor is ready for work again.
Been there, done that! Had to split my MF 383 to replace the clutch, and I've helped split a couple JD 4000 series tractors. Did you do it alone, or did you have help?

Regards,
Terry

P.S.: Have enjoyed working with cast acrylic after your advice on drawer liners several months ago.
 
Ah splitting tractors is fun:confused:. Just pulled a new holland apart because of a burnt 2 stage clutch and the pto engagement gear wouldn’t stay locked in. Operator had toasted the clutch and was trying to limp it by grinding the pto engagement in. Very similar to what you just did. They suck.
I have a 74 ford 531 I’m doing a clutch in this coming week. Blocking one side of the tractor and using the wheels to move is the way to do it. I’ve found longer bellhousing bolts 12” and put them in housing to align halves while matting tractor back together. Helps a lot to where I can do the jobs by myself. Aligning was a pain always.
What type of tractor is it a Massey, case, or mahindra?
 
Been there, done that! Had to split my MF 383 to replace the clutch, and I've helped split a couple JD 4000 series tractors. Did you do it alone, or did you have help?

Regards,
Terry

P.S.: Have enjoyed working with cast acrylic after your advice on drawer liners several months ago.
Aside from having my wife help lift the half axles in place, I did all the work myself. The shop hoist worked out well; a great investment. A second hoist would have made the job easier. Reassembling the two halves was a bit of a problem. I wheeled the rear end into place with the rear wheels. I had attached an 8' length of 3" channel to the draw bar which let me tweak the orientation horizontally and vertically. Moving slowly and checking alignment often was the key.

I'm glad your experience working with acrylic was good.
 
We needed a rack for a wine stopper we started collecting. So here is the video


Sent from my iPhone using Tapatalk
 
Back
Top