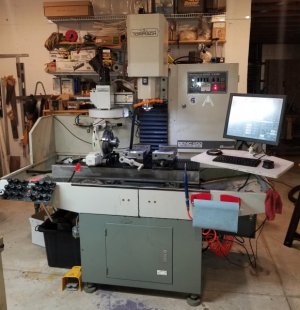
POTD was crawling in the attic of my shop to string 20A 220 and 110 lines to my new to me Tormach 1100 Series 3. Yes, it's ALIVE! Haven't made any chips yet, have a big learning curve to go through still. My wife is a Unigraphics designer and is pretty adept at SolidWorks too. So I'll start using Solidworks and go to Fusion 360 for the CAM/post processor. Once I get the hang of Solidworks, will probably go to Fusion for the CAD also. Previous owner of this mill was a Fusion user and spoke very highly of it.
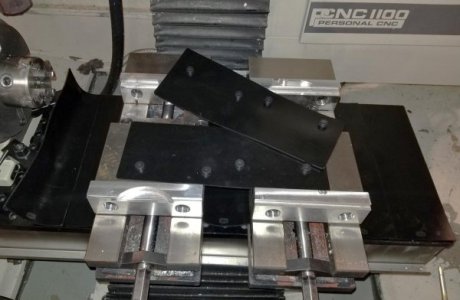
First thing after powering it up was to install and tram the Saunders tooling plate. One of the things that attracted me to this particular used mill was the owner didn't go cheap on the accessories. The Saunders tooling plate (aluminum) is about $900. He bought two matched/ground Glacern 6" vises too, certified for height on the deck within 0.0002". Trammed those in too with the (you guessed it) actual Indicol spindle adapter and Interapid DTI. Once trammed in, I covered the tooling plate with some Saunders rubber pads. These came with the mill, receipt shows they were $5 each. Should do a nice job keeping chips out of the tooling plate holes, will cut a couple to better cover the area around the 4th axis.
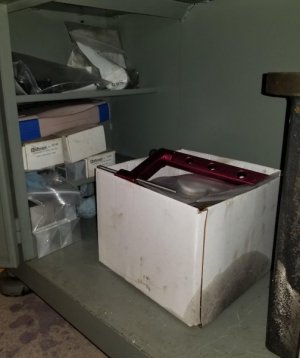
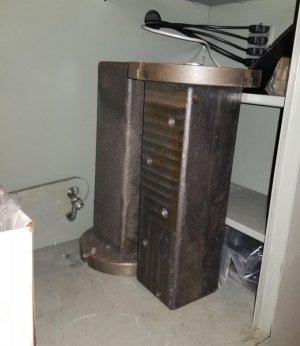
The Tormach has a nice tool(ing) storage compartment under the mill which now houses some extra parts, 6 or 8 sets of Aluminum vise soft jaws, 2 tombstones for the 4th axis, 3-jaw chuck/5-C collet holder for the 4th axis, T-nuts, hold downs, way oil, lifting bar, etc.
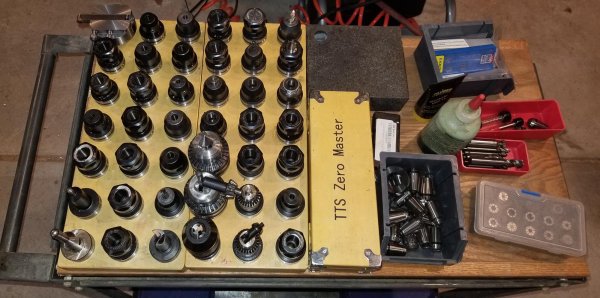
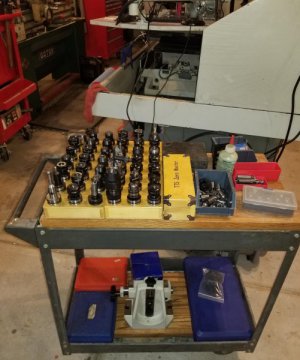
Also cut a couple of pieces of plywood for a 16" x 30" cart that'll hold some of the tooling. I've got 60+ TTS tool holders for this mill, so going to break out the Brother label maker and start labeling things here shortly. Once nice feature on the Tormach (and I'm sure others) is I can populate the automatic tool changer with 10 tools and have it automatically cycle them over the electronic tool setter and record the tool heights. The mill also came with a Tormach granite surface plate and height gauge with a USB link to PathPilot for recording the tool heights, so will probably use both methods and do some learning.
Still have a lot of work to do before I make chips. The cooling system uses a 1/2 HP sump pump with a plastic tub set to the LH side. The mill came with 5 gallons of water-based coolant, need to mix it up and do a little plumbing.
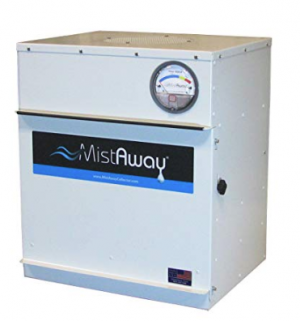
I'll use the mill with the open enclosure this year and come up with a design for a full enclosure probably next spring (too many other things to work on . . . .). The mill also came with a MistAway filter/oil collector that will eventually get plumbed into the finished cabinet. These go for $1350 on Amazon and are supposed to do a really good job sucking the coolant out of the air. My unit includes a HEPA filter that goes on top, close to the one pictured below but mine will need about another 15" of head room. More to follow, still have 3 boxes of stuff that came with the mill to go through.
Thanks for looking,
Bruce
Crawled into the barn attic to run a couple of power lines to my new to me Tormach 1100.
Saunders Tool fixture plate covers to keep most of the swarf out of the 1/2" fixture holes. The top half of the holes are reamed to around 0.501" (1/2" dowels slip in/out with some effort), 1/2-13" tapped holes through the bottom half. The rubber sheets have 1/2" plugs that drop into the fixture plate holes to secure them in place.
Using the tooling cabinet to store extra soft/hard jaws, tombstones and other hardware
Mill came with 60+ TTS tool holders and 50+ ER20/ER16 collets, Haimer 3-D probe, and an ETS that's in (hopefully) some of the boxes I haven't gone through yet.
Using a 16" x 30" HF cart to hold some of the tooling. Parallels, 4th axis tail stock, electronic tool setting height gauge on the bottom, more commonly used stuff up top.
MistAway MA700 unit, have the same one with a HEPA filter on top to keep from breathing coolant fume/vapor
