2019 POTD Thread Archive

Got totally cheesed off as I cant finish the sandblasting so went back to making a crankshaft just to see what was involved.
I got it finished and it seems to run true.
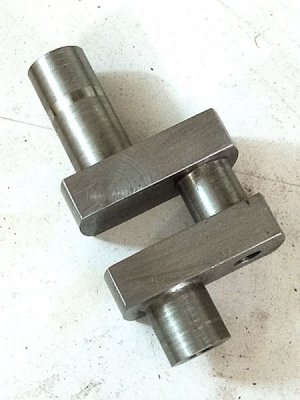
cshaft1.jpg
The only hard part was using the parting tool to finish off the main bearing part.
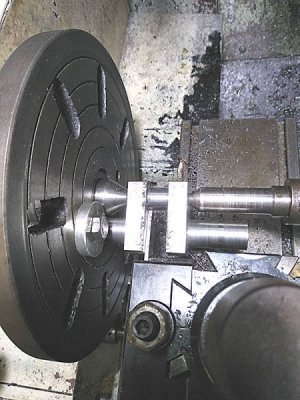
cshaft2.jpg
Now I have to come up with a use for this chunk of steel.
Guess I had better restart the steam engine I was attempting (and failed) a while ago.
 
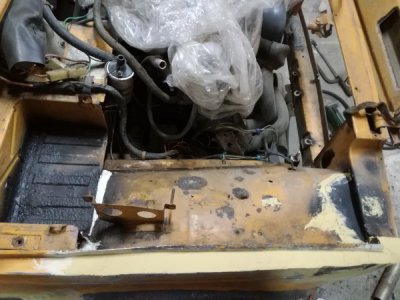
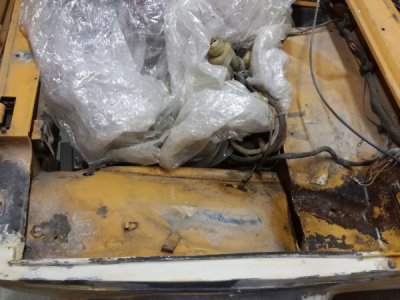
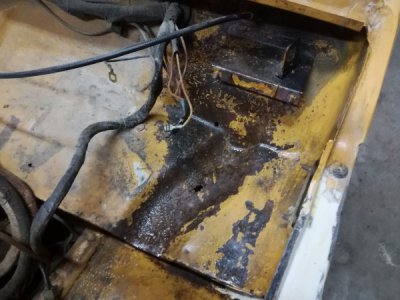
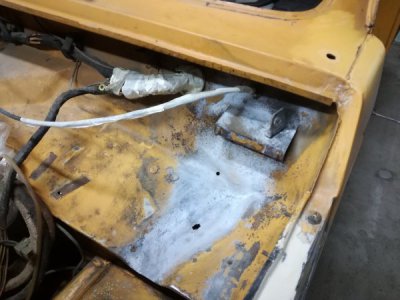
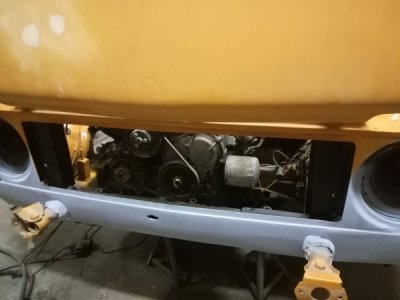
Today i wanted to start with the LPG conversion but after placing some of the components around the engine bay i figured quickly that i'll be better off just to repaint the engine bay with so many things removed then later when i have to do double the work. Started with removing the radiator, fans, as many clips and wiring as i could, then i sended everything with 80 grid and apply antirost acid to the rusty metal where the brake fluid reservoirs live. i had to wipe everything couple of times, because there was loads of dirt and grease. Then i did some masking to keep as much of the overspray as i could of the engine. Then i mixed some paint and with the world's worst paint gun i painted it. This took me about 6 hours and automotive paint stinks as much as i remember. Hope you like seeing how i get things done.
IMG_20190625_175904.jpgIMG_20190625_175920.jpgIMG_20190625_175927.jpgIMG_20190625_192327.jpgIMG_20190625_201703.jpgIMG_20190625_201701.jpgIMG_20190625_201650.jpg
 
Savarin,
That's cool man. Yeah, I'm a product of the sixties.
With the amount of stick out did you get much chatter from the cut-off blade?
 
With the amount of stick out did you get much chatter from the cut-off blade?
It would have but I used a left and right hand tool to get almost to size then only took very light skims till to size.
I made sure the blade was sharpened and set square and when I measured the big end shaft it was exact from side to side
(I was amazed this was the case)
 
made these for the Worm Art Competition at the International C. elegans meeting I just went to in LA. The main motivation was to give them to various friends that I've made over the years (one from 2005!), so the fact that I didn't win wasn't a biggy. Came close though.

Anyway, these are supposed to be the main lifecycle stages for C. elegans: 2 cell embryo and "pretzel stage" embryo as studs, L1 and L2 larvae as dangly earrings and L3, L4 and adult as necklaces. Made with random bits of stainless (one I think from a broken French press) and bent in the vise. Turning the back of the studs down to 0.7mm was not fun, took several attempts to do that.

attachment.php


My friends were very happy with their gifts and I even got a couple of strong interests in commissions! Fingers crossed they pan out as I'm saving up for a DRO for the mill :)
 
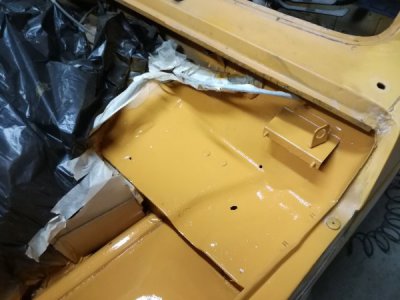
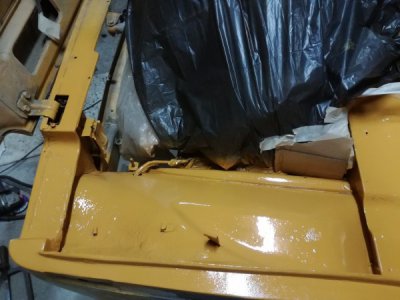
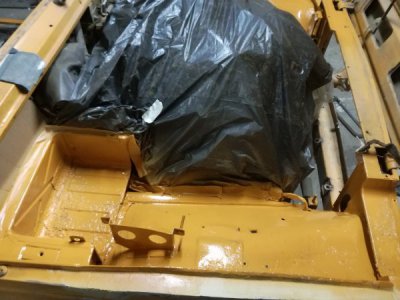
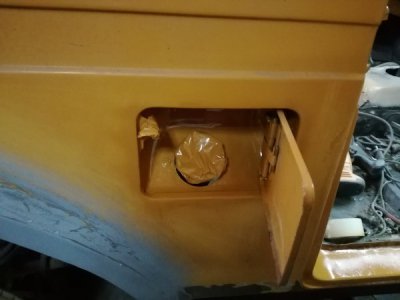
Today i found myself thinking my hand and fingers are too big, i'm working to finish all the ends so i can finish the fuel system so i can install the LPG conversion, so i needed to prep and paint the fuel filler hole and door, i spent constable time sending but i'm sure the paint will grip now, just as sprayed the second coat my brother called his spare car died so i had to drop everything and to help him.
IMG_20190626_112612.jpg
 
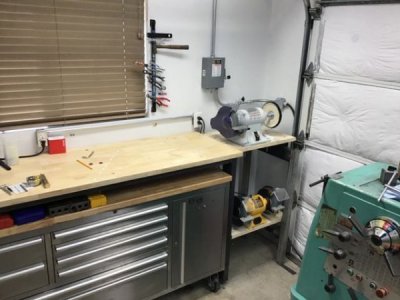
Still working on the shop.
As a space saving idea, I have this plan to make a slide out shelf for a Baldor carbide grinder, I pick it up this weekend. Will mount it below the buffer. The bench is about 47" high so I have a reasonable amount of working room.
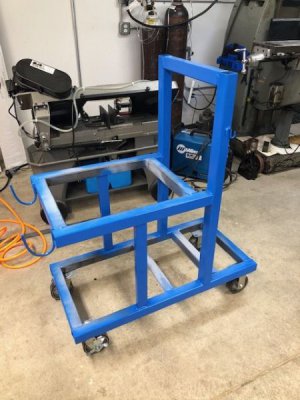
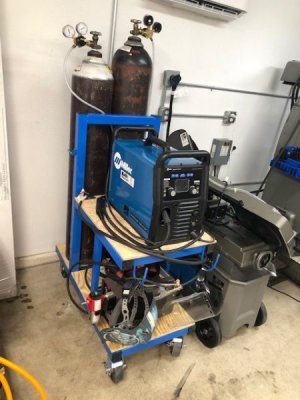
I also finished the welding cart. This gets the tanks, ac/dc, mig, tig, stick, plasma and cooler all in one easy roll around cart. I am going to add more hooks for cables. Notice the black caps? :)
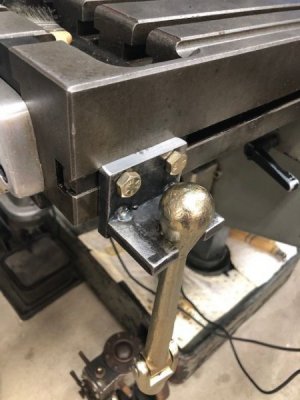
Oh and an easy to reach Kurt vise handle holder. I am using the t-nuts on the table. No drilling.IMG_0103.jpgIMG_2961.JPGIMG_2968.JPGIMG_2975.JPG
 
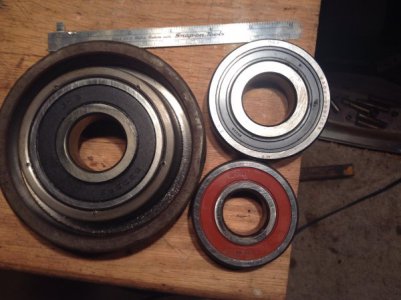
So, as you know I fitted a 5c collet chuck to my lathe. Awesome. Not awesome: run out. Couldn’t work out why I was getting between 0.05 and 0.12mm runout at the nose and on an end mill in a collet.

Backplate - no runout on the register or the face... as you’d expect, with it being turned bolted to the spindle. Nothing on the back of the chuck, but gave it a stone anyway just to be sure. Didn’t do anything, still had the same runout, more or less depending on which position I clocked it in on the plate (rotating around the register).

So I concluded that maybe the nose and register on the chuck weren’t concentric... and I did a Gotteswinter and took a little more of my perfectly sized register, and then bumped it in true.
View attachment 347A3182-304D-4C36-9340-AD5A04FBCF77.MOV


Yeah, ok. I suppose that’ll do. :cool:
 
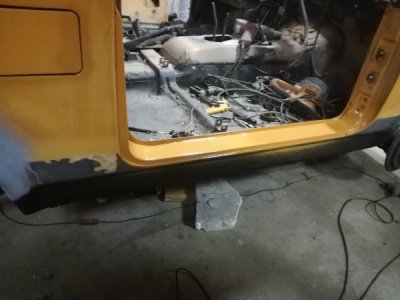
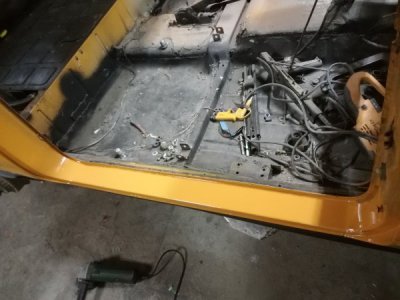
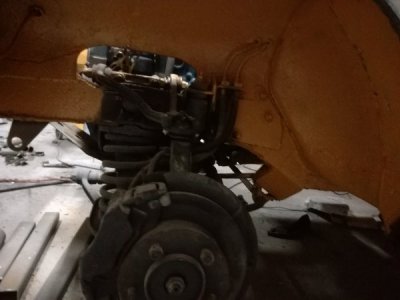
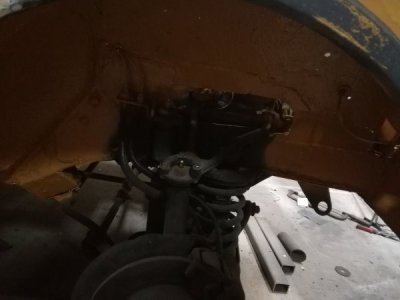
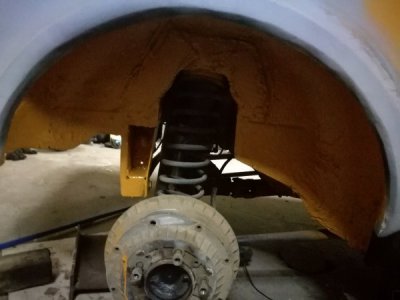
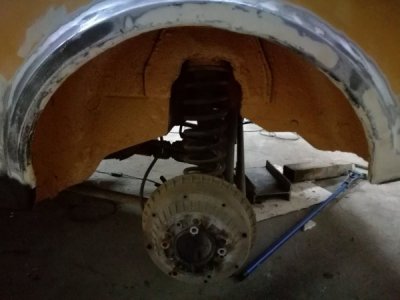
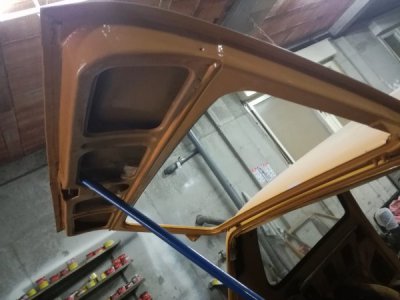
Today i got an early start, i began sending and prepping all the wheel wells, rocker panels, grill inside of trunk lid, to be painted, the rocker panels and grill need to be mat black and all other things body color, i masked and painted the black pieces first, witch was a mistake, because when i went over it with the Yellow i got overspray all over the rocker panels, i painted all the wheel wells just like factory with the body color more for protection then for looks, last thing i painted was the inside of the trunk lid and jams and managed to make myself sick from all the paint fumes, my paint mask got destroyed about a year ago and haven't bought a new one. Hope you like all the details.
IMG_20190628_200025.jpgIMG_20190628_200051_1.jpgIMG_20190628_200043.jpgIMG_20190628_200018.jpgIMG_20190628_200037_1.jpgIMG_20190628_200058_1.jpgIMG_20190628_200110.jpgIMG_20190628_200146.jpg
 
Back
Top