Work holding techniques - please share/show us!

jgedde

Active User
Registered
Joined
Jun 23, 2011
Messages
786
Sometimes when I have a project, I'm at a loss as to how to hold the workpiece. Especiallly if it has an odd shape, or a draft angle, etc. Workholding has always been a stumper for me: one of those things for which I have a perpetual brain block.

Please share some of your methods of workholding: Simple or complex. Lathe, grinder or mill. Unique or common. All ideas are welcome! Let's try to start something worthy of a sticky! Something that we all can learn from!

Photos are, of course, the best teacher, but a write up on somehting you've done in the past is cool too.

Cheers!
John
 
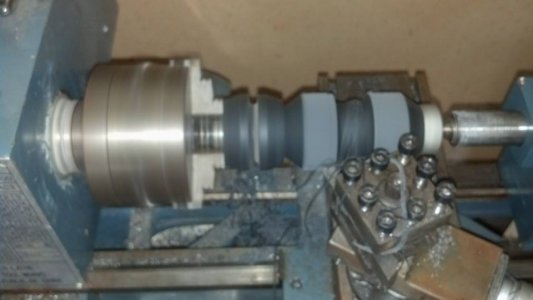
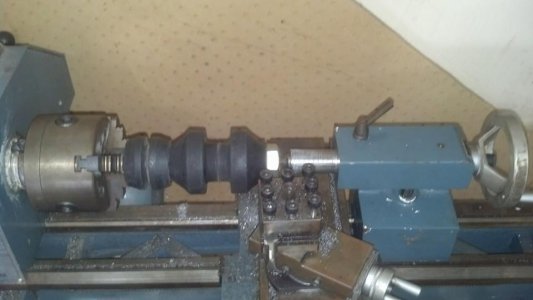
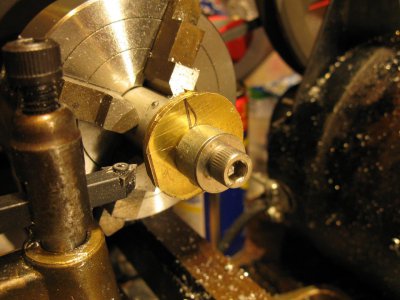
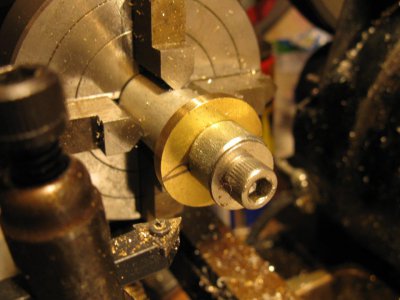
I dont have nothing fancy but I got a couple I had o figure out with what I had on hand. This first one the neighbor needed these foam/rubber deals turned down. I found a bolt that fit the ID, chucked it and center drilled it. Then added the donuts with the chuck just snug, ran in the tail stock till I had enough tension to turn them and tightened the chuck. Keep in mind when doing work like this that your work is expanding as it's compressed. You must compensate for this. If you need 1in dont turn it to 1in or you will be under sized. Compensation depends on compression so pay attention.

485562_818000661548228_4436704209963270350_n.jpg10015643_818000704881557_1809552647789701305_n.jpg
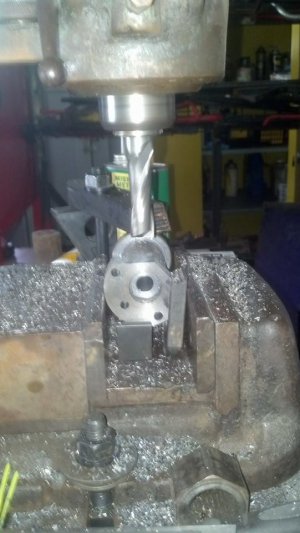
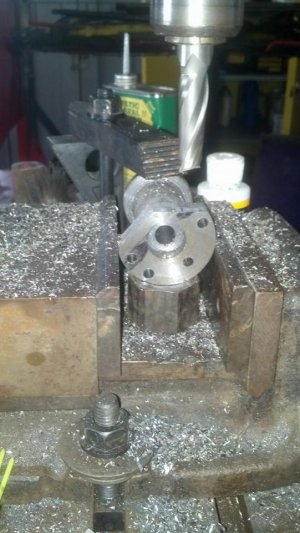
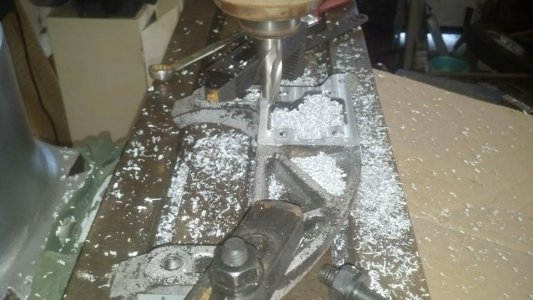
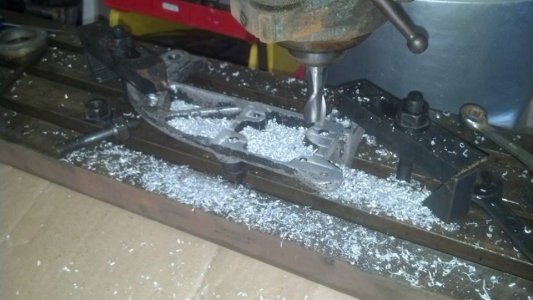
On this one I used a splined hub from a atv front hex to level and give a dent for holding. There is a jack or blocks on the other side so it could be leveled. Then I used one of my hold downs to locate for the next angle.
10150799_824597714221856_89096681453257726_n.jpg10150562_824597830888511_2350074136028753400_n.jpg
On this one I was making a table for my bandsaw to use it in the vertical position. I needed a flat to bolt it to the frame. You can see I used the radius end to lock it it the T slots. In the other pic you can see a jack to tram it to level. Then regular old hold downs to hold it in place
10151874_808540975827530_1685570691_n.jpg1098362_808625469152414_1331701891_n.jpg

10015643_818000704881557_1809552647789701305_n.jpg 485562_818000661548228_4436704209963270350_n.jpg 10150562_824597830888511_2350074136028753400_n.jpg 10150799_824597714221856_89096681453257726_n.jpg 10151874_808540975827530_1685570691_n.jpg 1098362_808625469152414_1331701891_n.jpg
 
I dont have nothing fancy but I got a couple I had o figure out with what I had on hand. This first one the neighbor needed these foam/rubber deals turned down. I found a bolt that fit the ID, chucked it and center drilled it. Then added the donuts with the chuck just snug, ran in the tail stock till I had enough tension to turn them and tightened the chuck. Keep in mind when doing work like this that your work is expanding as it's compressed. You must compensate for this. If you need 1in dont turn it to 1in or you will be under sized. Compensation depends on compression so pay attention.

Thanks for posting Chuckorlando. This is a good start to the thread. I'm guessing the jack you're talking about in the third set of pictures is threaded into the workpiece in the center of the front edge?

John
 
No it more or less threads onto a T nut and stud. It's basically a nut with a swivel pad on top I guess you could say
 
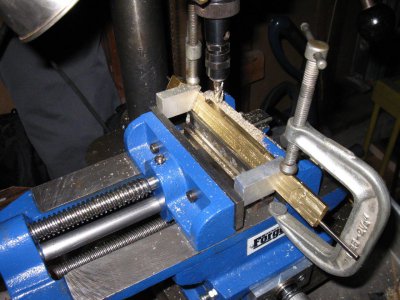
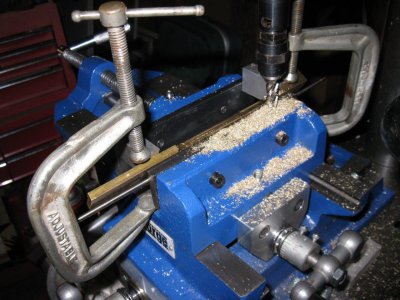
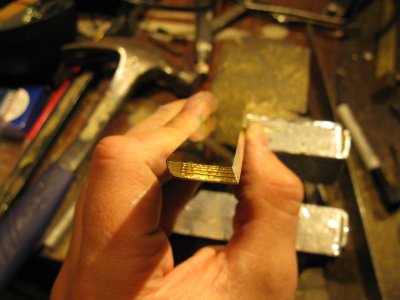
here's a standard "turn something round from flat stock" deal
IMG_3256.JPGIMG_3257.JPG

this is how not to cut angled gibs :)
IMG_3351.JPGIMG_3352.JPGIMG_3355.JPG

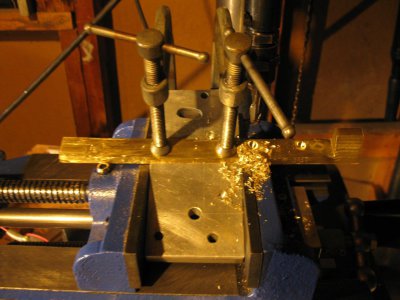
and this is a slightly better way of doing the gib screw holes
IMG_3458.JPG

the last weren't especially elegant solutions, but they got the job done!

IMG_3256.JPG IMG_3257.JPG IMG_3351.JPG IMG_3352.JPG IMG_3355.JPG IMG_3458.JPG
 
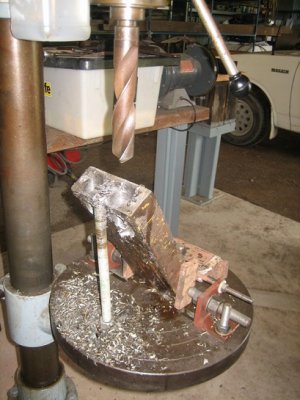
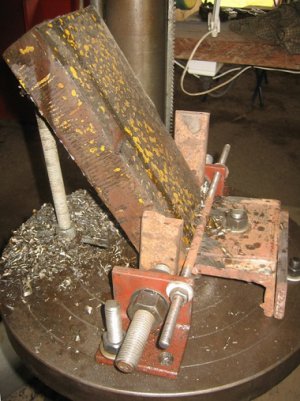
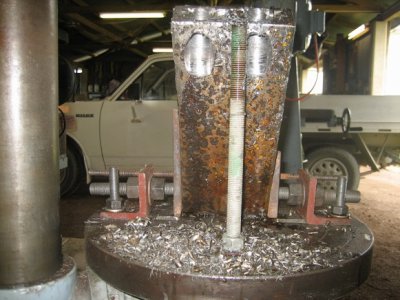
When I needed to drill some big holes in some big steel that wouldnt fit my vise, I rigged up some clamps for the bottom and welded the long piece of allthread to the work at the top.

IMG_06.JPG IMG_07.JPG IMG_08.JPG
A bit agricultural............but it worked.

cheers Phil

IMG_06.JPG IMG_07.JPG IMG_08.JPG
 
I just put a pic of this on another thread but since you axed;
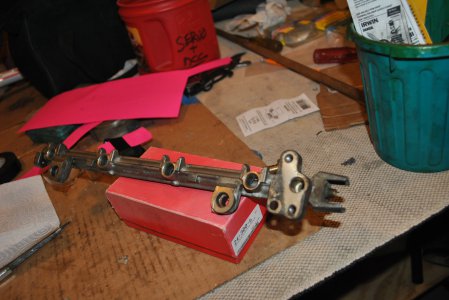
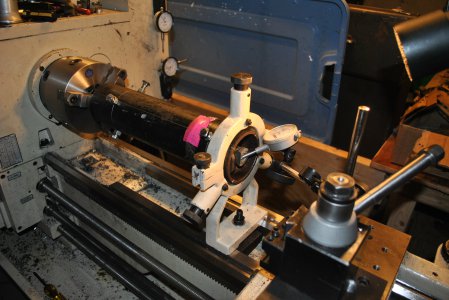
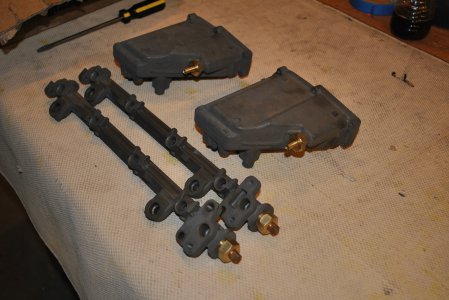
I had two fuel rails that had to be anodized but there were non removable brass parts on them that would contaminate the anodizing tank. I needed to machine out the brass parts, single point thread the holes, and fabricate new parts when they returned from anodizing. The fuel rails were 14 inches long and about as asymmetrical as you can get. I made a spider type carrier out of some 3 inch black iron pipe and held the carrier in my steady. The carrier had 4 bolts on each end at 90 degree intervals. Below is before, during, and after.

DSC_1081.JPG DSC_1077.JPG DSC_1139.JPG
 
Now that's clever! If I was in your shoes, I would've never though of holding it like that. Could you have masked off the brass parts prior to anodizing with a resist or something?

John
 
Now that's clever! If I was in your shoes, I would've never though of holding it like that. Could you have masked off the brass parts prior to anodizing with a resist or something?

John
Believe me I didn't want to do all that work but when I asked the owner of the anodizing shop if there was a way to mask the brass parts or coat them some how he said no way. He said the caustic anodizing solution would penetrate any coating and the brass parts would ruin my project and a bunch of others that would be also in the tank. On the brite side, if I ever need to anodize them again I can just unscrew all the brass parts and screw them back in after treatment.
Ed P
 
I don't have a picture but years ago I had to machine some foam rubber sleeves. I made an arbor that the sleeves would slide on to with a flat washer and nut on each end. The arbor was chucked on one end and a center in the free end.

I installed the sleeves, brought the nuts up snug and soaked the whole gizmo in water, prior to putting in the freezer. Once frozen, the arbor was set in the lathe and a turning cut with a very sharp carbide insert was made. It took several trips through the water, freezer and lathe, but in the end, the foam sleeves were the correct diameter.
 
Back
Top